Connect to an existing Keycloak instance
In this guide, we'll demonstrate how to connect Identity to your existing Keycloak instance.
Prerequisites
- Access to your Keycloak Admin Console
- A basic understanding of administering realms and clients in Keycloak.
Clients in Camunda 8 SaaS and applications in Camunda 8 Self-Managed provide a similar purpose. One key difference is that for Camunda 8 SaaS, you can set up specific client connection credentials, whereas in Identity, an application is created with credentials automatically assigned.
Steps
To connect Identity to an existing Keycloak instance, take the following steps:
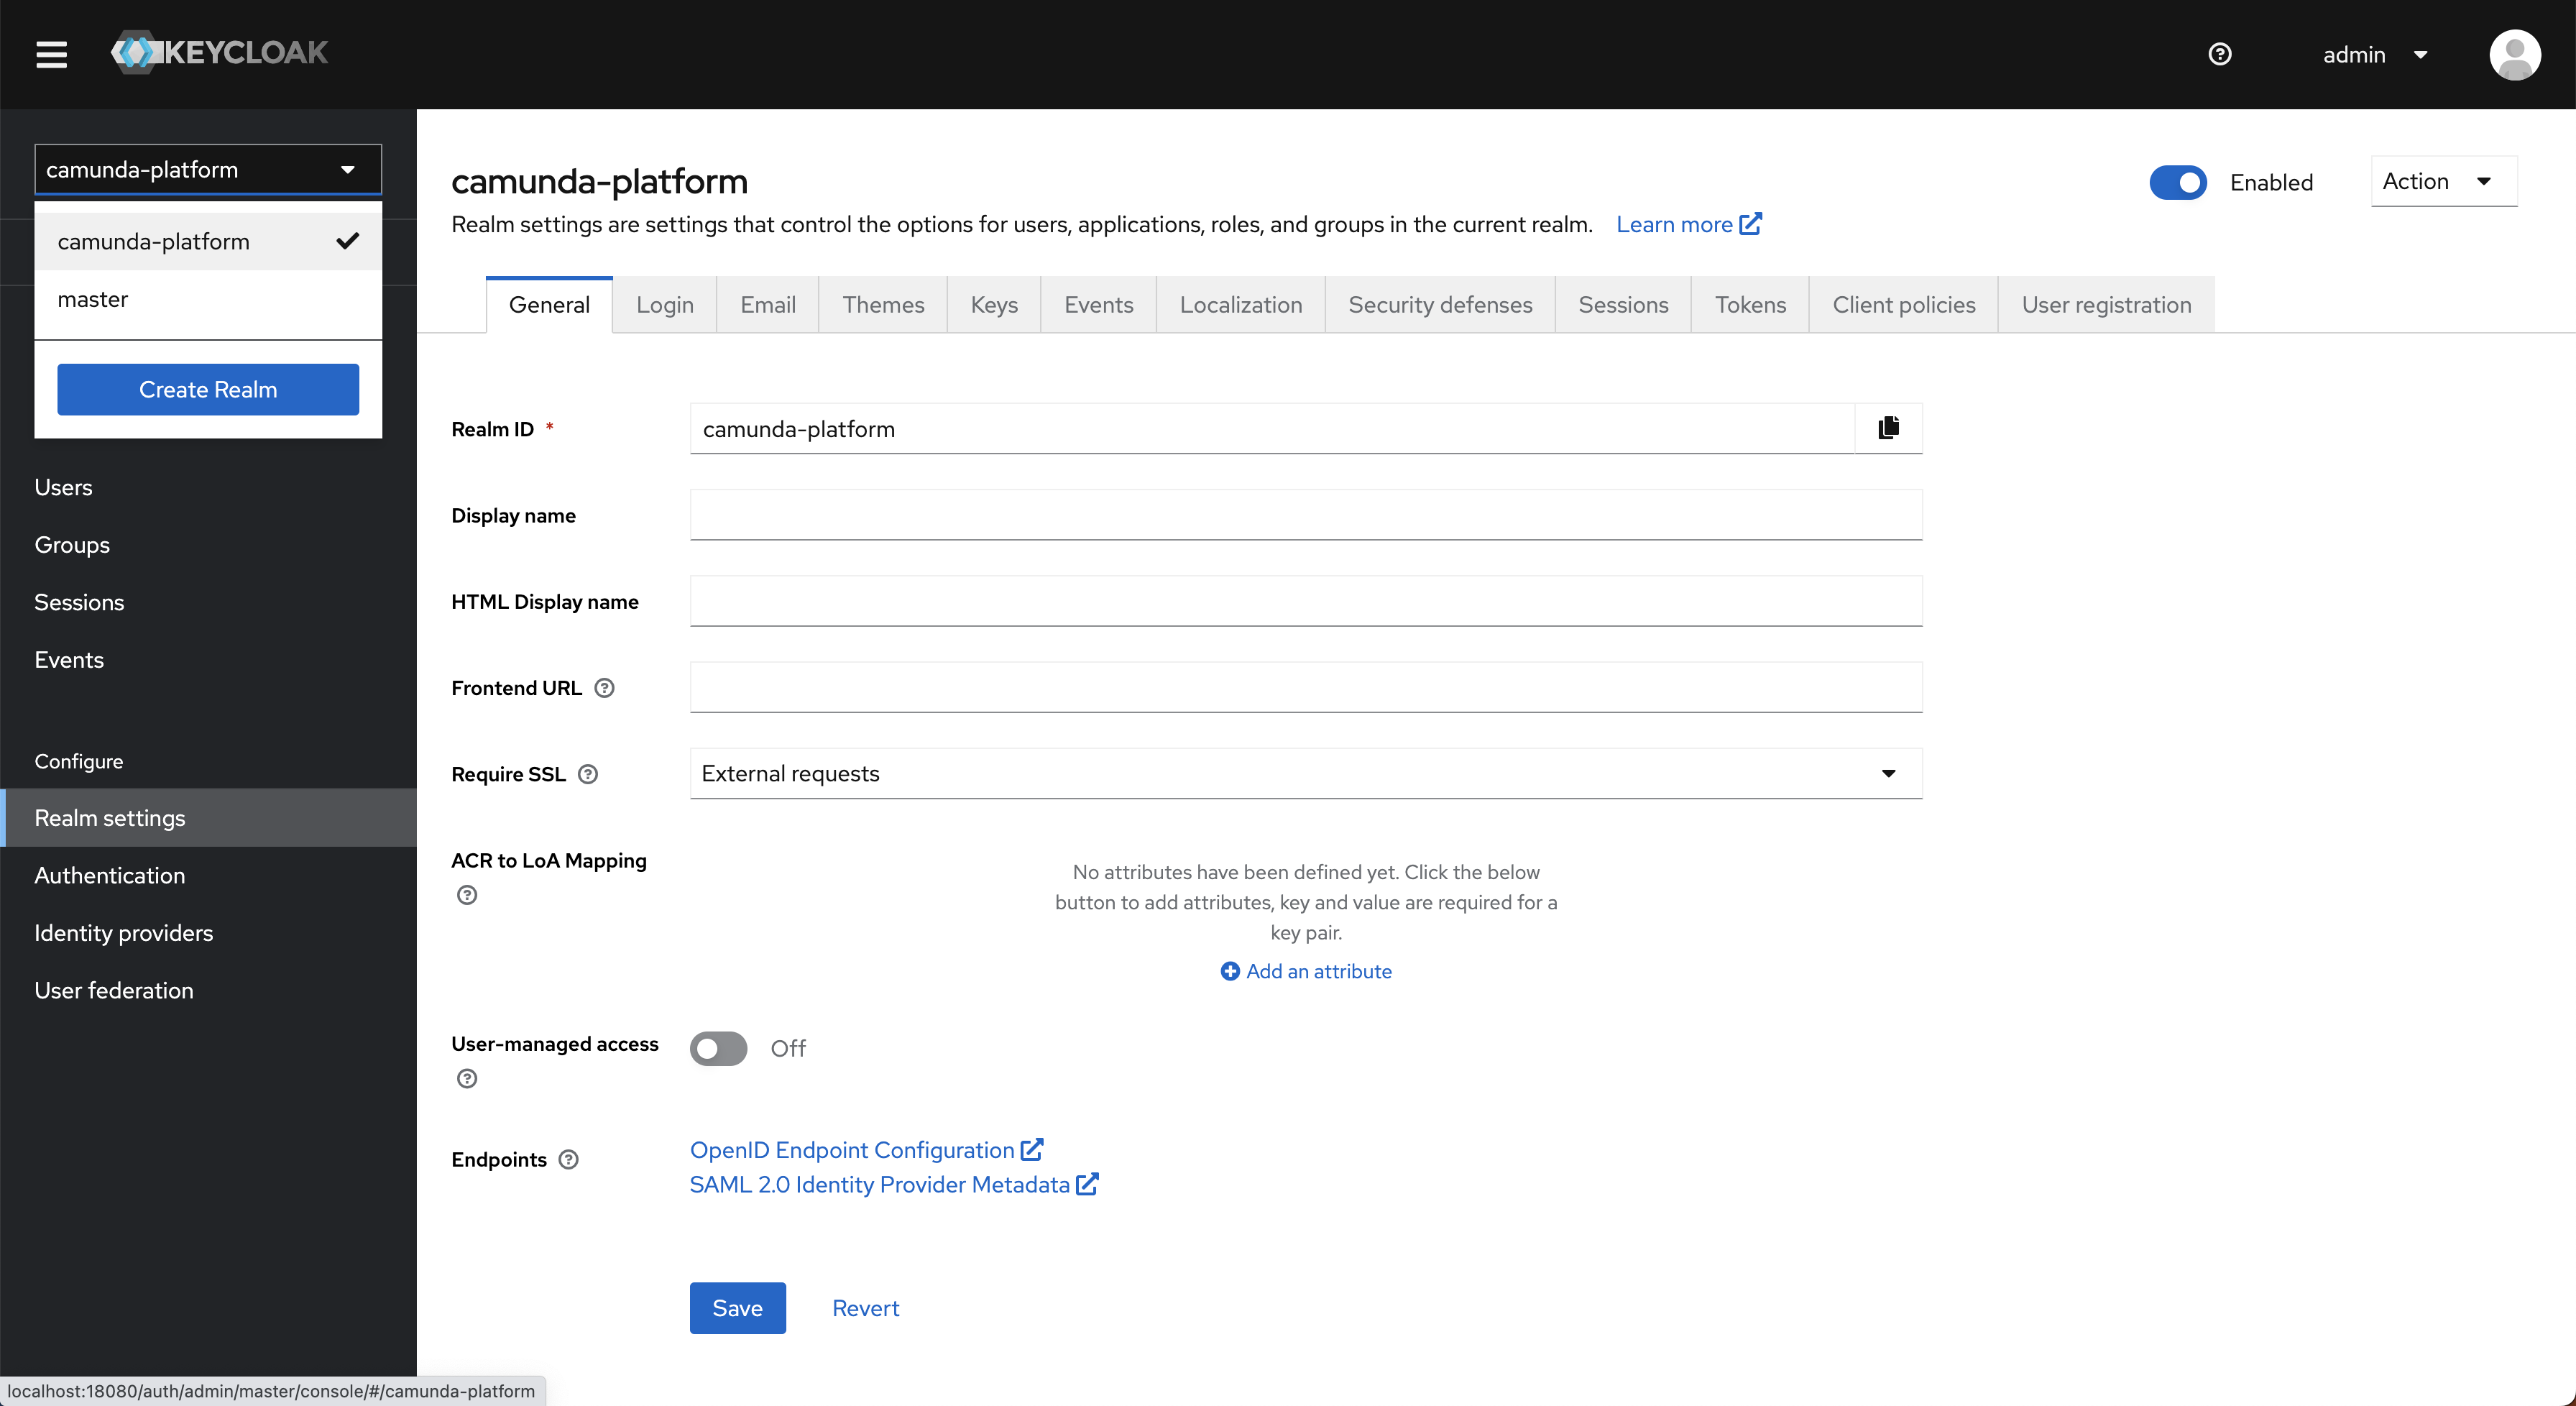
- Log in to your Keycloak Admin Console.
- Select the realm you would like to connect Identity to. In our example, this is camunda-platform.
- Select Clients in the navigation menu, and click the Create button to create a new client.
- Enter a client ID and click Next.What client ID should I use?
By default, Identity uses the Client ID
camunda-identity, so we recommend using this too. If you choose a different client ID, this will need to be set in the Identity application environment variables.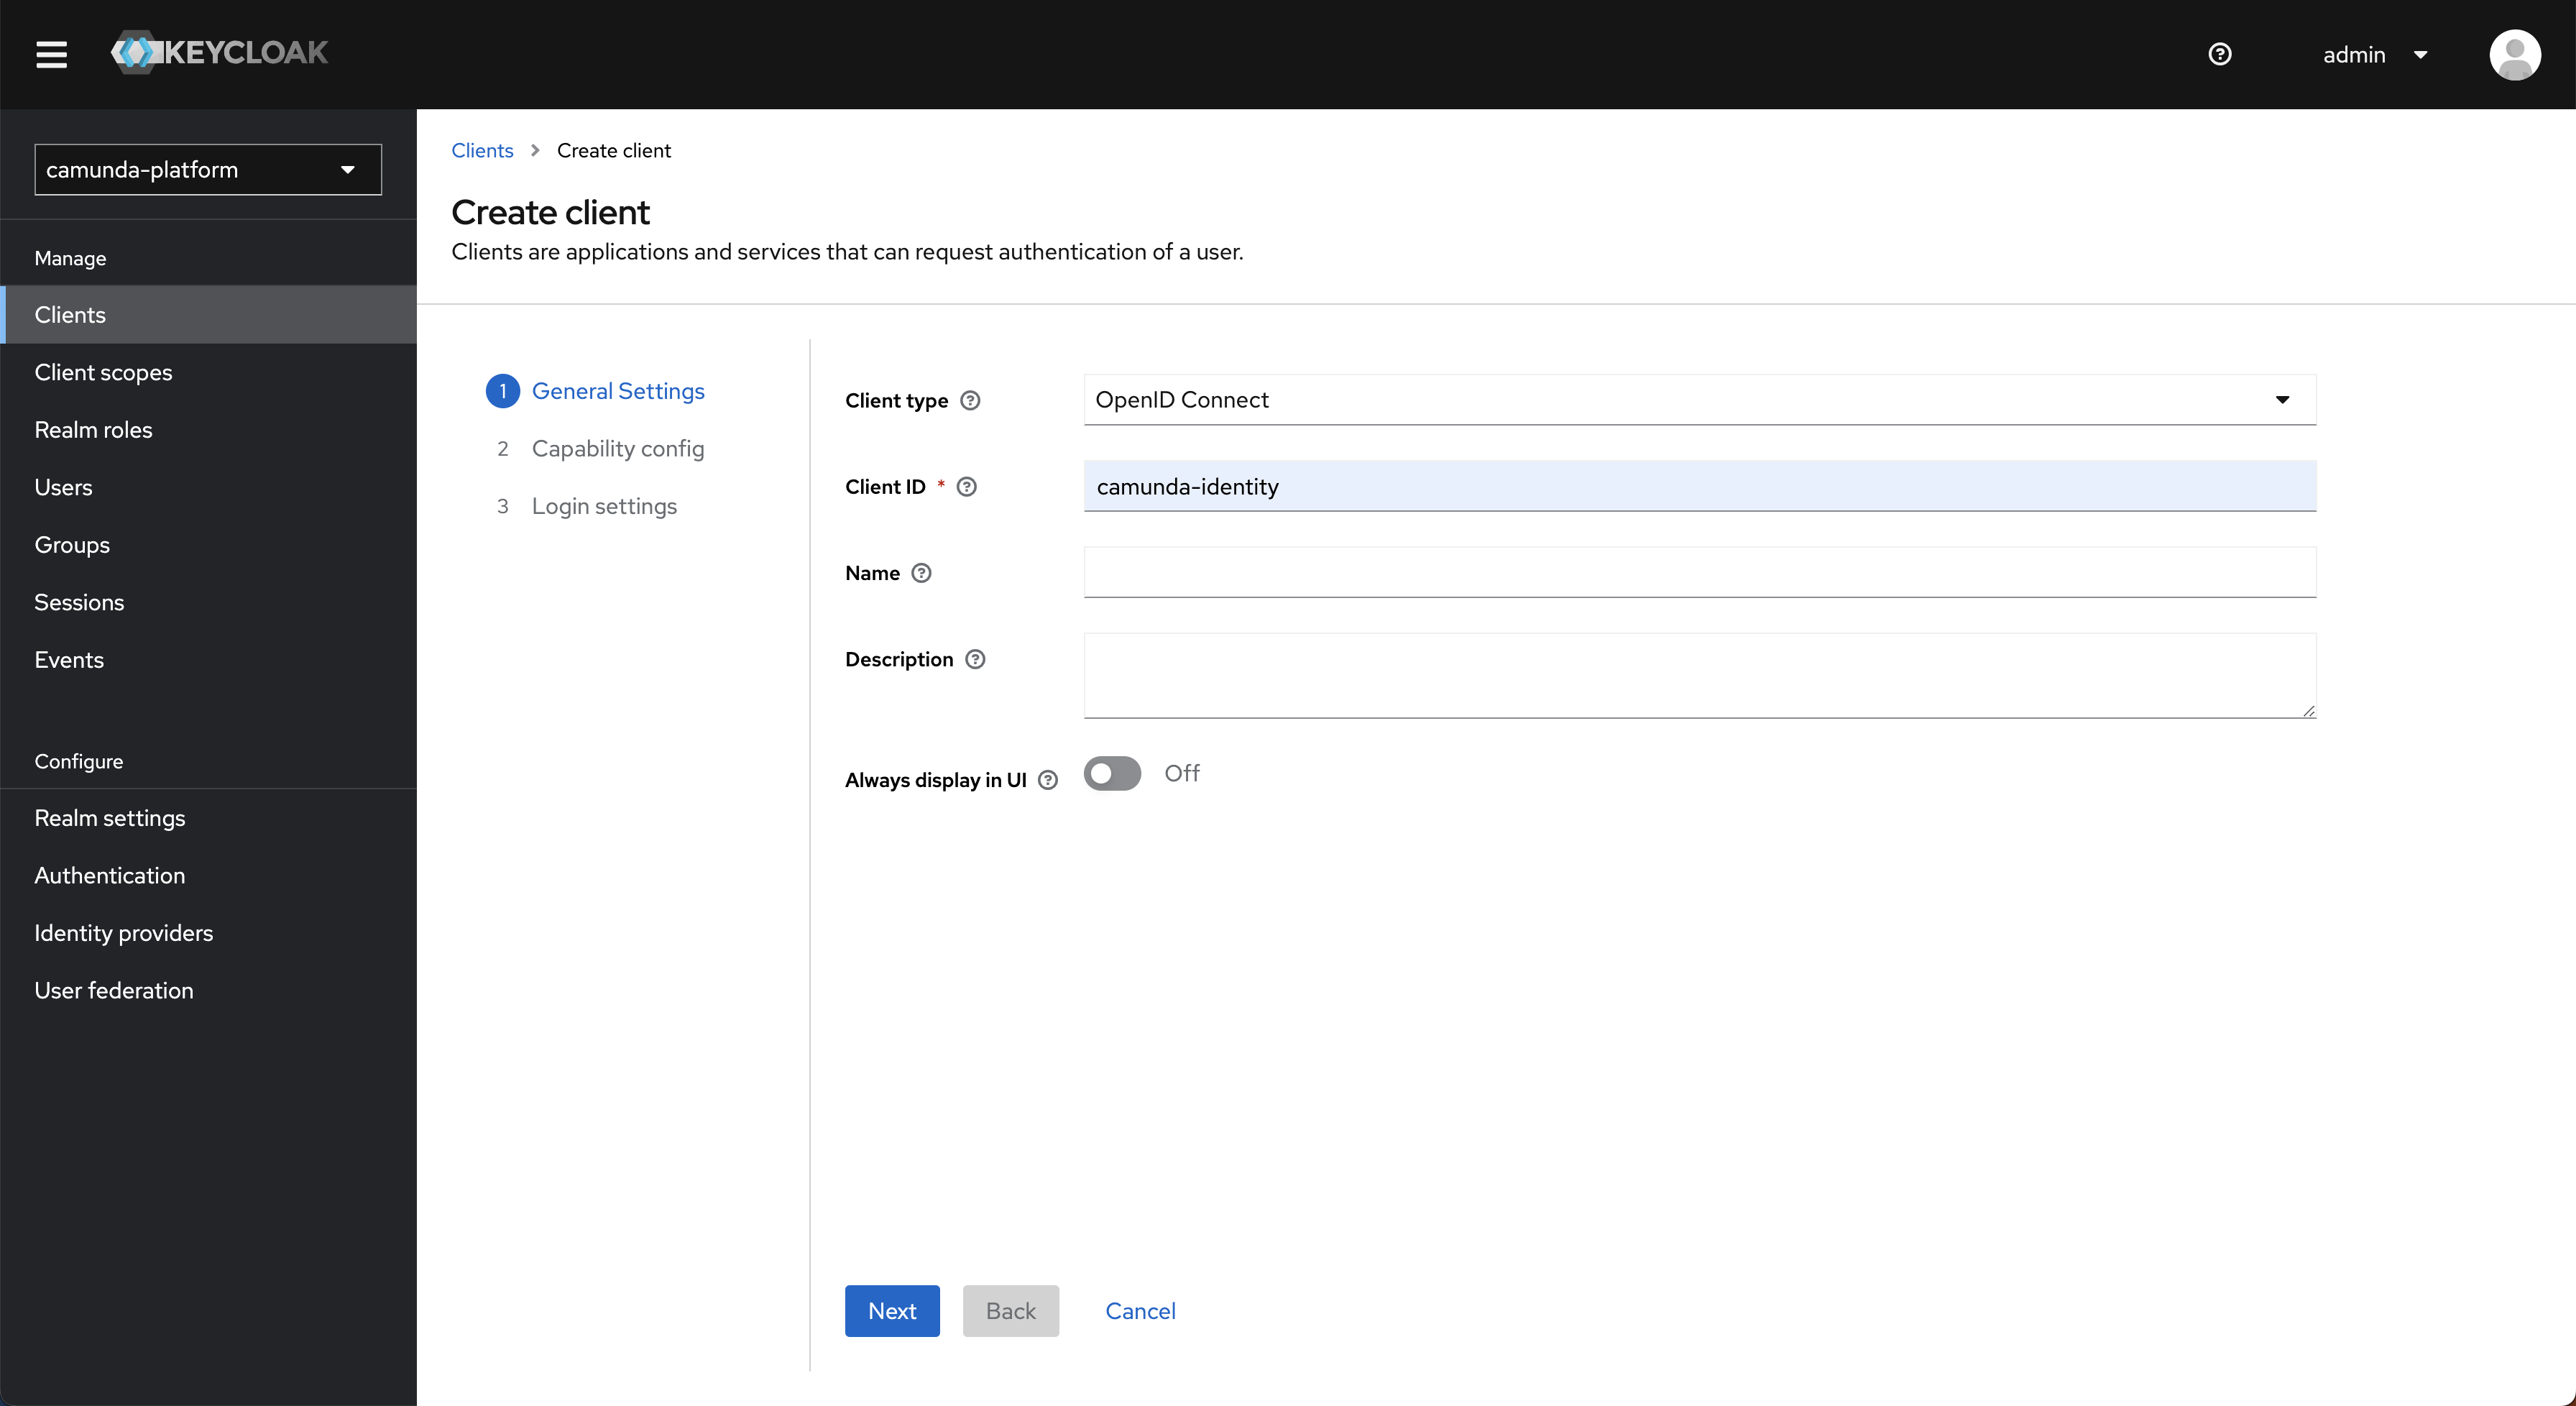
- Toggle Client authentication to
on, select Service accounts roles and click Next.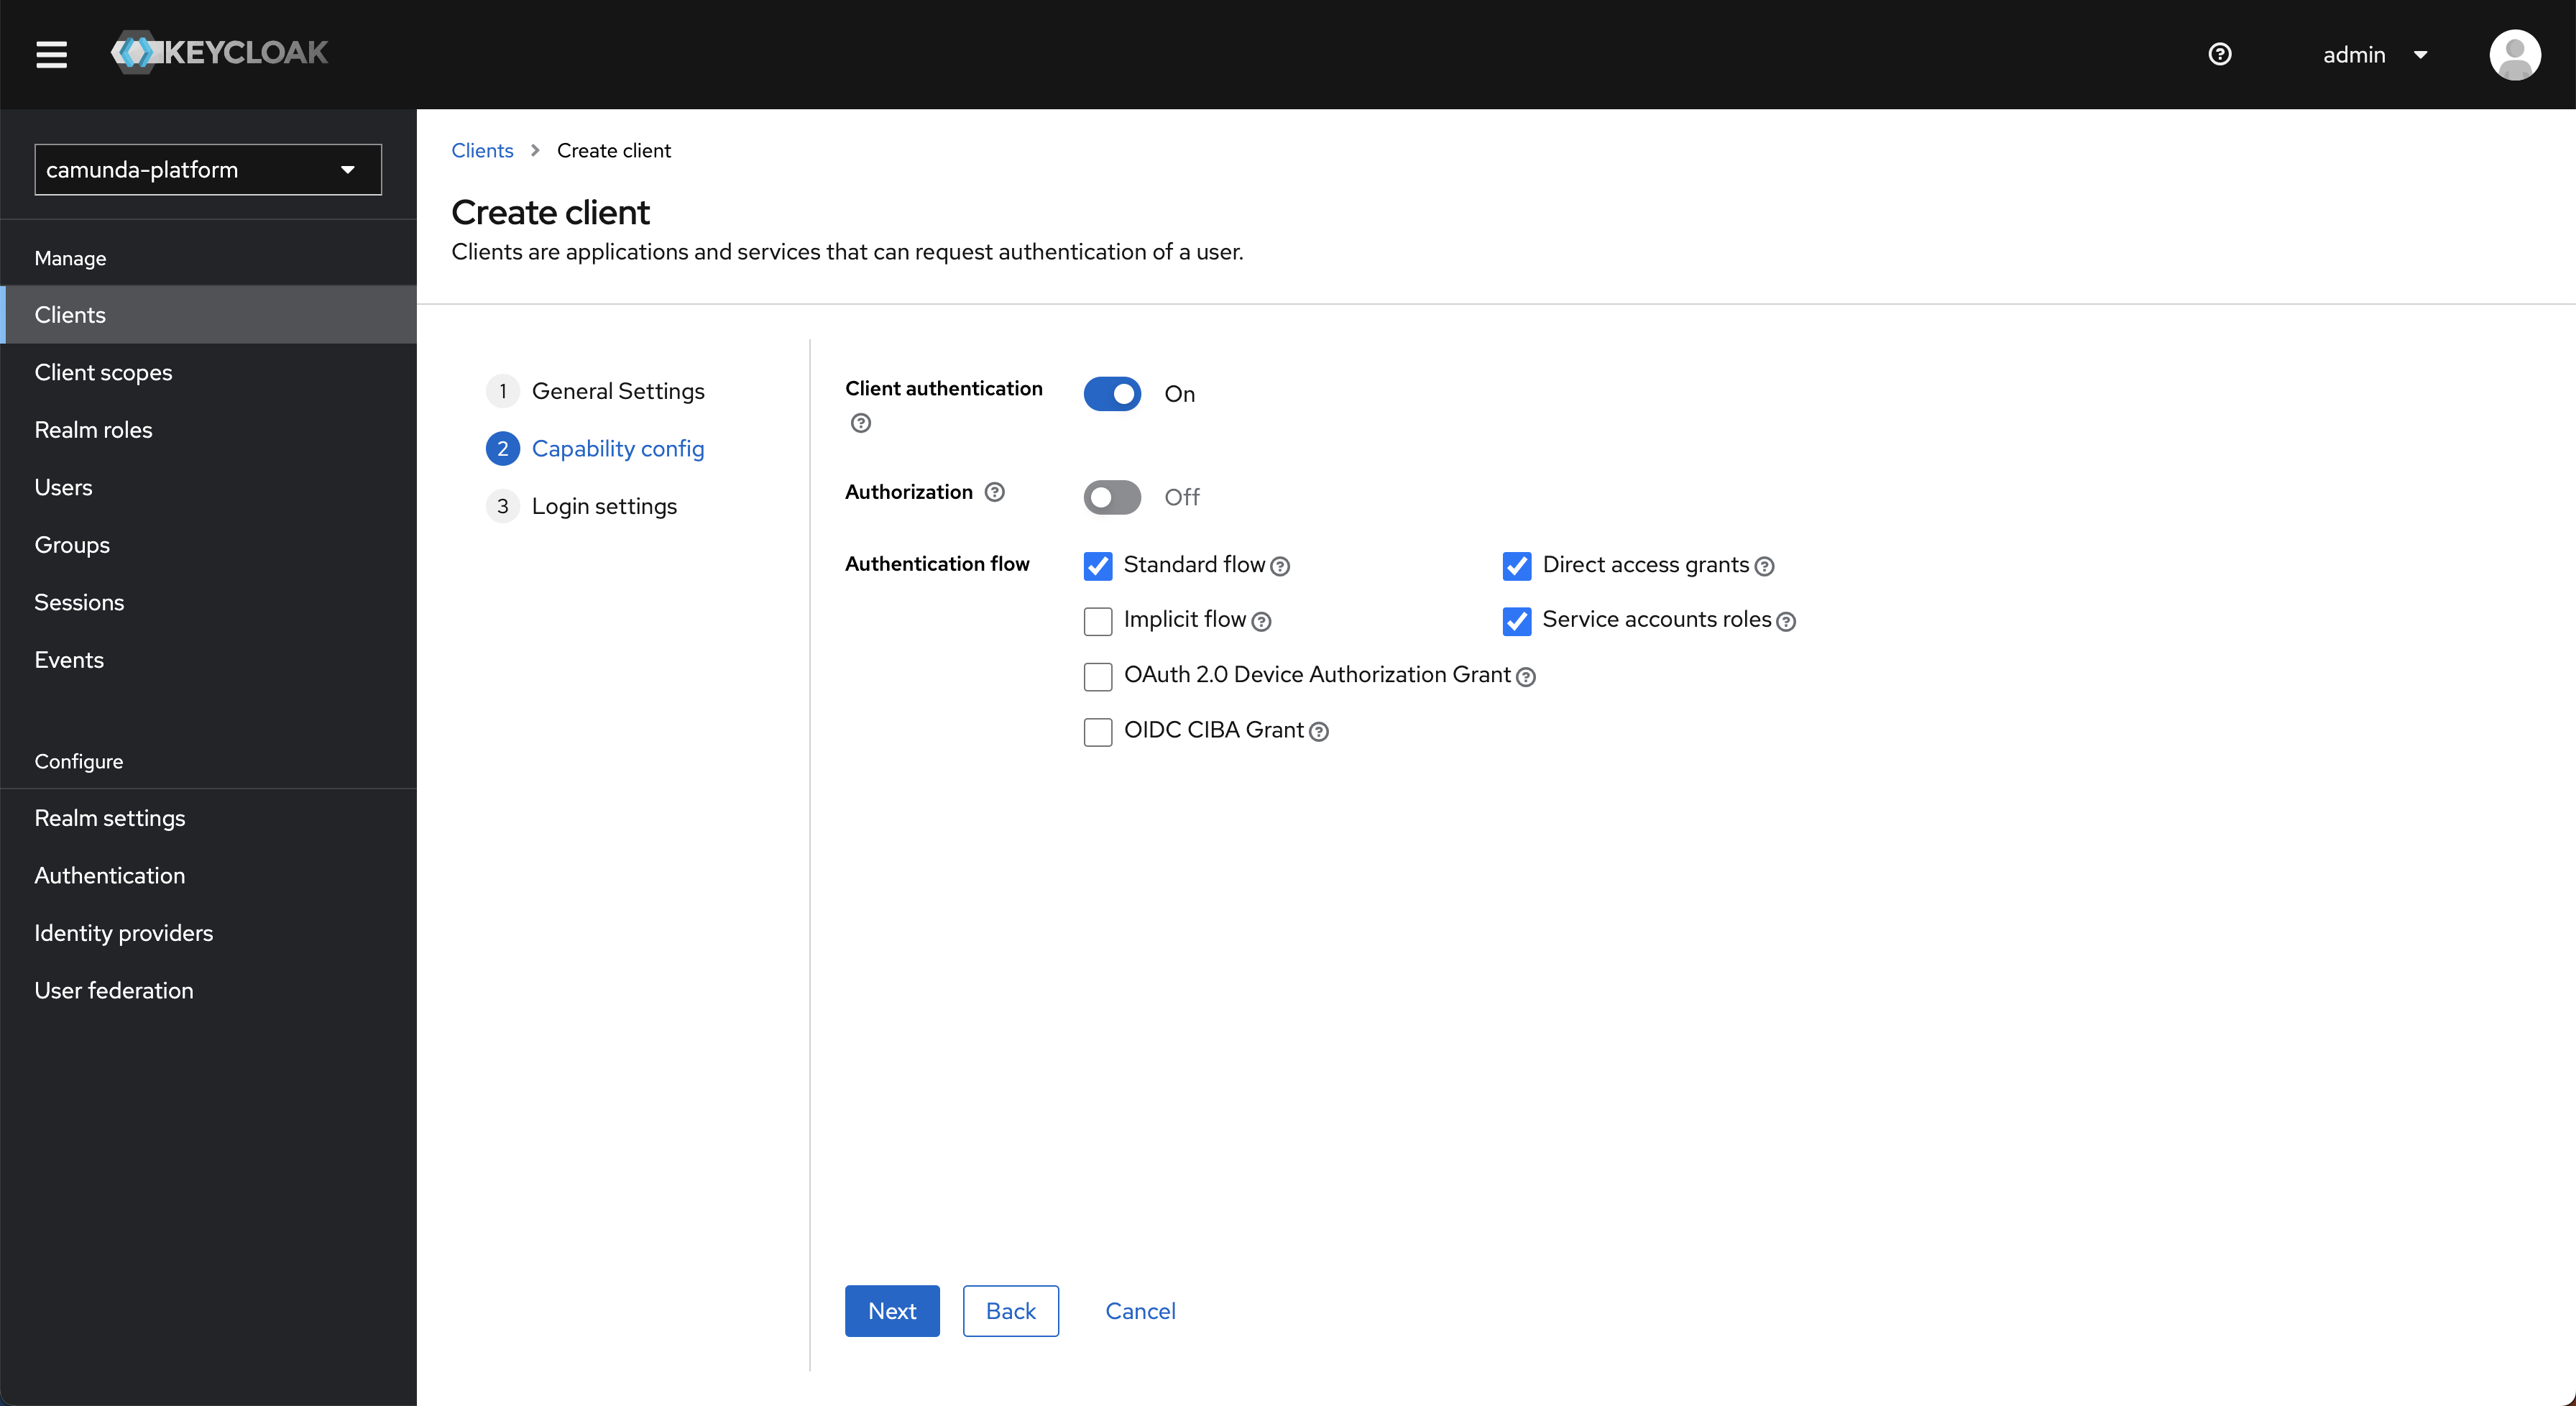
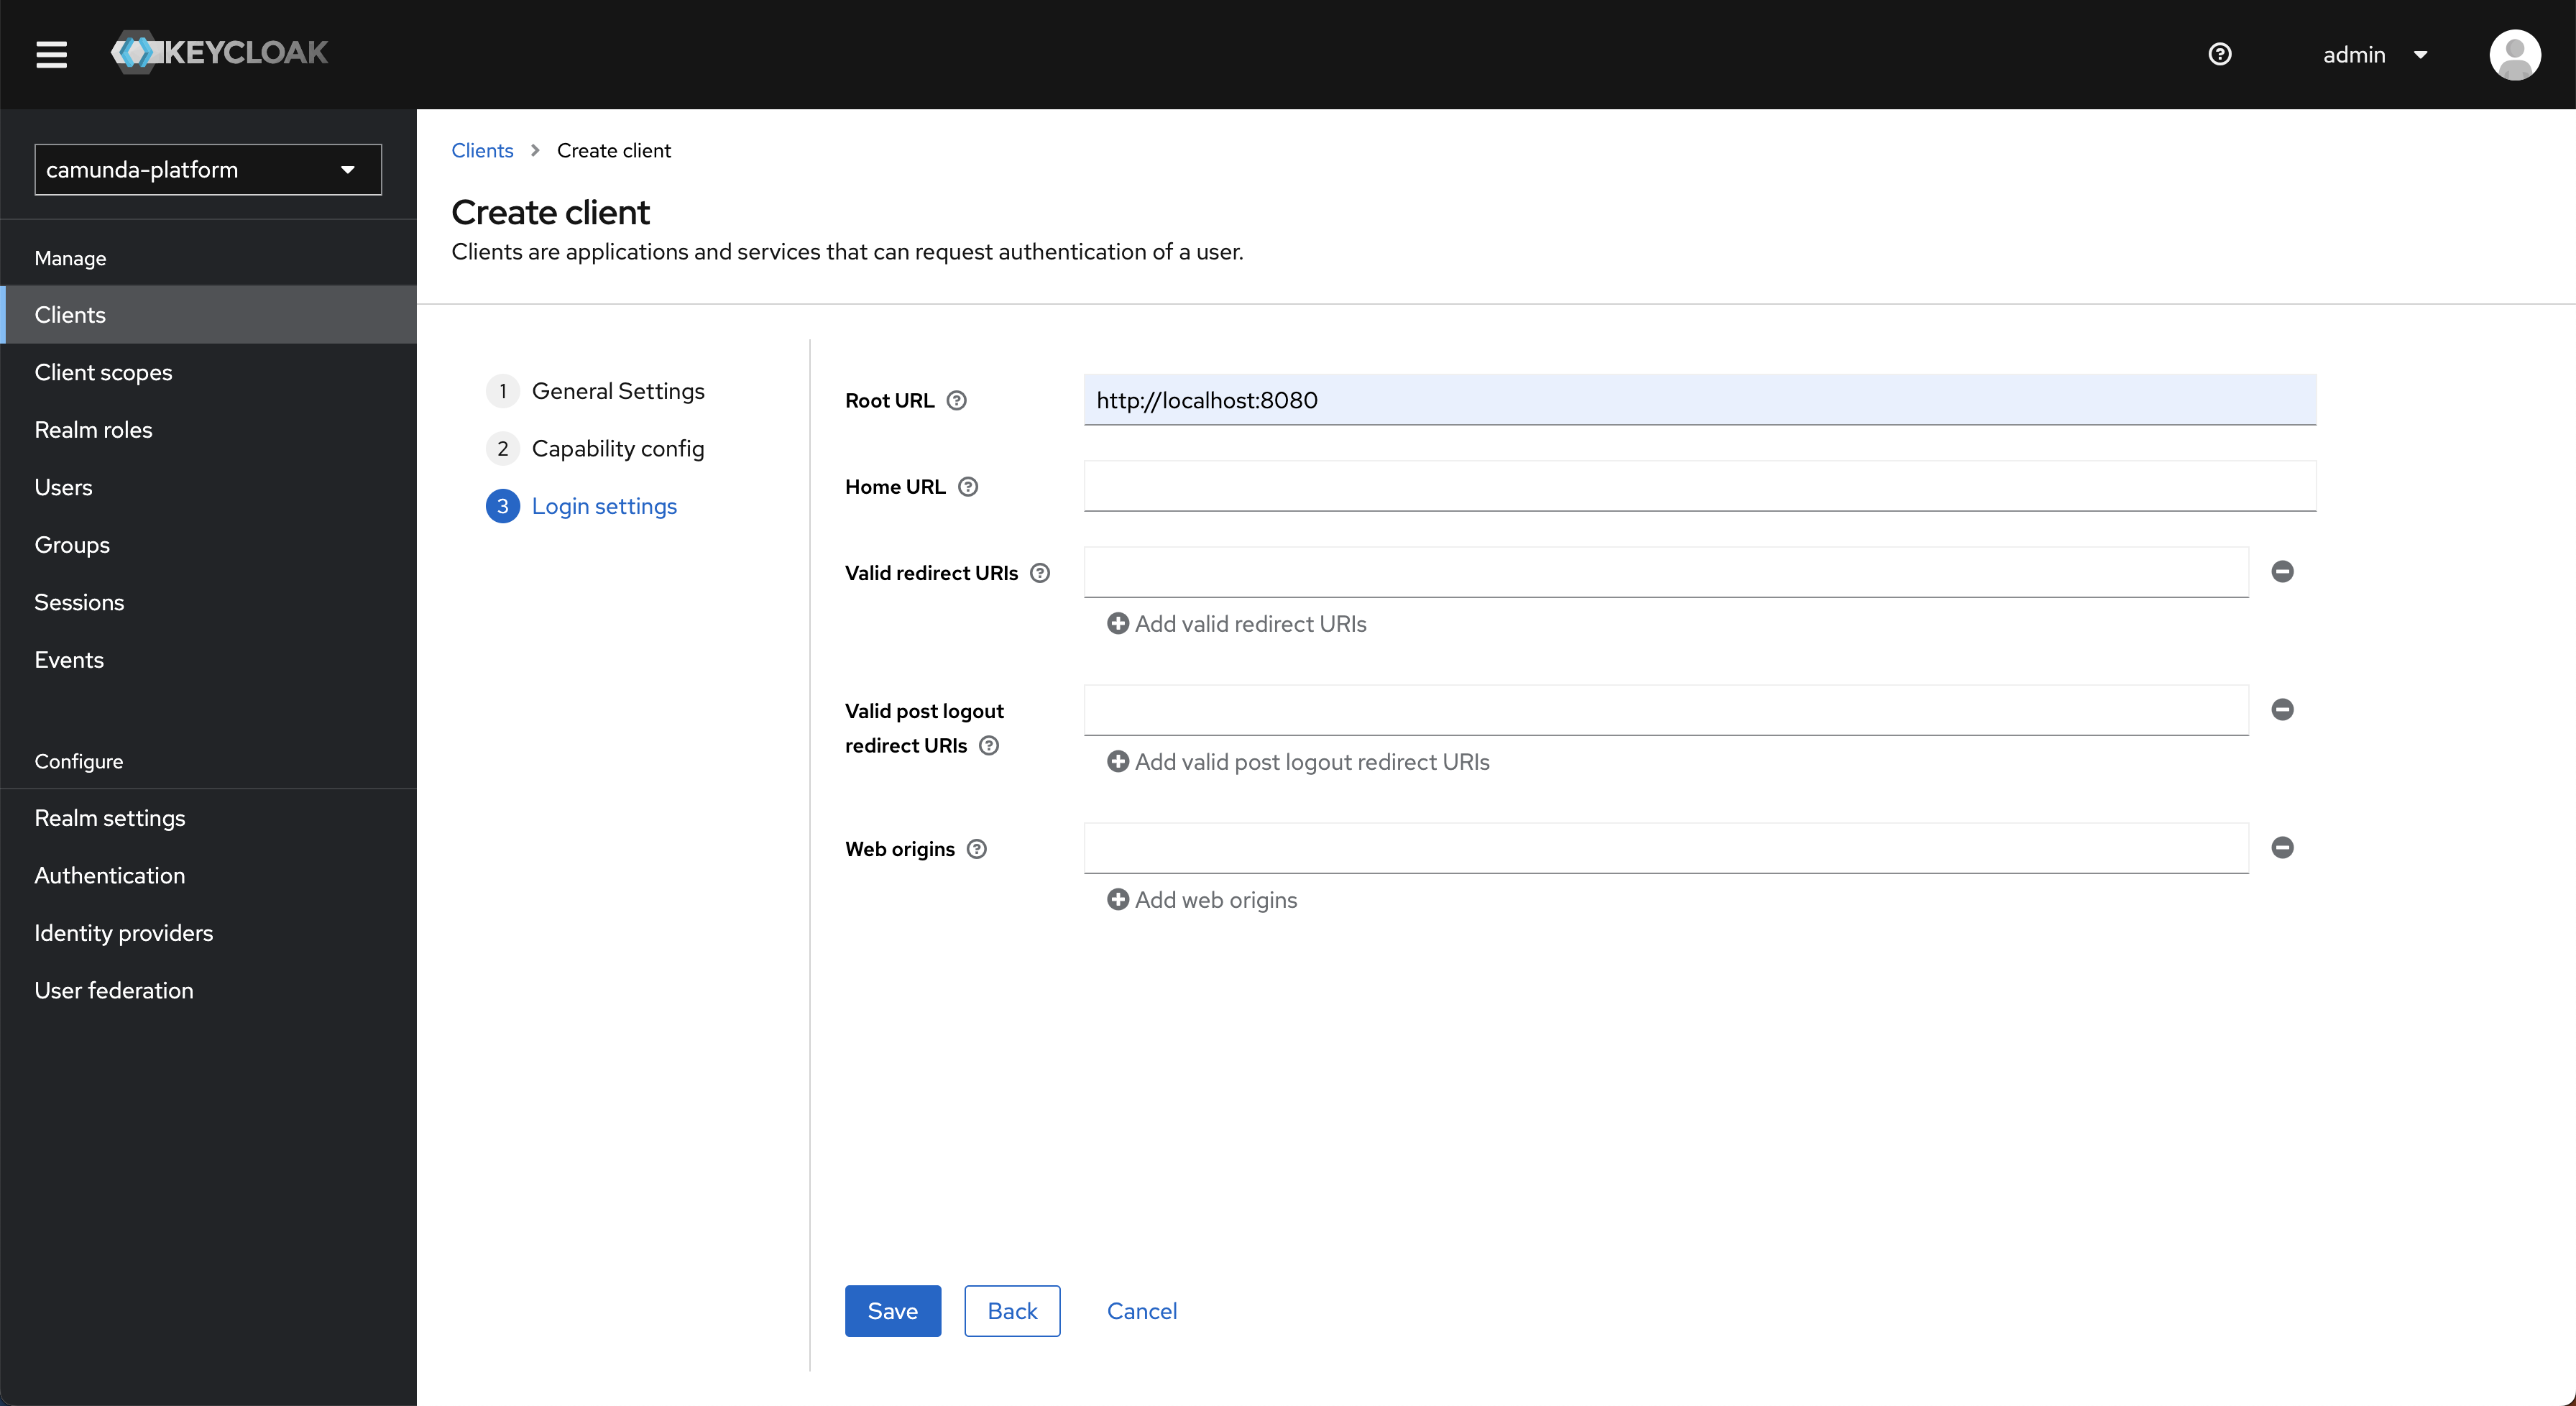
- Enter the URL of where your Identity instance will be hosted in the Root URL field and click Save to create the client.
- On the page for the created client navigate to the Service account roles tab in the top navigation.
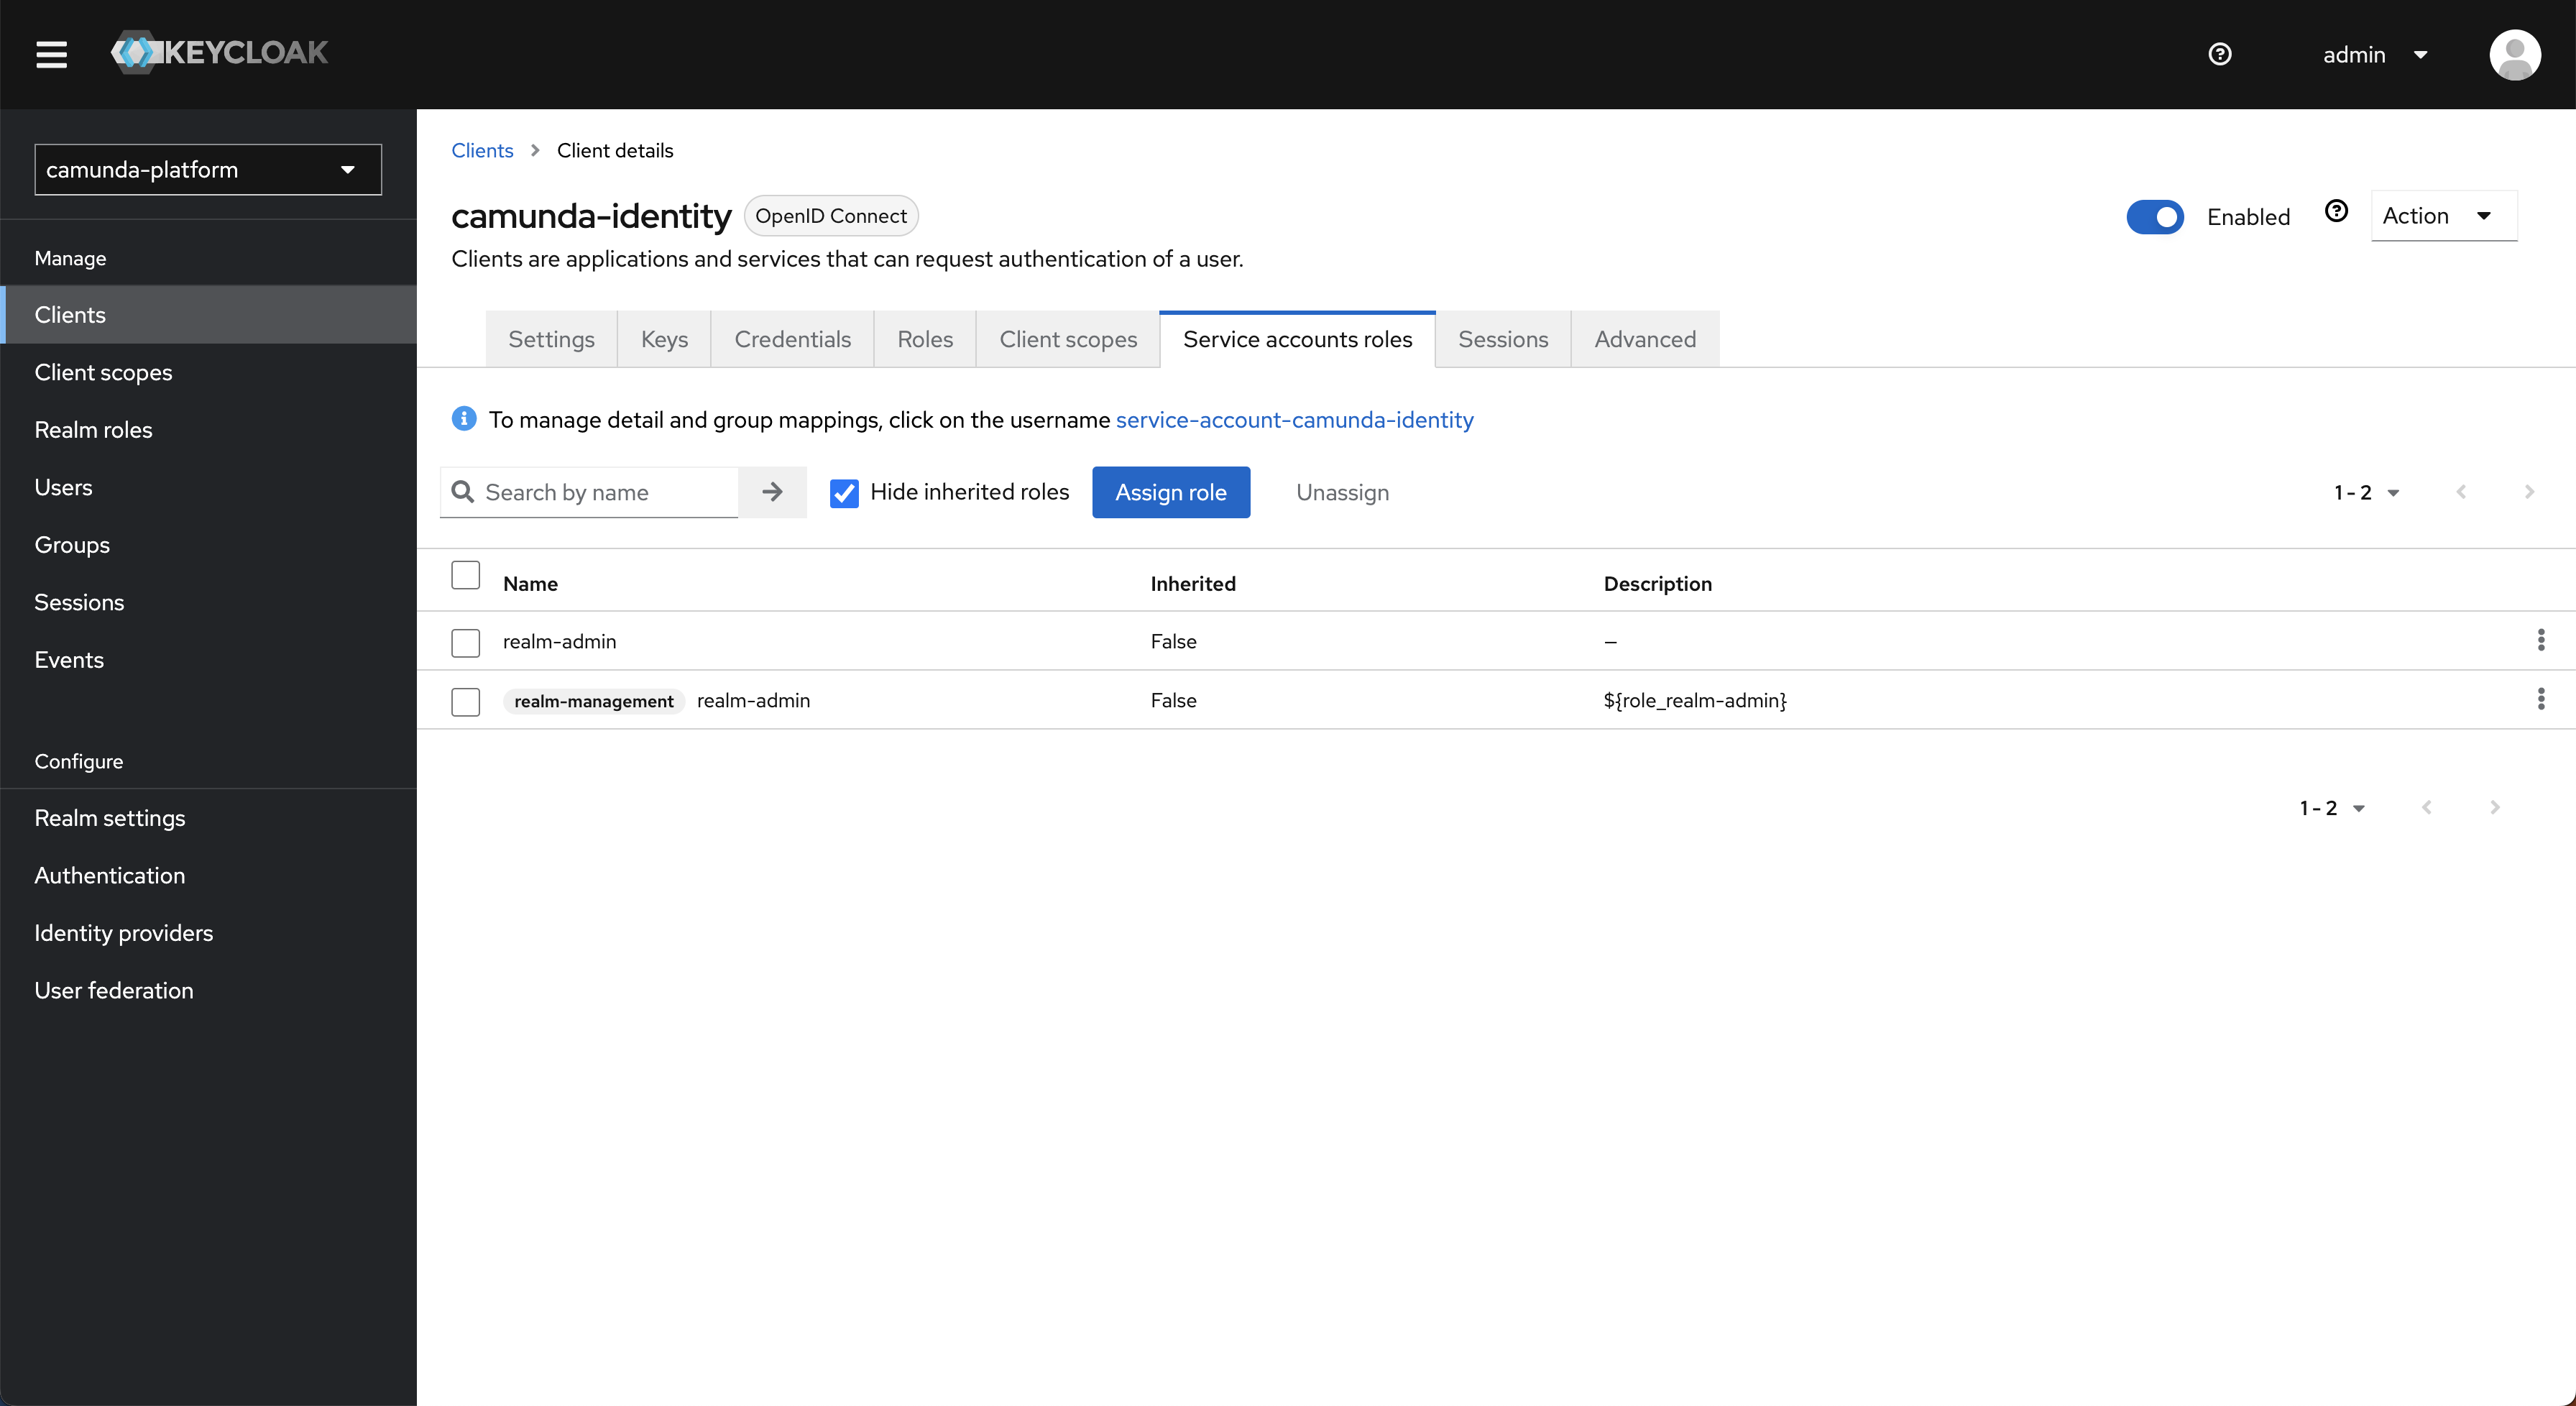
- Click Assign role and change the filter to
Filter by clients.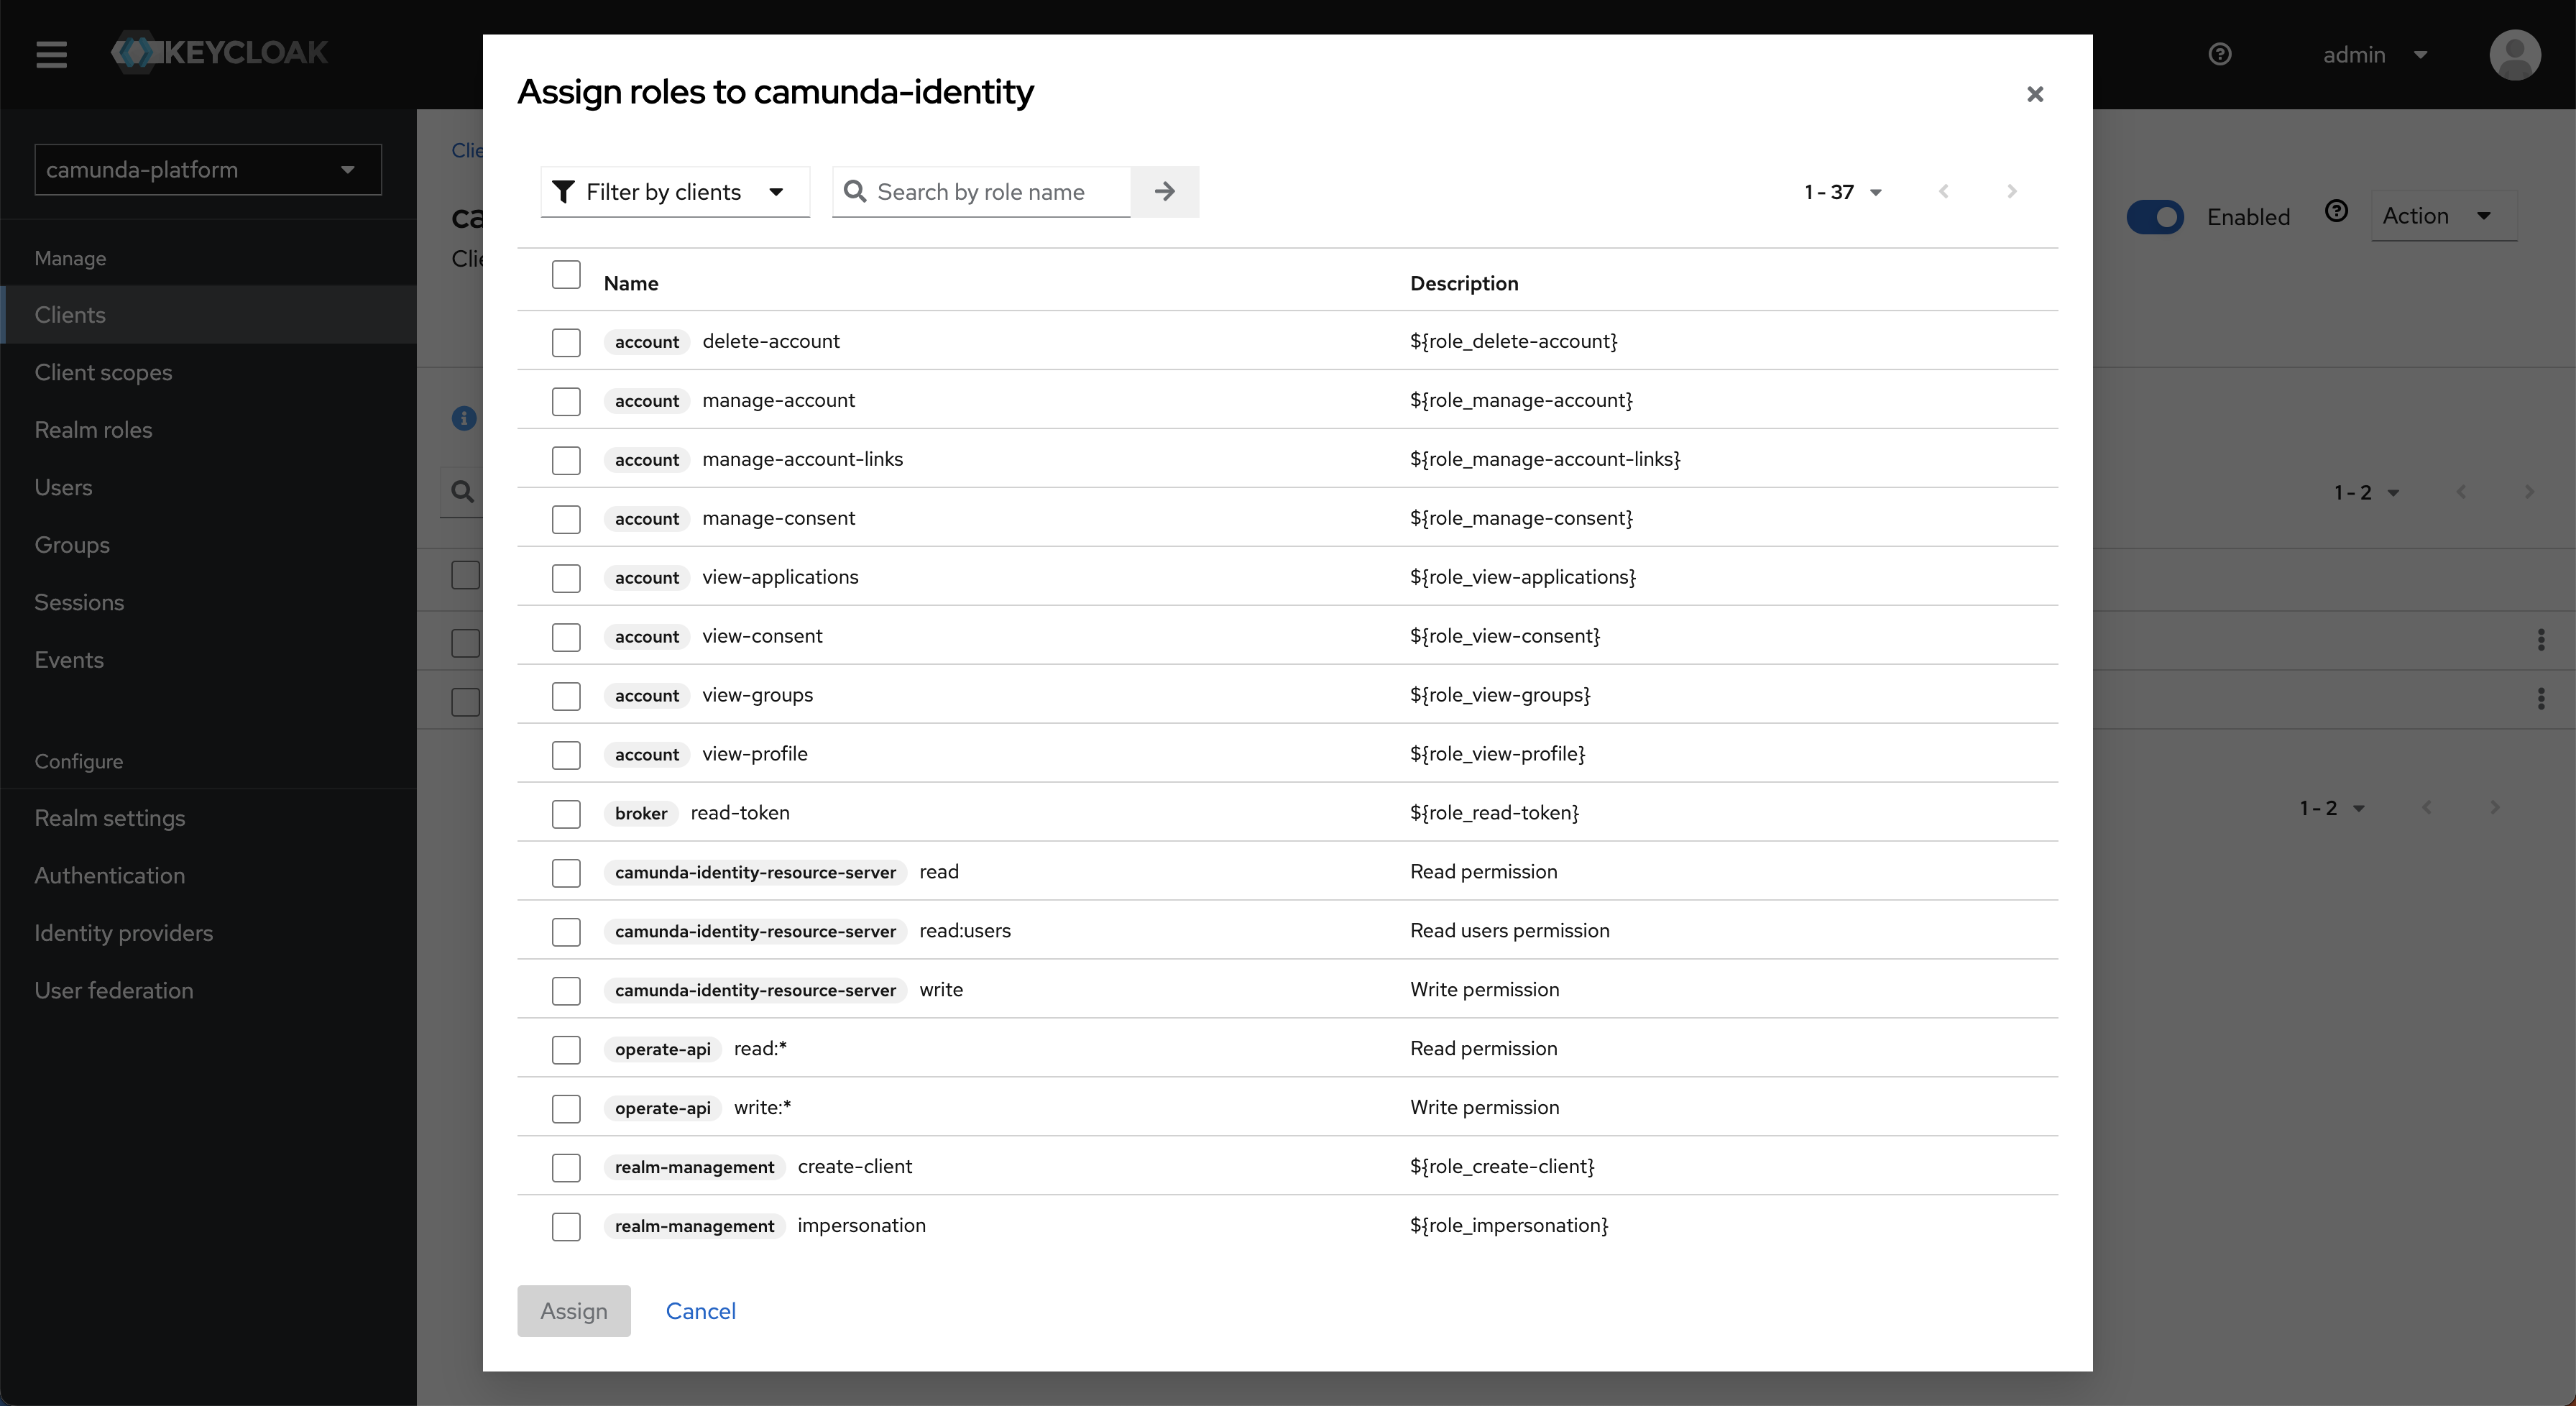
- Select the
manage-clients,manage-realm, andmanage-usersrole from the list and click Assign.Why does Identity need these roles?Identity is designed to allow users to manage the various entities related to Camunda. To achieve this, it requires specific access to the realm.
- Navigate to the Credentials tab and copy the client secret.
- Set the
IDENTITY_CLIENT_SECRETenvironment variable with the value from Step 9. - Set the
KEYCLOAK_REALMenvironment variable to the realm you selected in Step 2.tipIf you are using a specific realm, you need to set additional variables to use the intended realm. See the environment variables page for details of Keycloak-specific variables to consider.
- Start Identity.
Identity creates a base set of configurations required to function successfully. To understand more about what is created and why, see the starting configuration.
Considerations
When connecting Identity to a shared realm, accurately determining what clients should and should not be displayed in the Identity UI is not possible. Therefore, the clients in the realm you connect Identity to will be shown in the Identity UI and can have their secrets viewed and updated. Users with access to Identity should be considered as having administrator-level access to the system.