Deploy diagram
Desktop Modeler can directly deploy diagrams and start process instances in Camunda 8 Self-Managed. Follow the steps below to deploy a diagram:
-
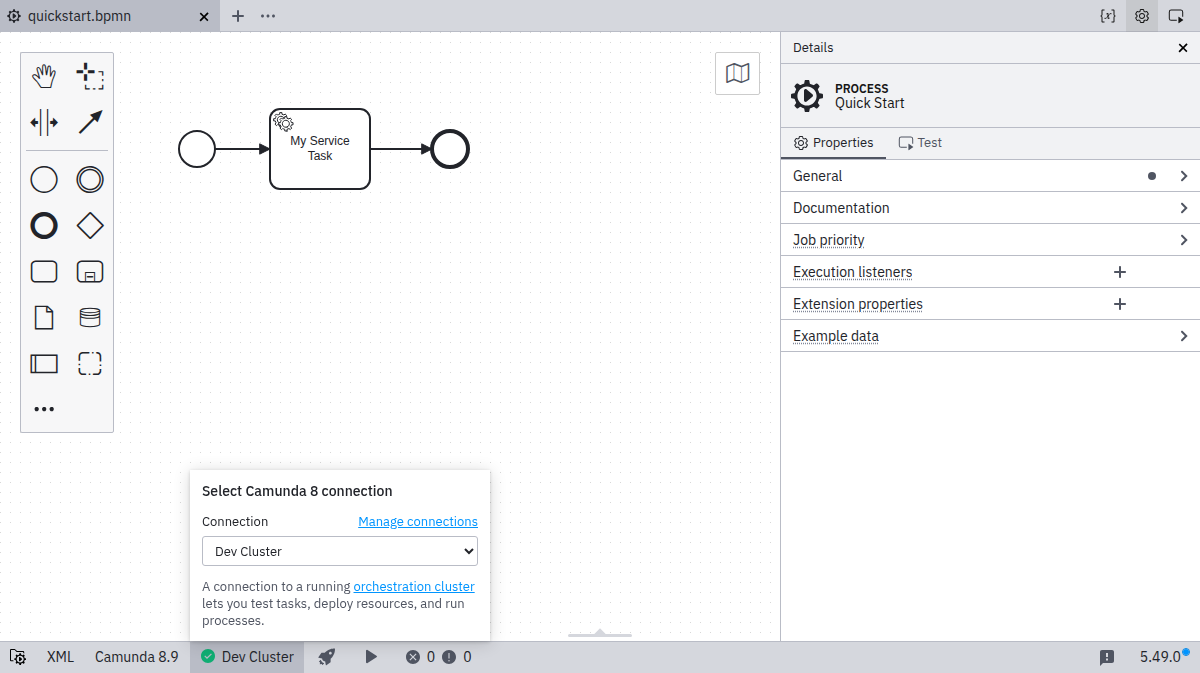
Ensure you have already set up a connection and selected it.
-
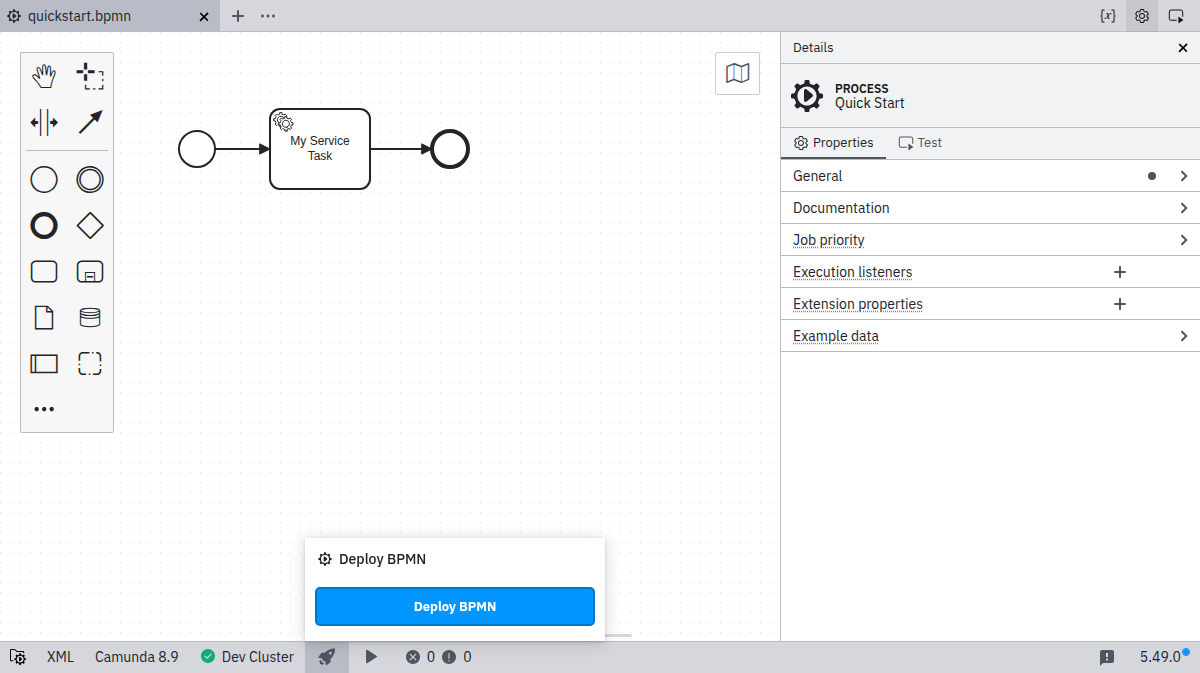
Click the Deploy icon:

-
Click Deploy to perform the actual deployment:
-
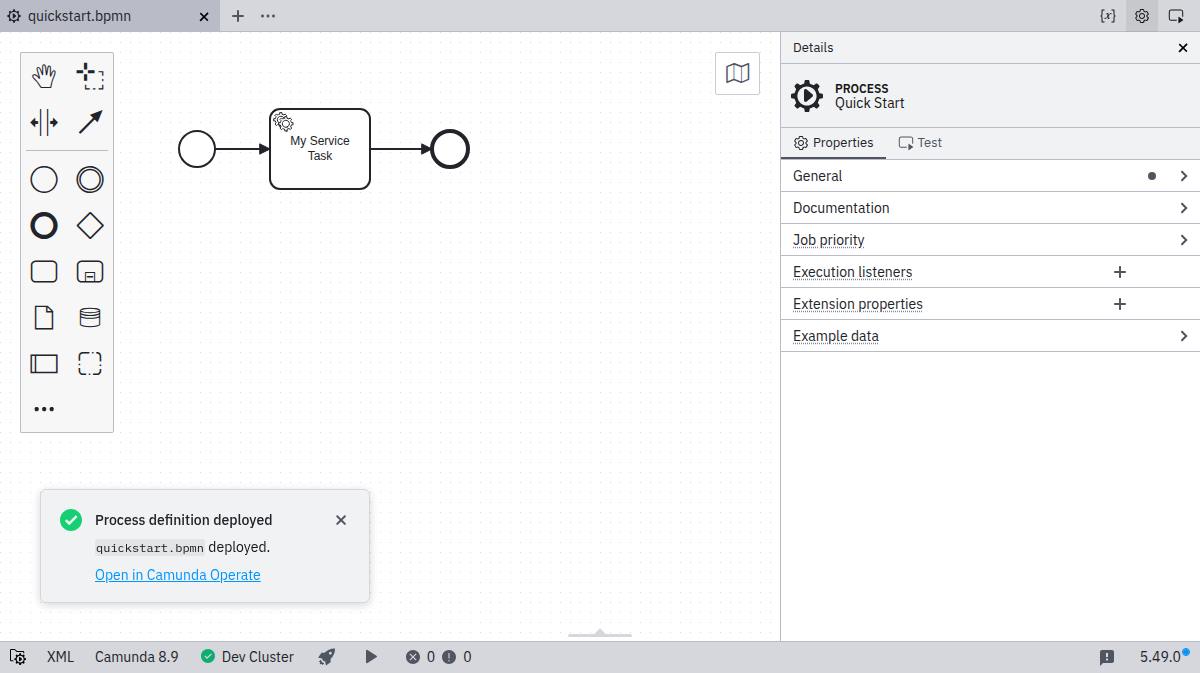
If the deployment is successful, you will see a confirmation message: