Manage permissions
Manage permissions for roles and applications in Identity.
- You can grant permissions to either roles or applications.
- When a permission is granted to a role, all users assigned to the role and members of a group with the assigned role, are granted the respective access.
Manage role permissions
Assign a permission to a role
To assign a permission to a role, take the following steps:
-
Navigate to the Roles tab, click the role, and select Permissions > Assign permissions.
-
Select the API which contains the permission(s) you want to assign.
-
Select the permission(s) you would like to assign and click Add.
On confirmation, the modal will close, the table will update, and your assigned permission will be shown.
Delete a permission from a role
To delete a permission from a role, take the following steps:
-
Navigate to the Roles tab. Click the role you would like to delete permissions from.
-
Navigate to the Permissions tab.
-
Click the trash icon next to the permission you want to remove.
On confirmation, the modal will close, the table will update, and the assigned permission will be removed from the role.
Manage application permissions
Assign a permission to an application
To assign a permission to an application using Identity, take the following steps:
-
Navigate to the Applications tab and click on an application. Then, select the Access to APIs tab and click Assign Permissions:
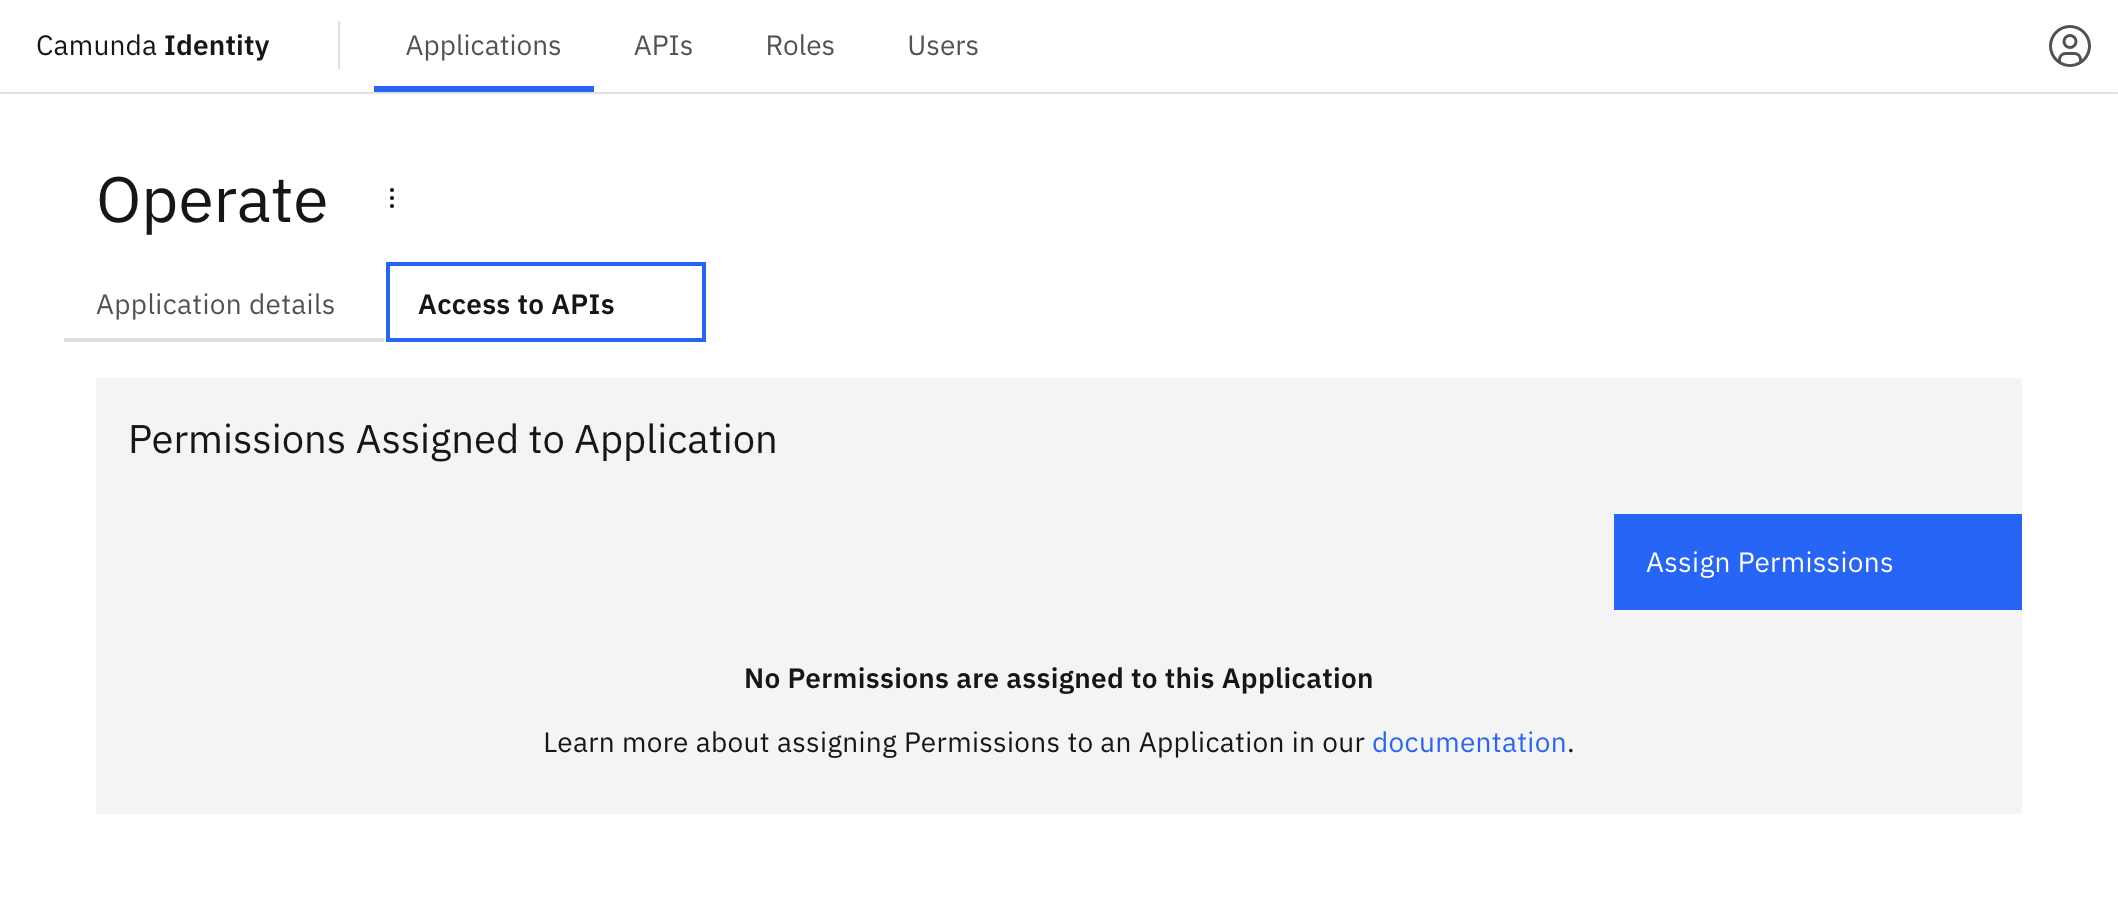
-
Select the API which contains the permission you want to assign.
-
Select the permissions you would like to assign and click Add.
On confirmation, the modal will close, the table will update, and your assigned permissions will be shown:

Delete a permission from an application
To delete a permission from an application, take the following steps:
-
Navigate to the Applications tab. Click the application you would like to delete permissions from.
-
Navigate to the Access to APIs tab.
-
Click the trash icon next to the permission you want to remove.
On confirmation, the modal will close, the table will update, and the assigned permission will be removed from the application.