Add and assign a permission to a role
Permissions allow you to control the level of access a user or an application has to a particular component. Traditionally, this is often described as being able to provide "read" or "write" access.
Permissions are assigned to APIs and can be grouped to form roles.
You can create permissions for granular access control over your APIs. Permissions granted to a user or M2M application are added to the permissions.{audience} claim of the access token.
The preset permissions for Camunda components are:
| Component | Permissions | Descriptions |
|---|---|---|
| Connectors | read:* | Read access to all APIs |
| Console | write:* | Write access to all pages |
| Identity | read read:users write | Read access to all pages Access only the Users page and related subpages Write access to all pages |
| Operate | read:* write:* | Read access to all APIs Write access to all APIs |
| Optimize | write:* | Write access to all APIs |
| Tasklist | read:* write:* | Read access to all APIs Write access to all APIs |
| Web Modeler | create:* read:* update:* delete:* | CRUD access |
| Zeebe | write:* | Write access to all APIs |
In this guide, we will show you how to use Identity to add and assign a permission to a role.
To assign a permission to a role and assign a role to a user, you need to have write access to Identity. Read our guide on managing user access to learn more.
Add and assigning a permission to a role
Add a permission
To create a permission using Identity, take the following steps:
- Log in to the Identity UI and navigate to the API tab:
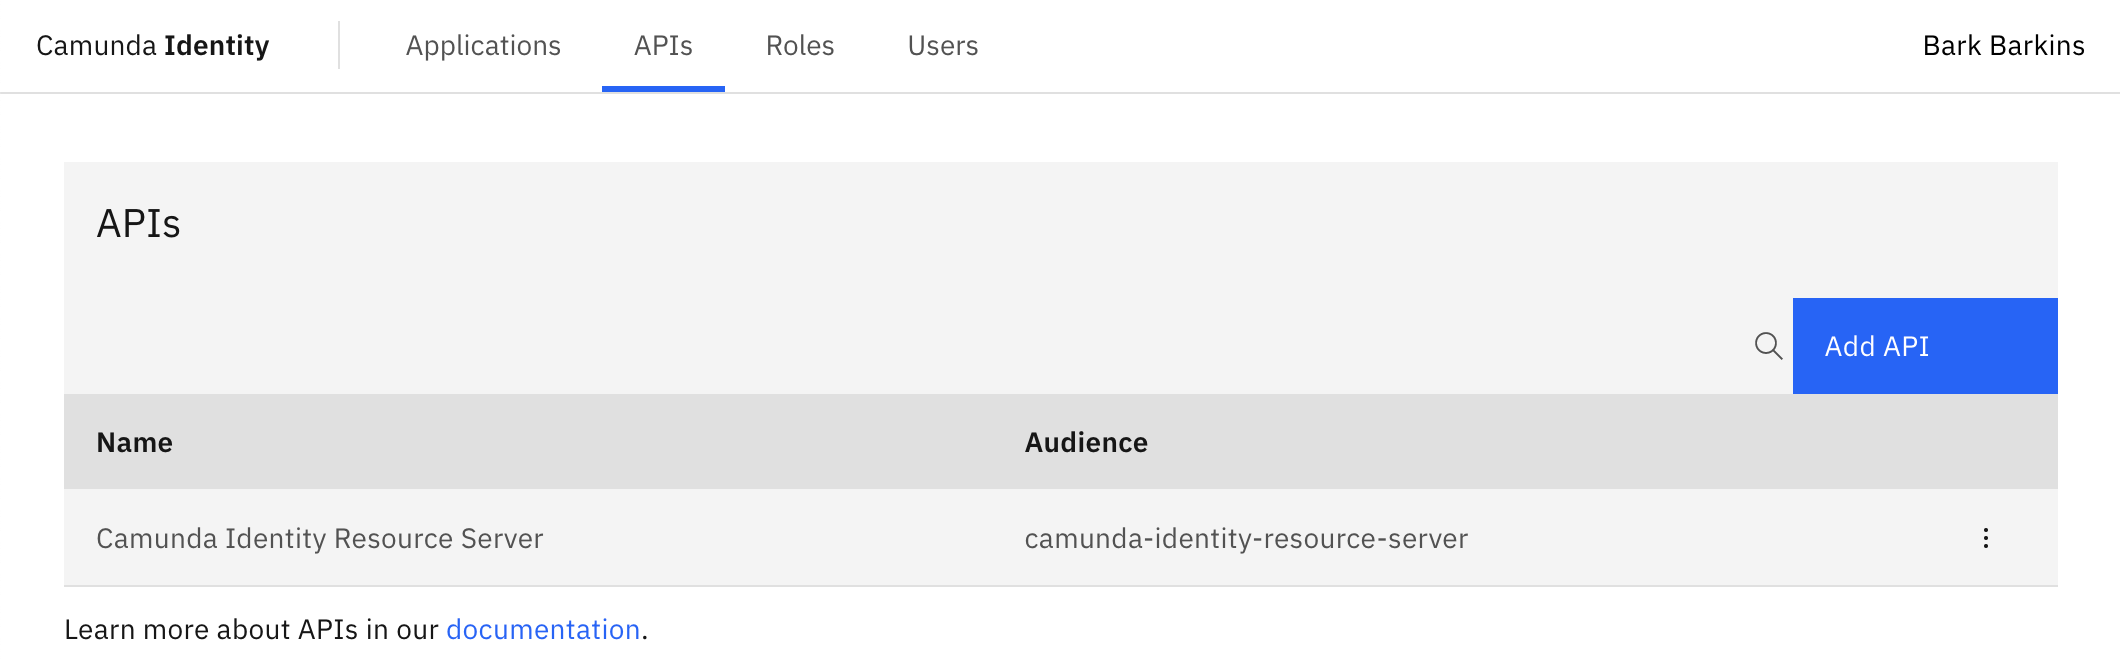
Click the API you would like to create a permission for. This will open the details page.
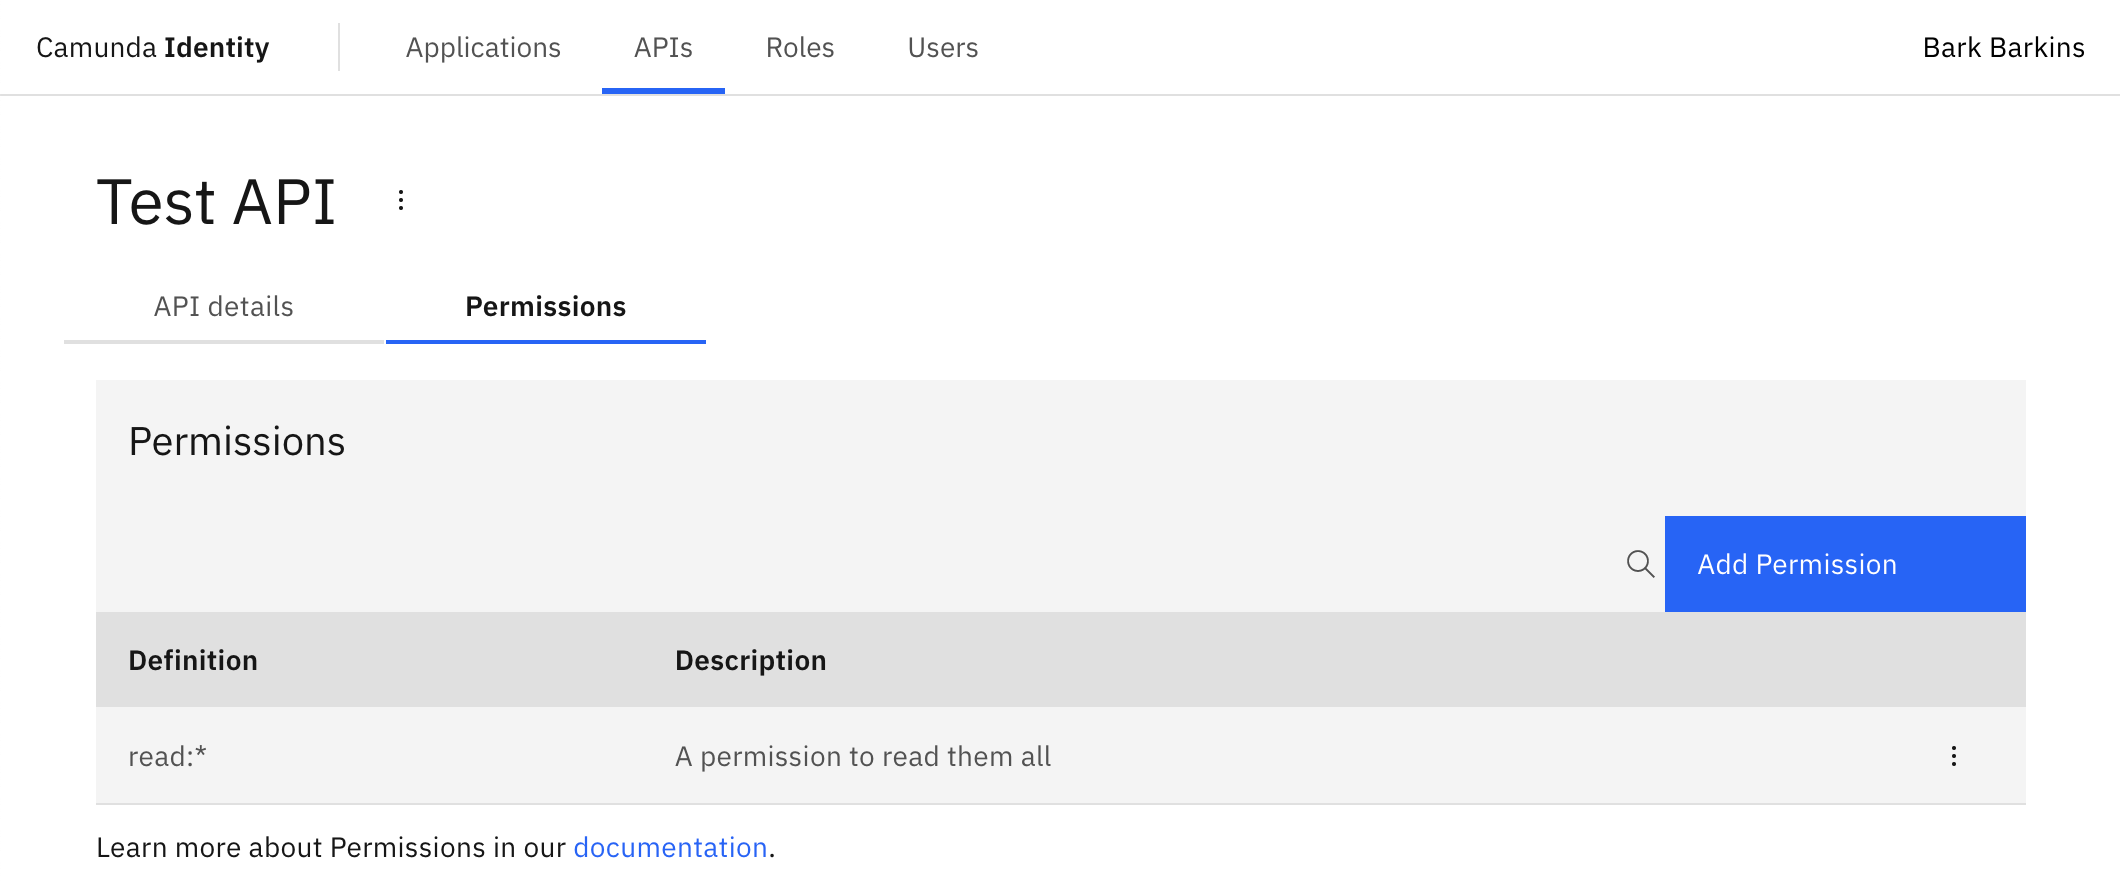
Click the Permissions tab beneath the API name.
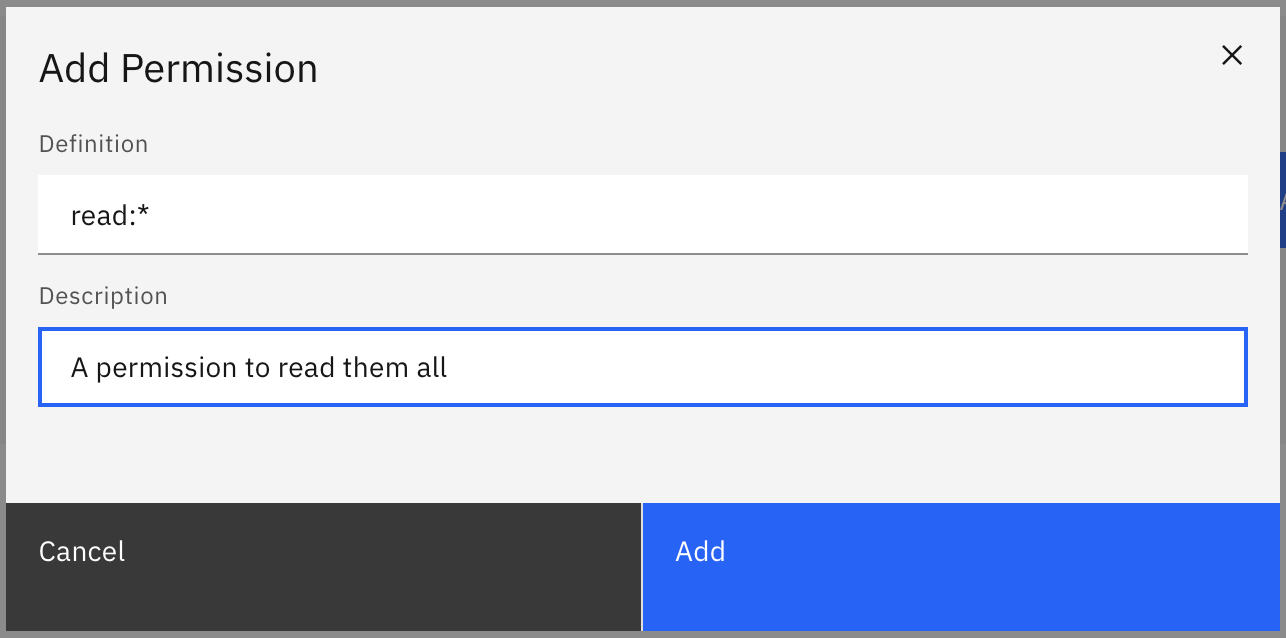
Click Add Permission located on the top right of the table and a modal will open.
We are now able to fill out the details of the permission. For this guide, we will use a set of example values. When you have inserted the details, click Add:
On confirmation, the modal will close, the table will update, and your new permission will be shown:
Assign a permission to a role
To assign a permission to a role using Identity, take the following steps:
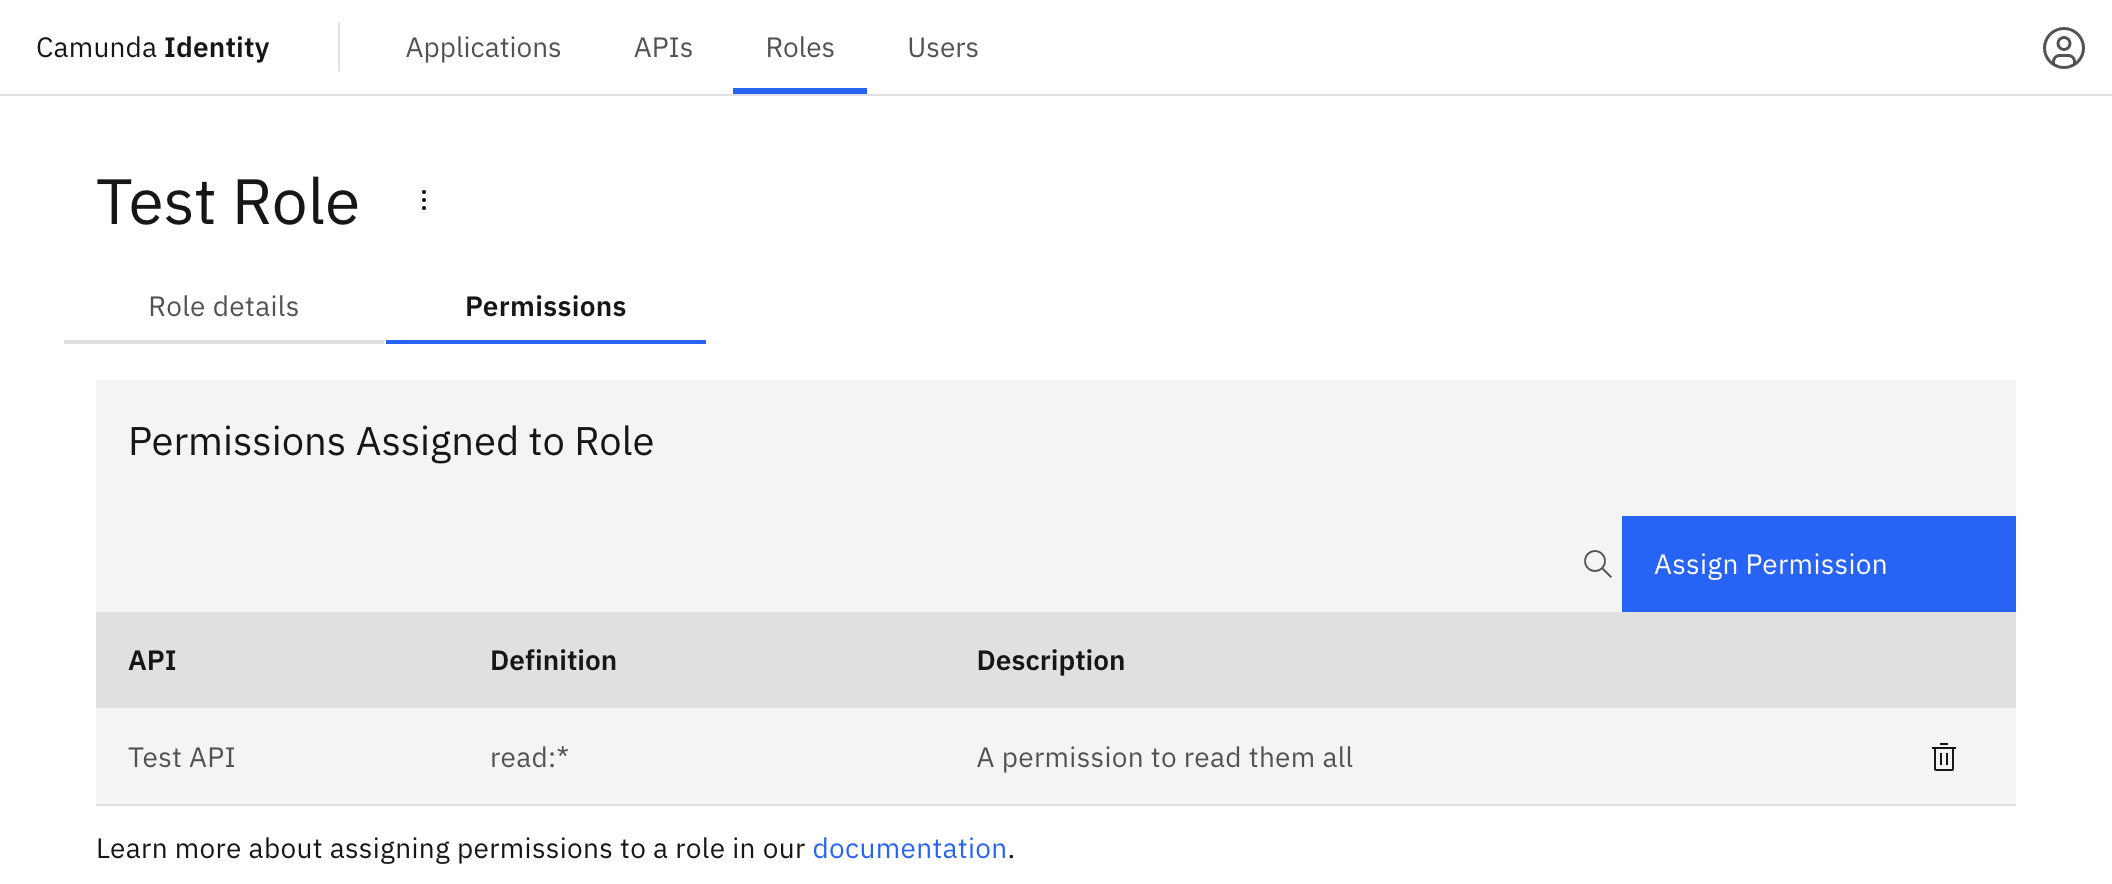
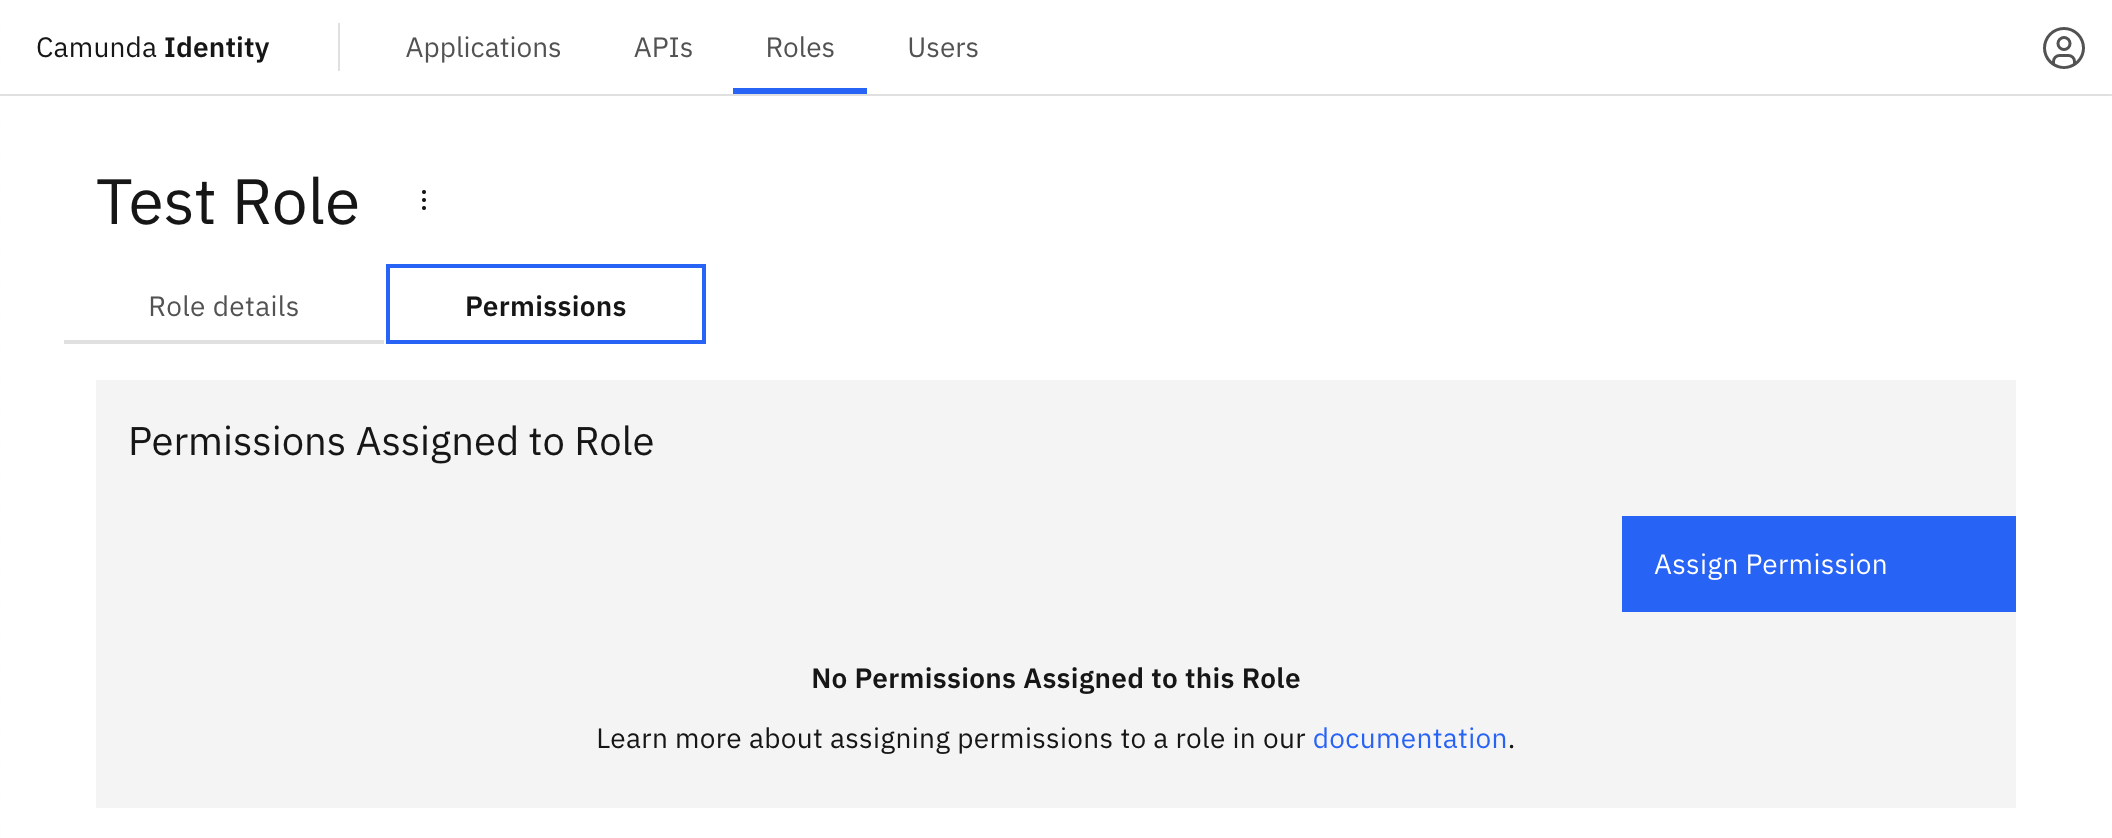
- Log in to the Identity UI and navigate to the Roles tab, select Permissions > Assign Permission:
Select the API which contains the permission you want to assign.
Select the permission you would like to assign and click Add.
On confirmation, the modal will close, the table will update, and your assigned permission will be shown: