Managing tenants
In this guide you will learn how to manage tenants in Identity and how to control the members who have access to them.
Multi-tenancy in the context of Camunda 8 refers to the ability of Camunda 8 to serve multiple distinct tenants or clients within a single installation. For details on multi-tenancy, visit our multi-tenancy documentation.
Managing tenants
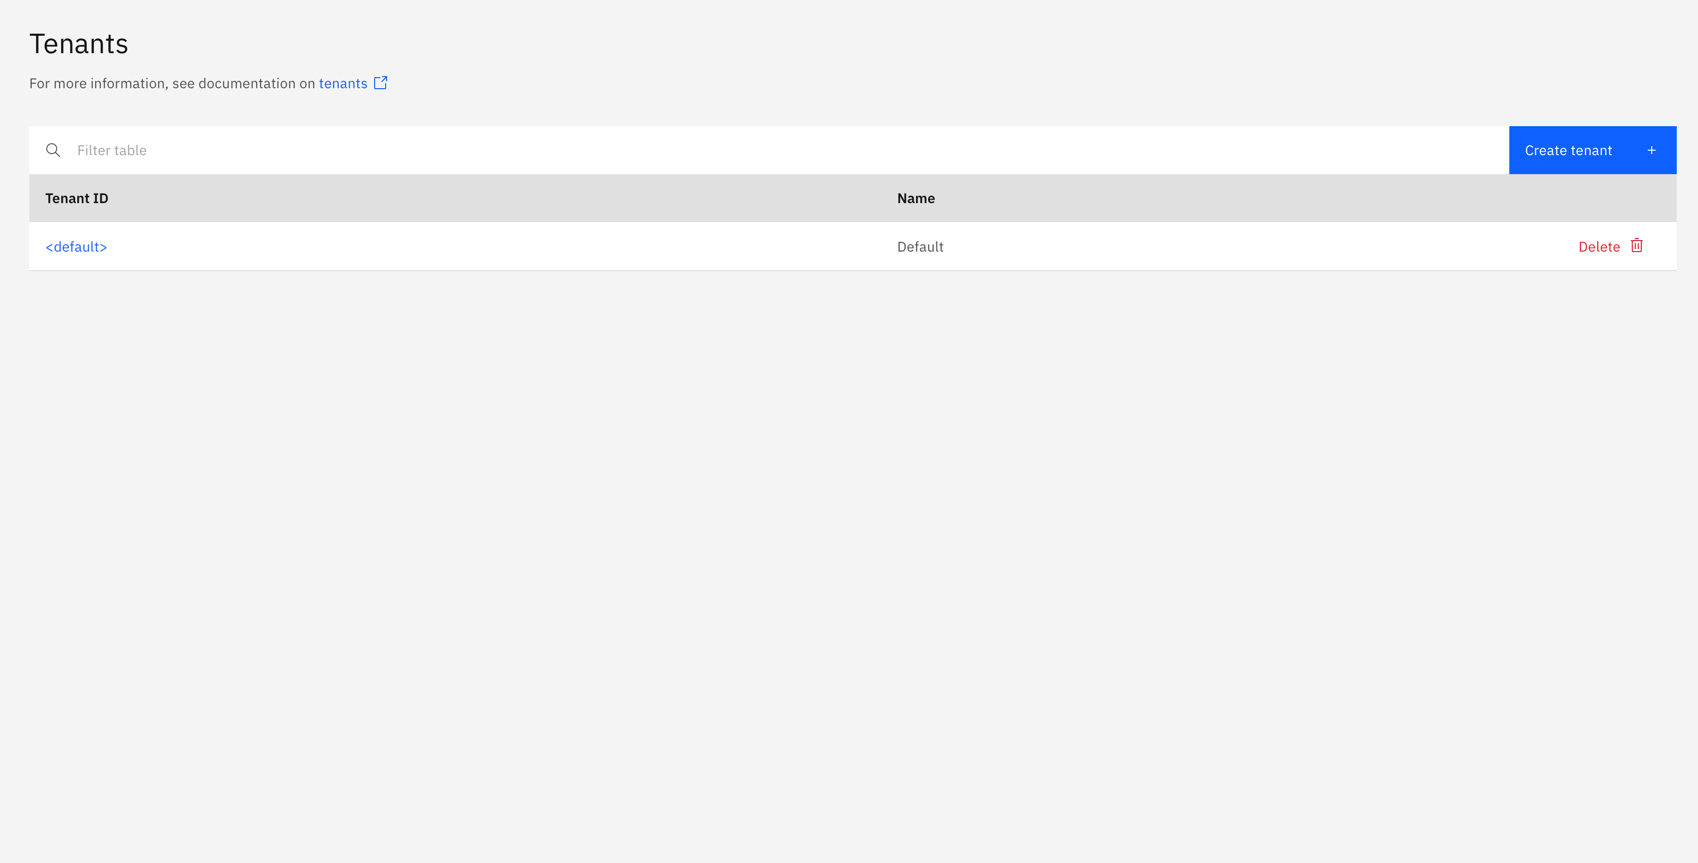
The <default> tenant is automatically created during startup.
- Log in to the Identity UI and navigate to the Tenants tab.
-
Click Create Tenant and a modal will open.
-
Enter the name, ID, and optionally a description for the tenant and click Create tenant:
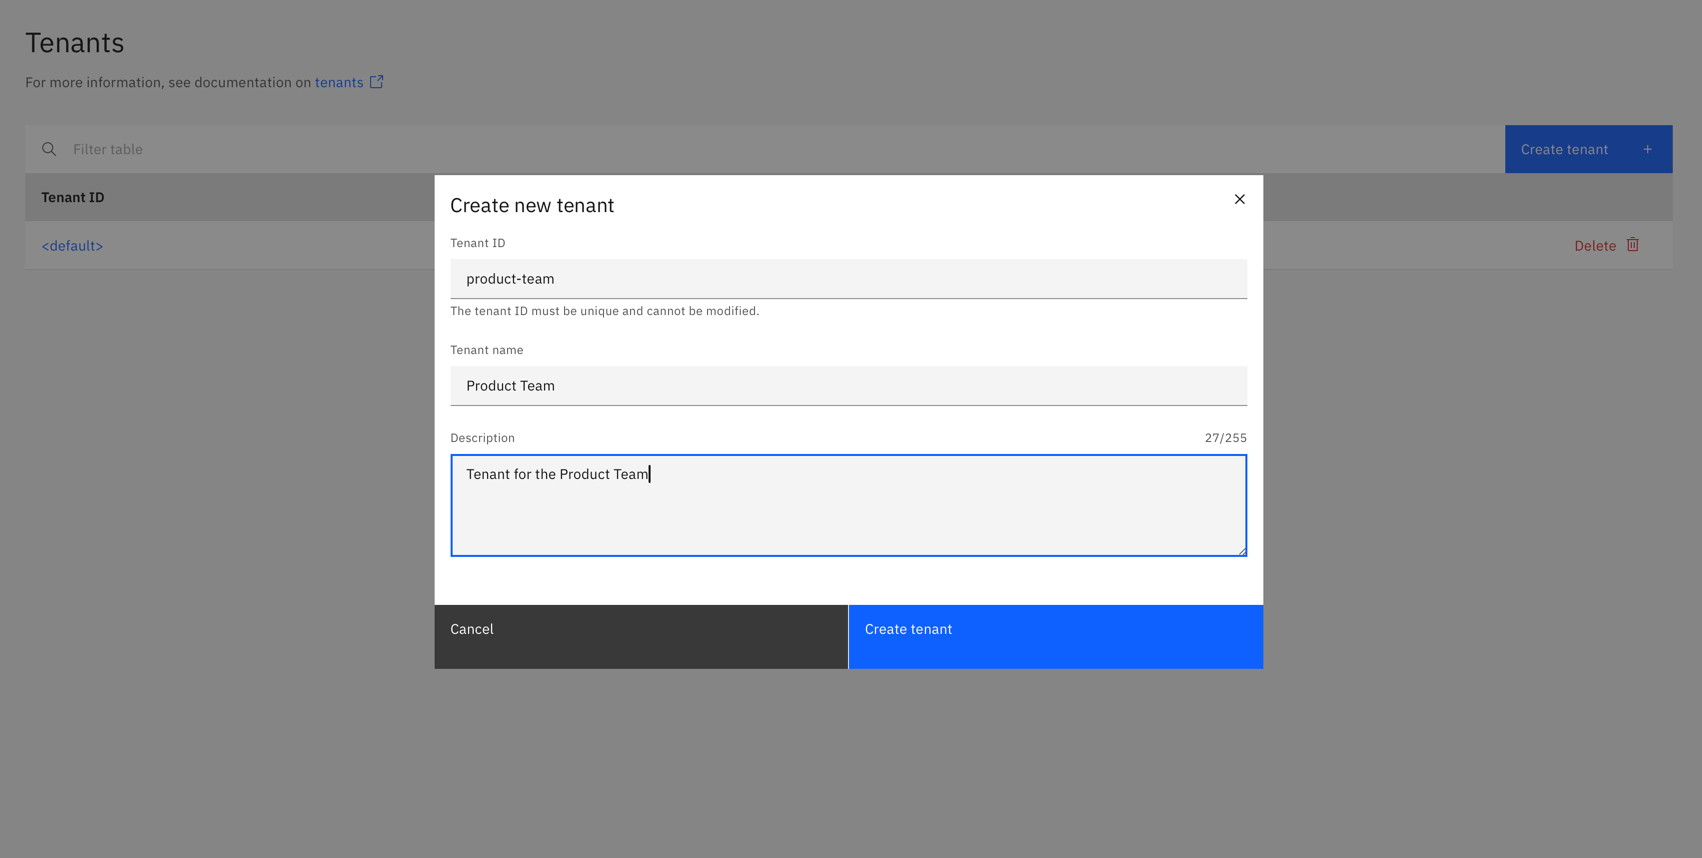
On creation, the modal closes and the table updates with your new tenant.
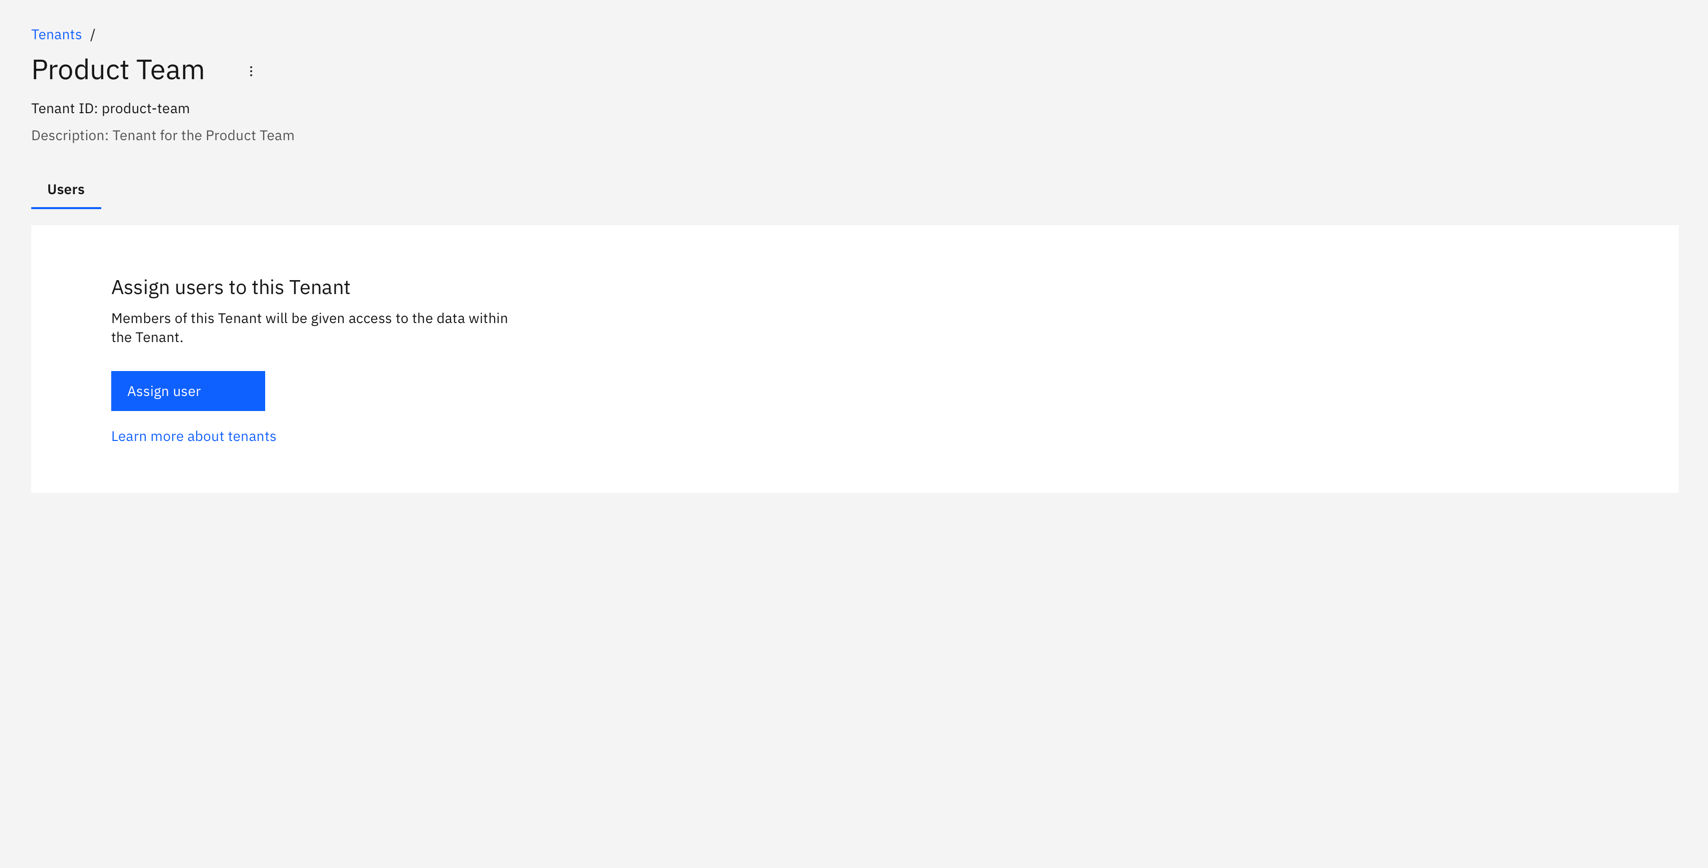
- Click on your new tenant to view the details:

Assigning members
Users and groups can be assigned to a tenant. Below we show you how to assign members to a tenant.
- Users
- Groups
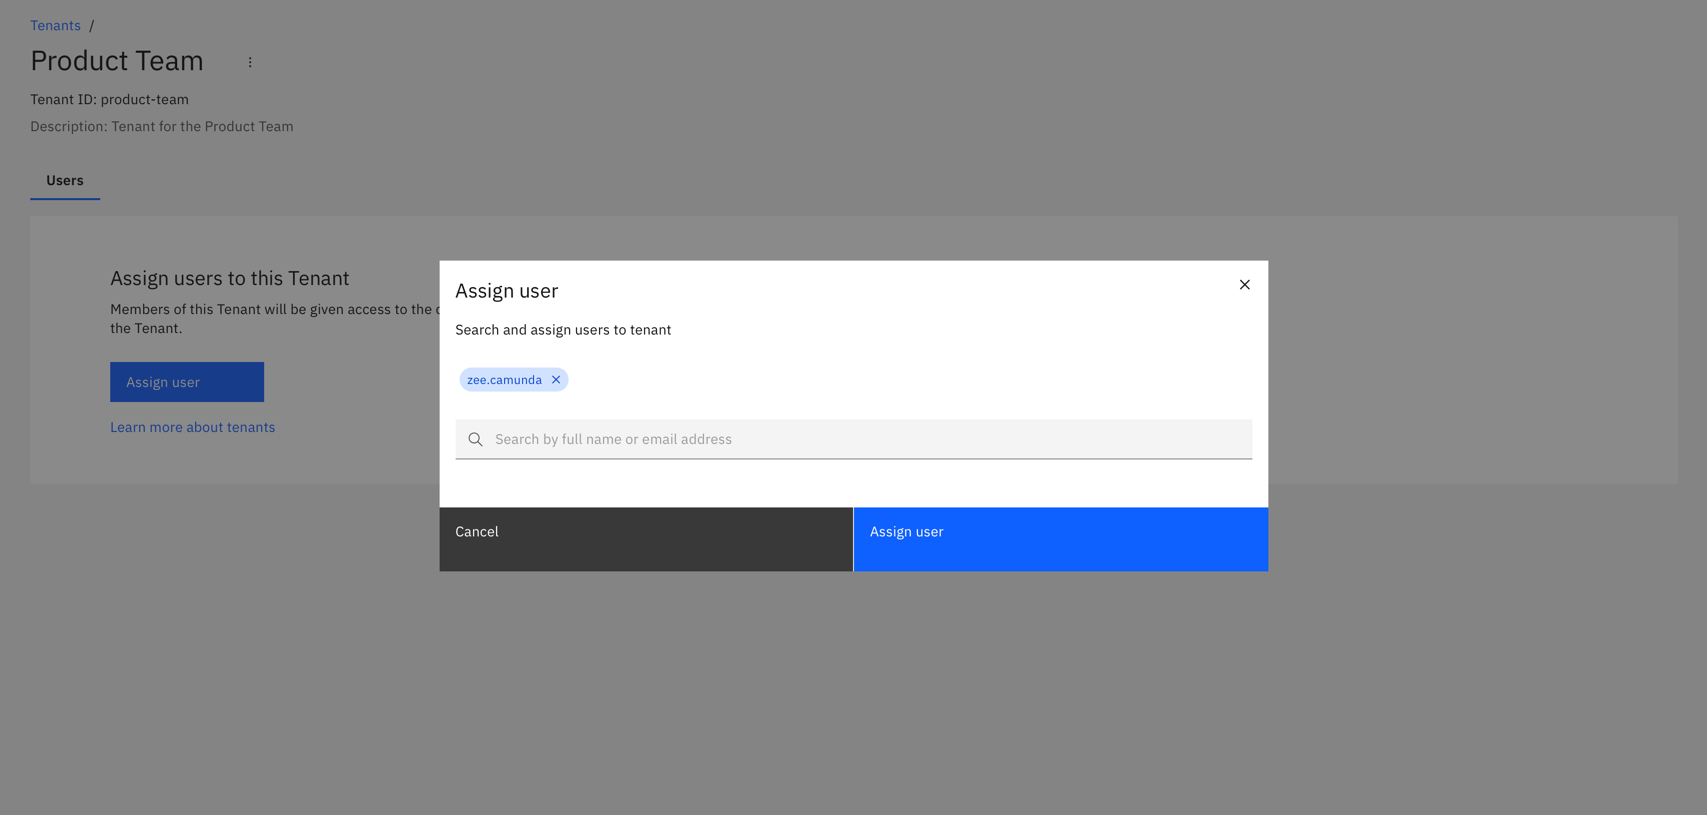
- Click Users to view the users assigned to the tenant, and click Assign user:
- Search and select the users to assign to the tenant. After selecting the users, click Assign users:
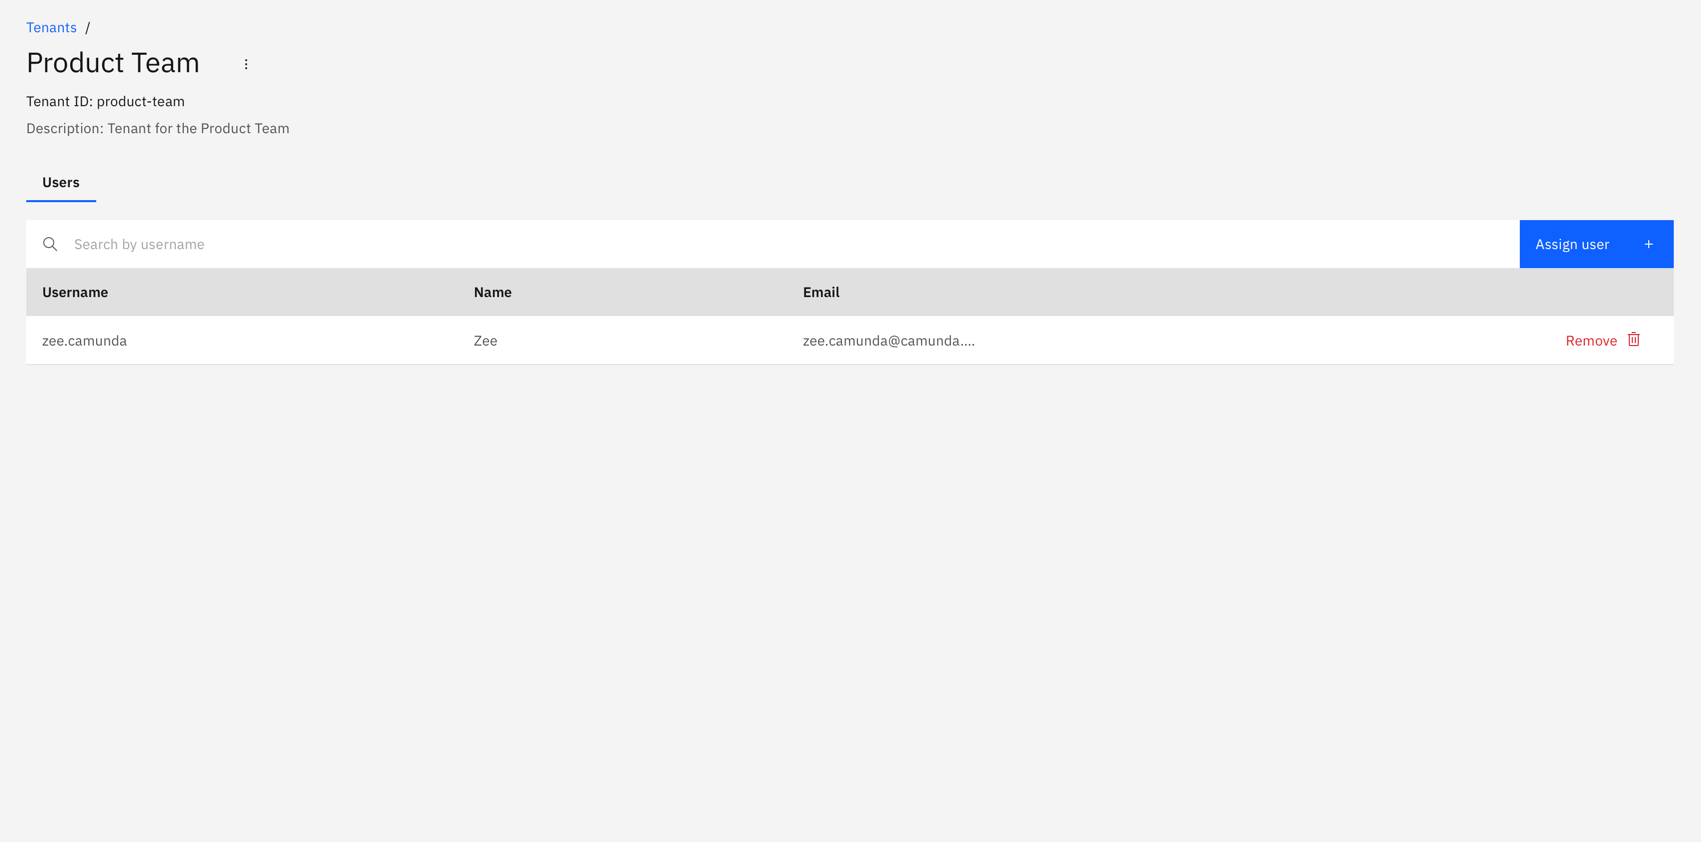
On confirmation, the modal closes, the table updates, and the assigned users are shown:
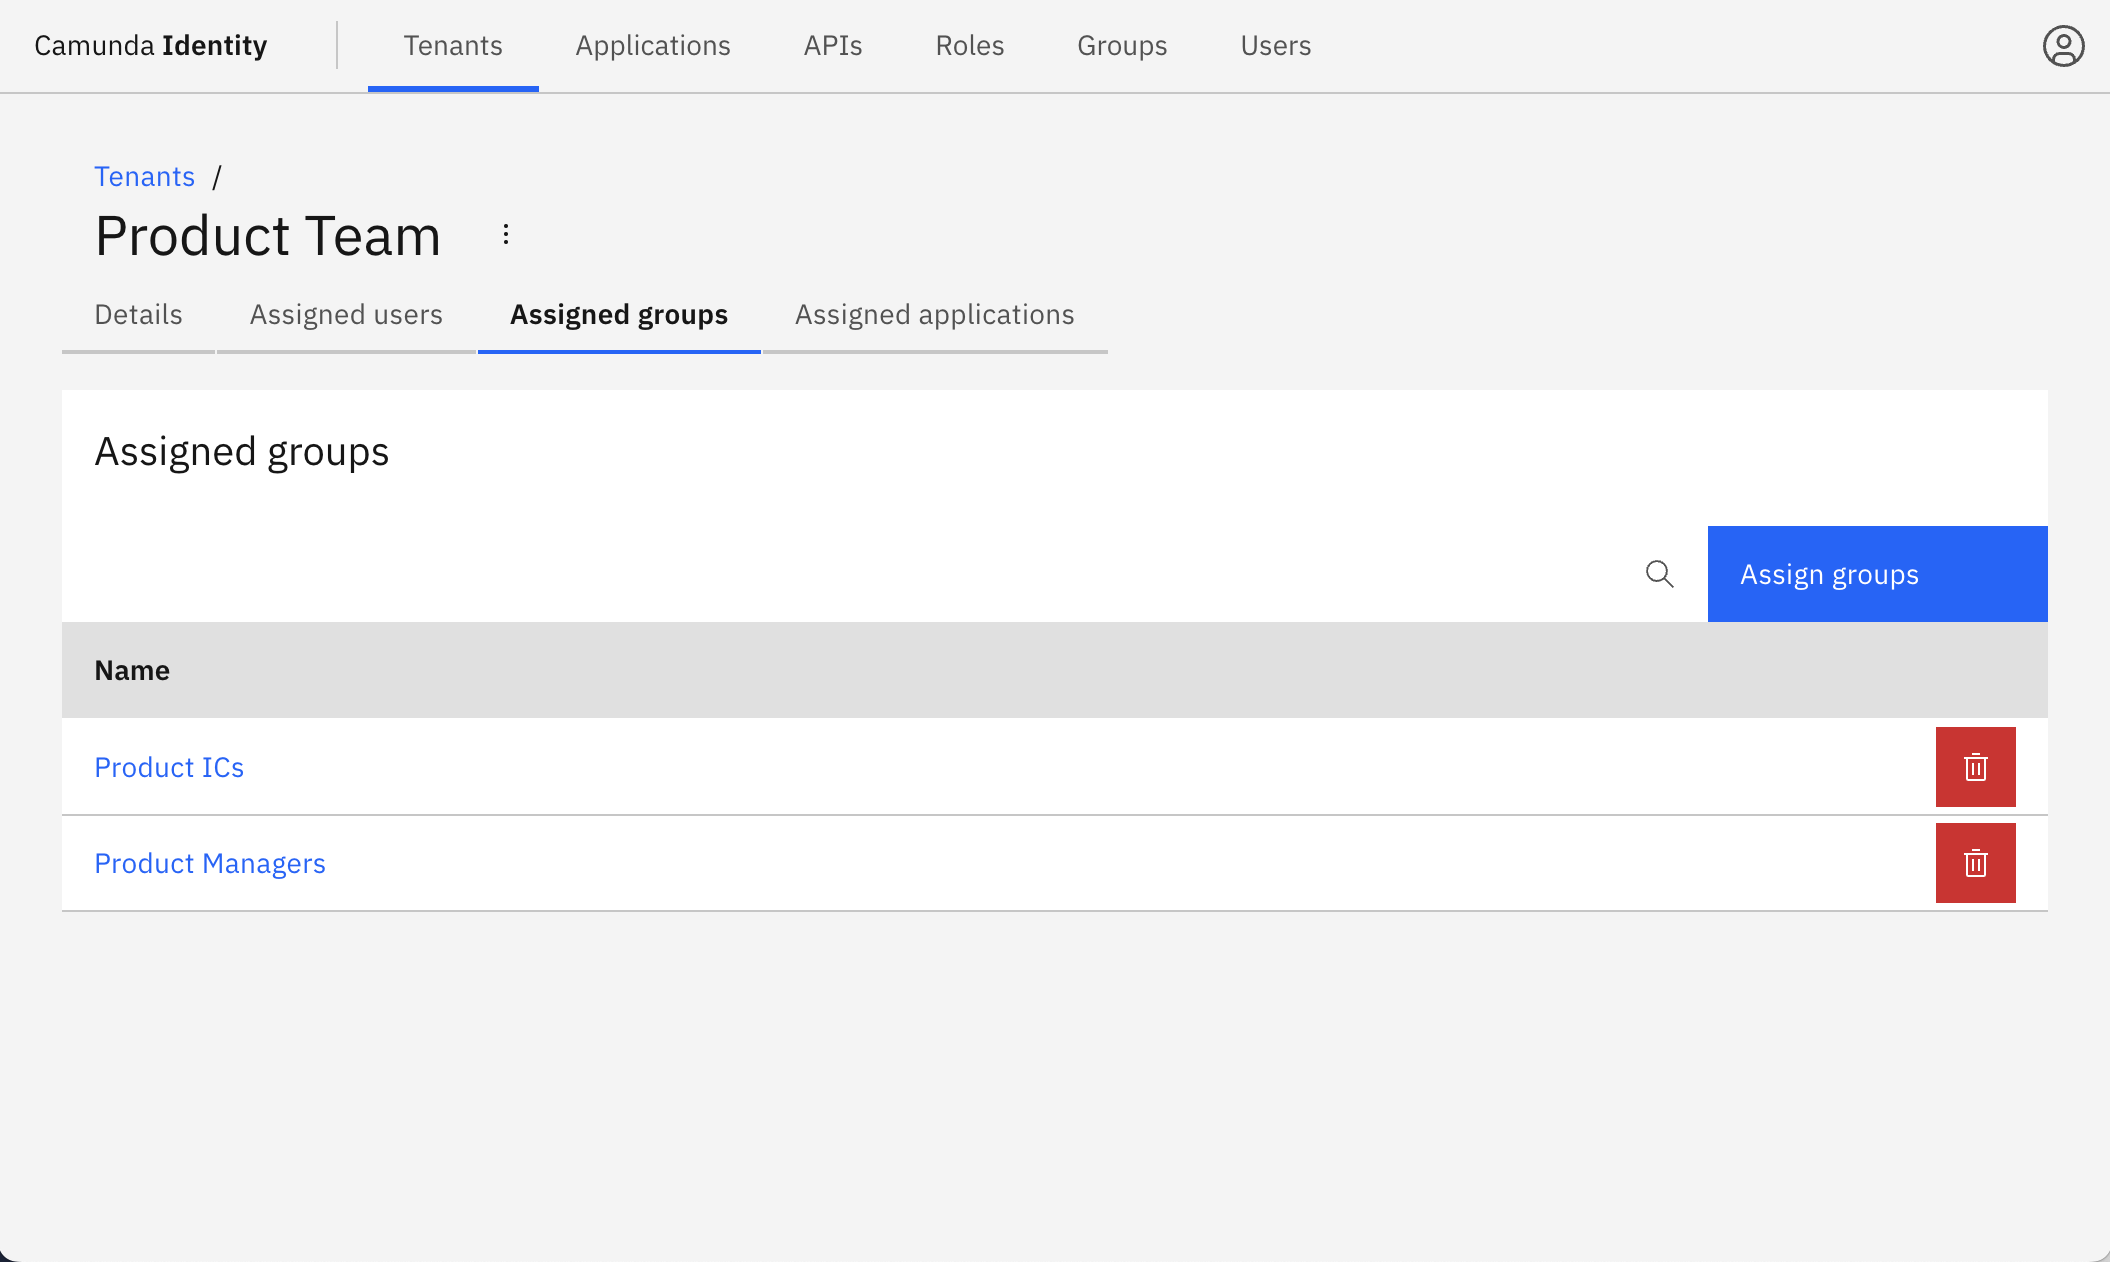
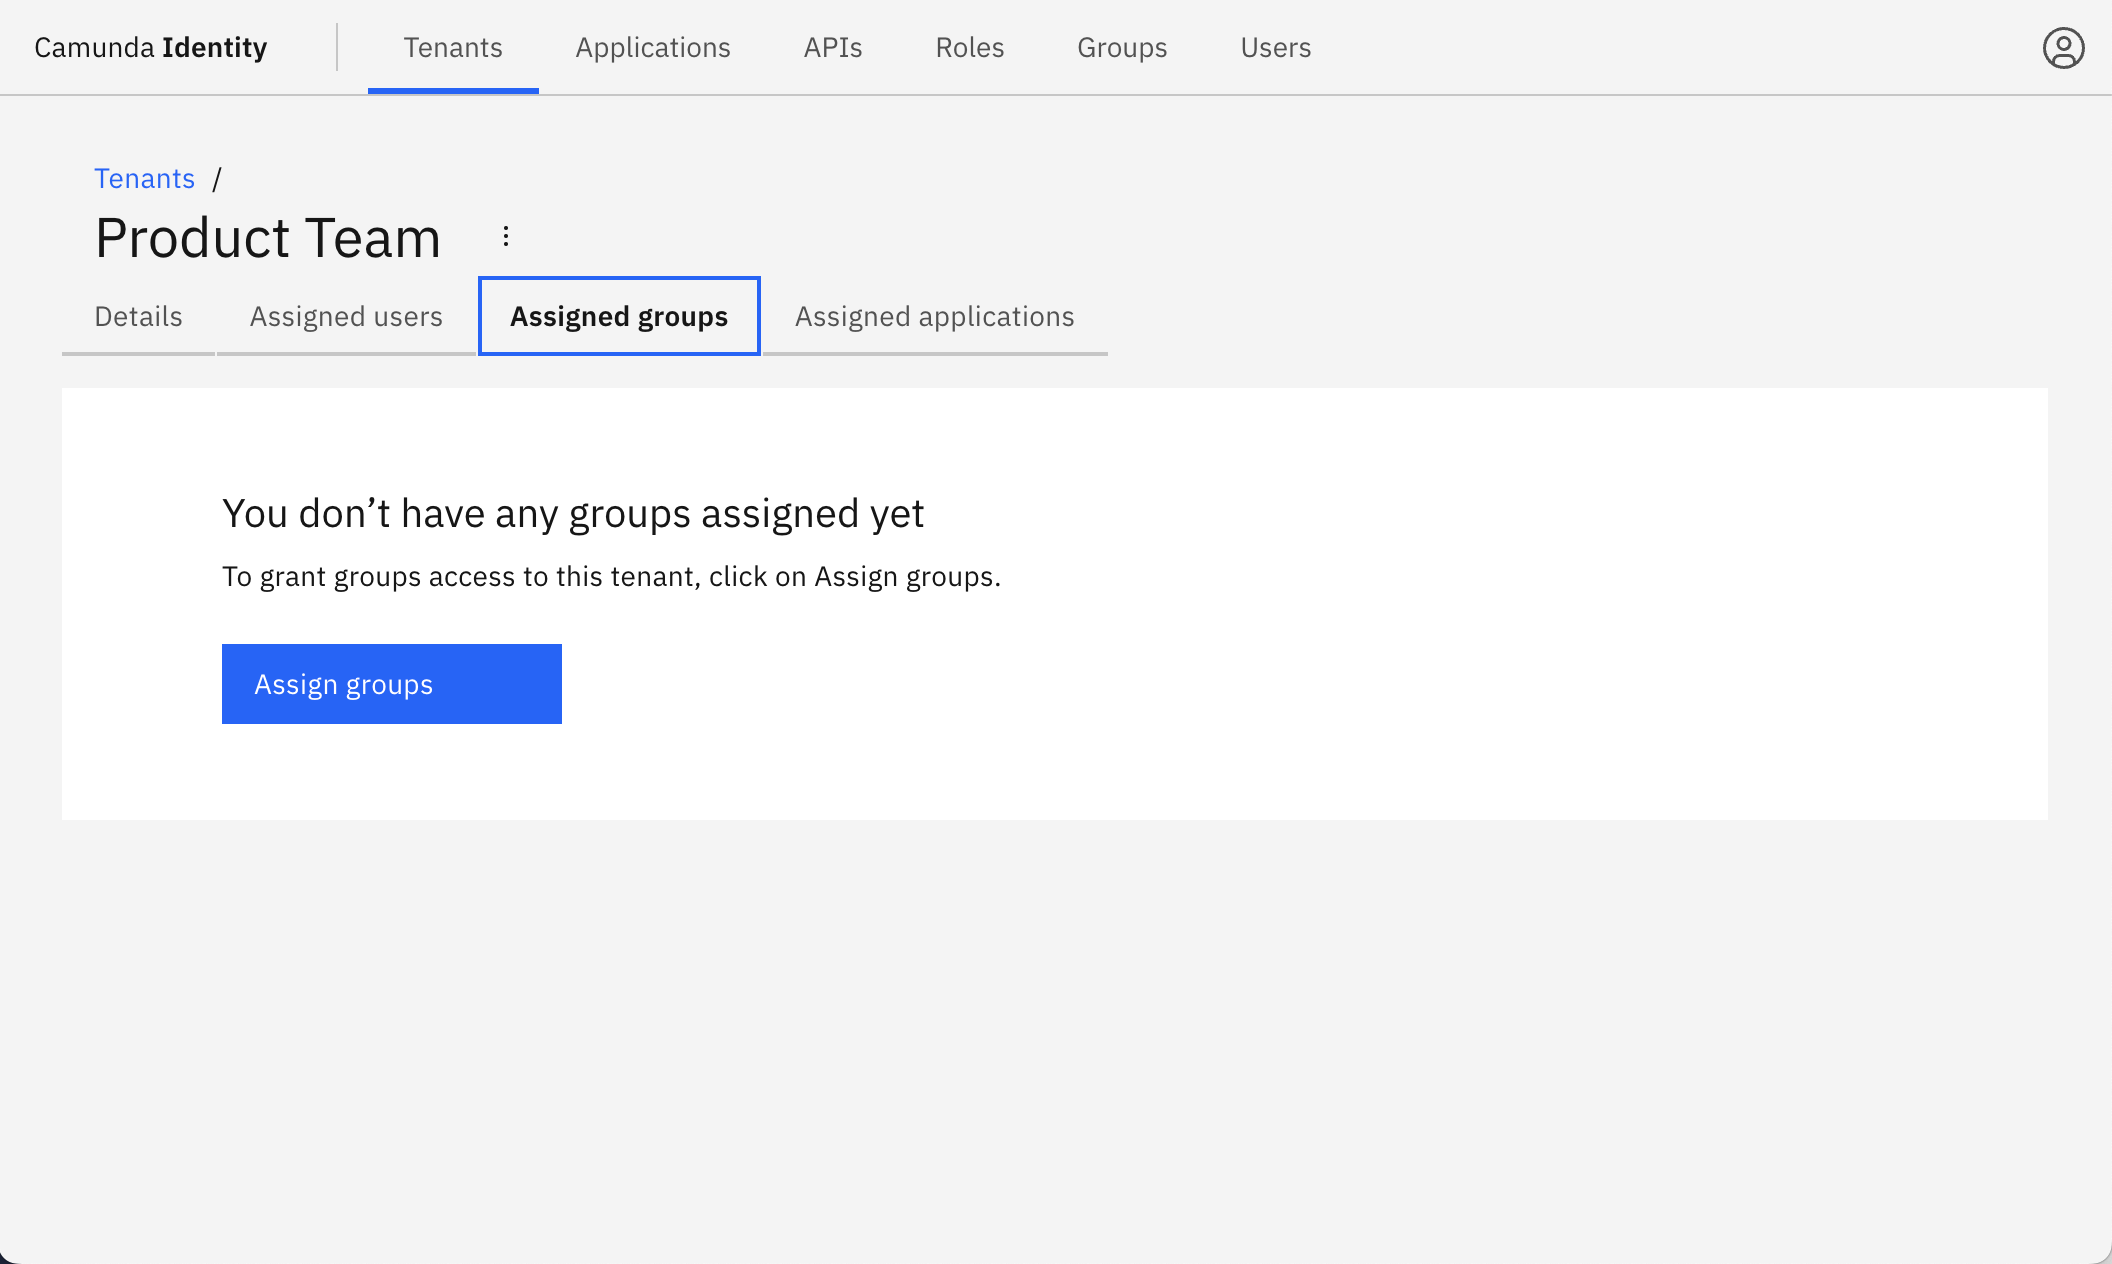
- Click Assigned groups to view the groups assigned to the tenant, and click Assign groups:
- Search and select the groups to assign to the tenant. After selecting the groups, click Assign groups:
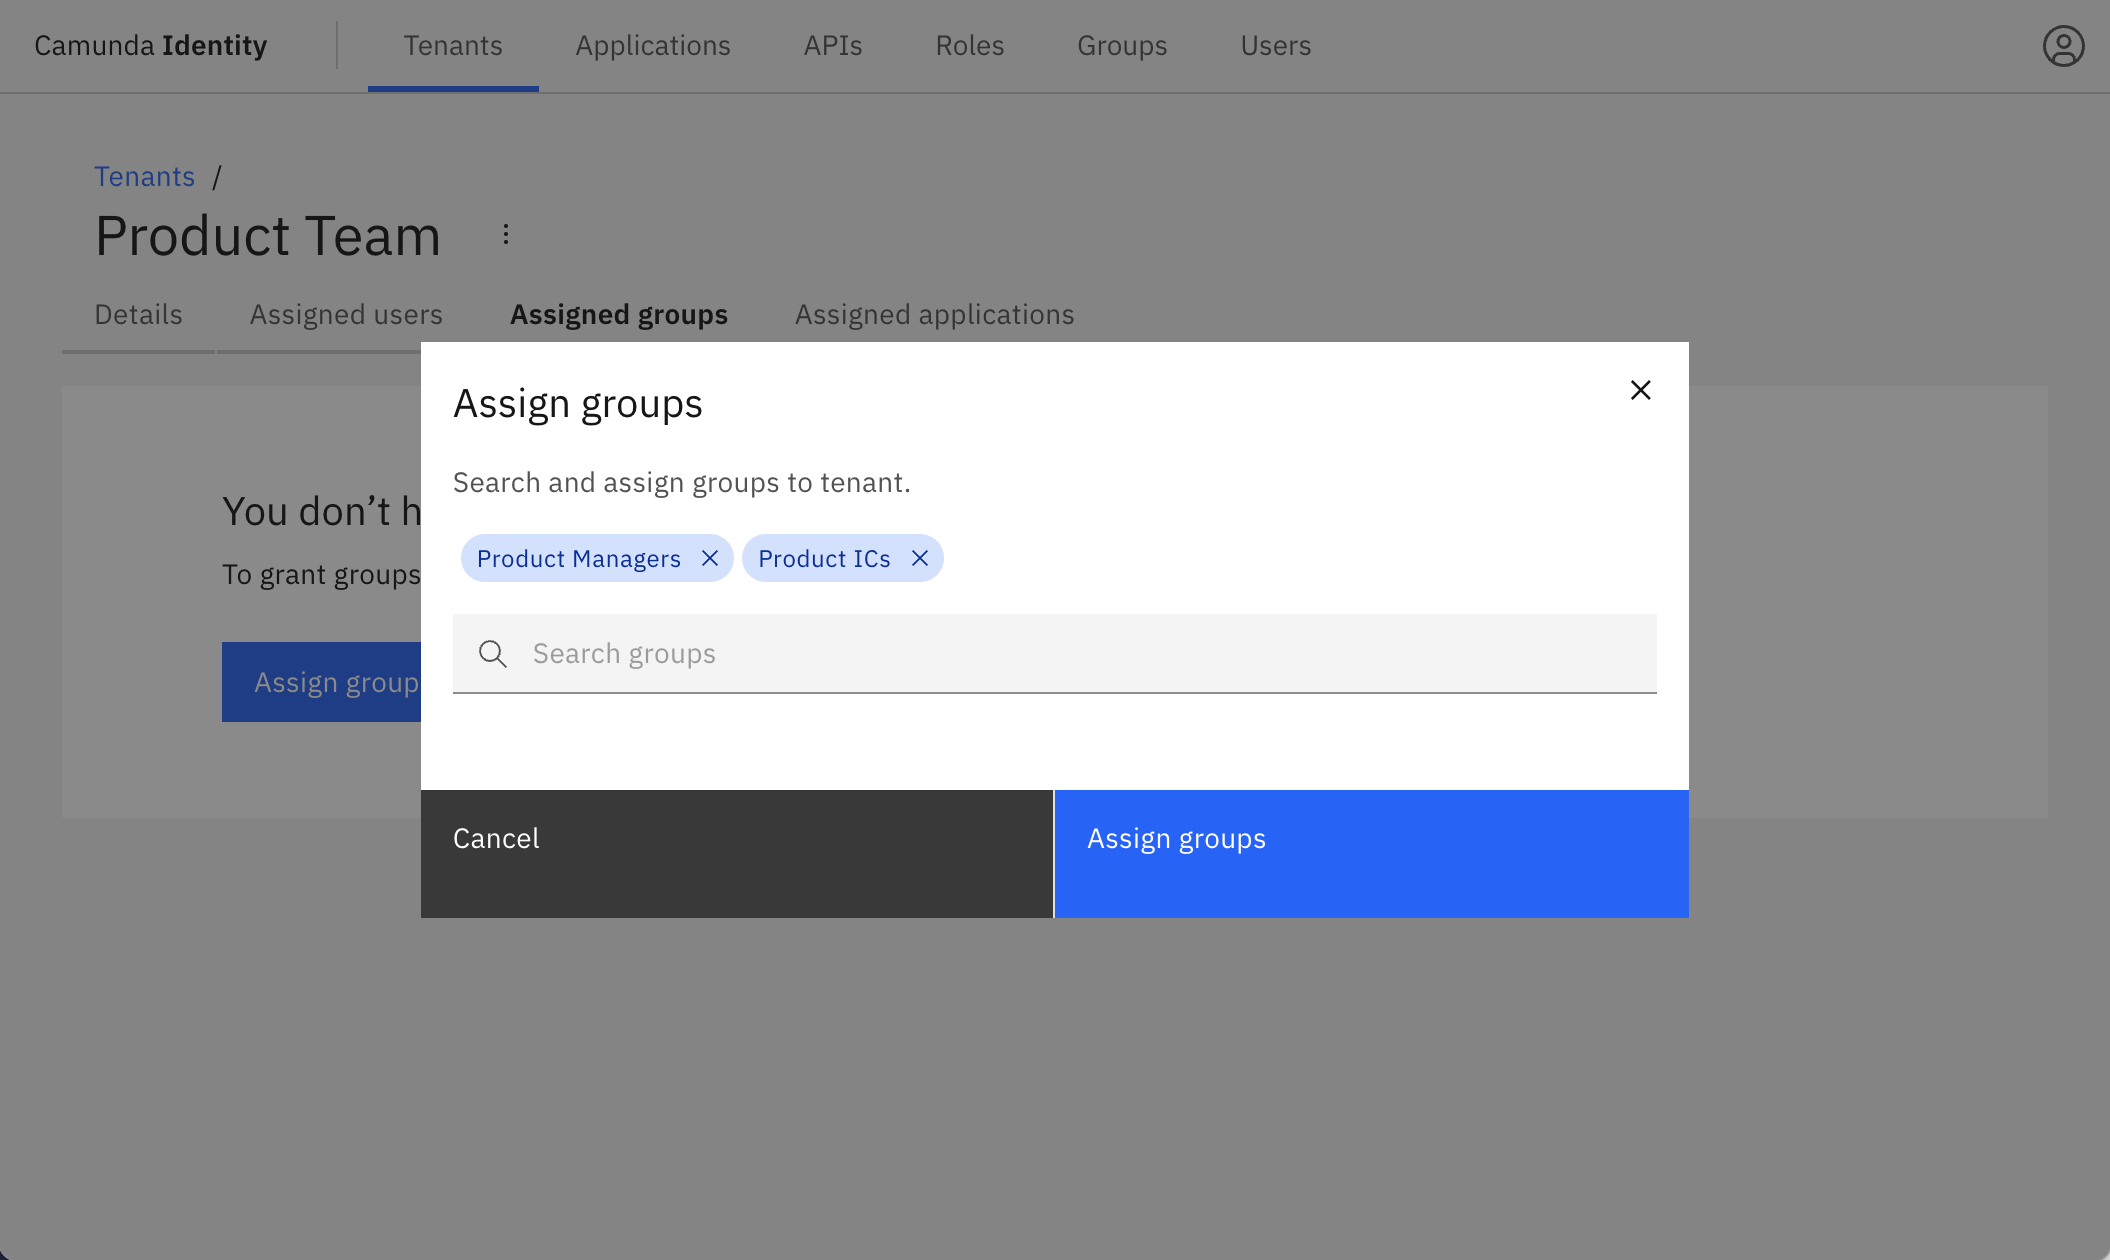
On confirmation, the modal closes, the table updates, and the assigned groups are shown: