Mapping rules
Use mapping rules to dynamically assign Management Identity entities to your users based on claims in your JWT tokens.
You can only use mapping rules if Management Identity is configured to use OIDC-based authentication.
About mapping rules
You can assign two types of entities with mapping rules:
- Tenants
- Roles
A Default mapping rule is created during startup using the IDENTITY_INITIAL_CLAIM_NAME and IDENTITY_INITIAL_CLAIM_VALUE environment variables to allow an initial user access to the Identity interface. Once you have access to the Identity interface, configure the additional mapping rules to ensure your users have the correct access to the Camunda components.
Add a mapping rule
-
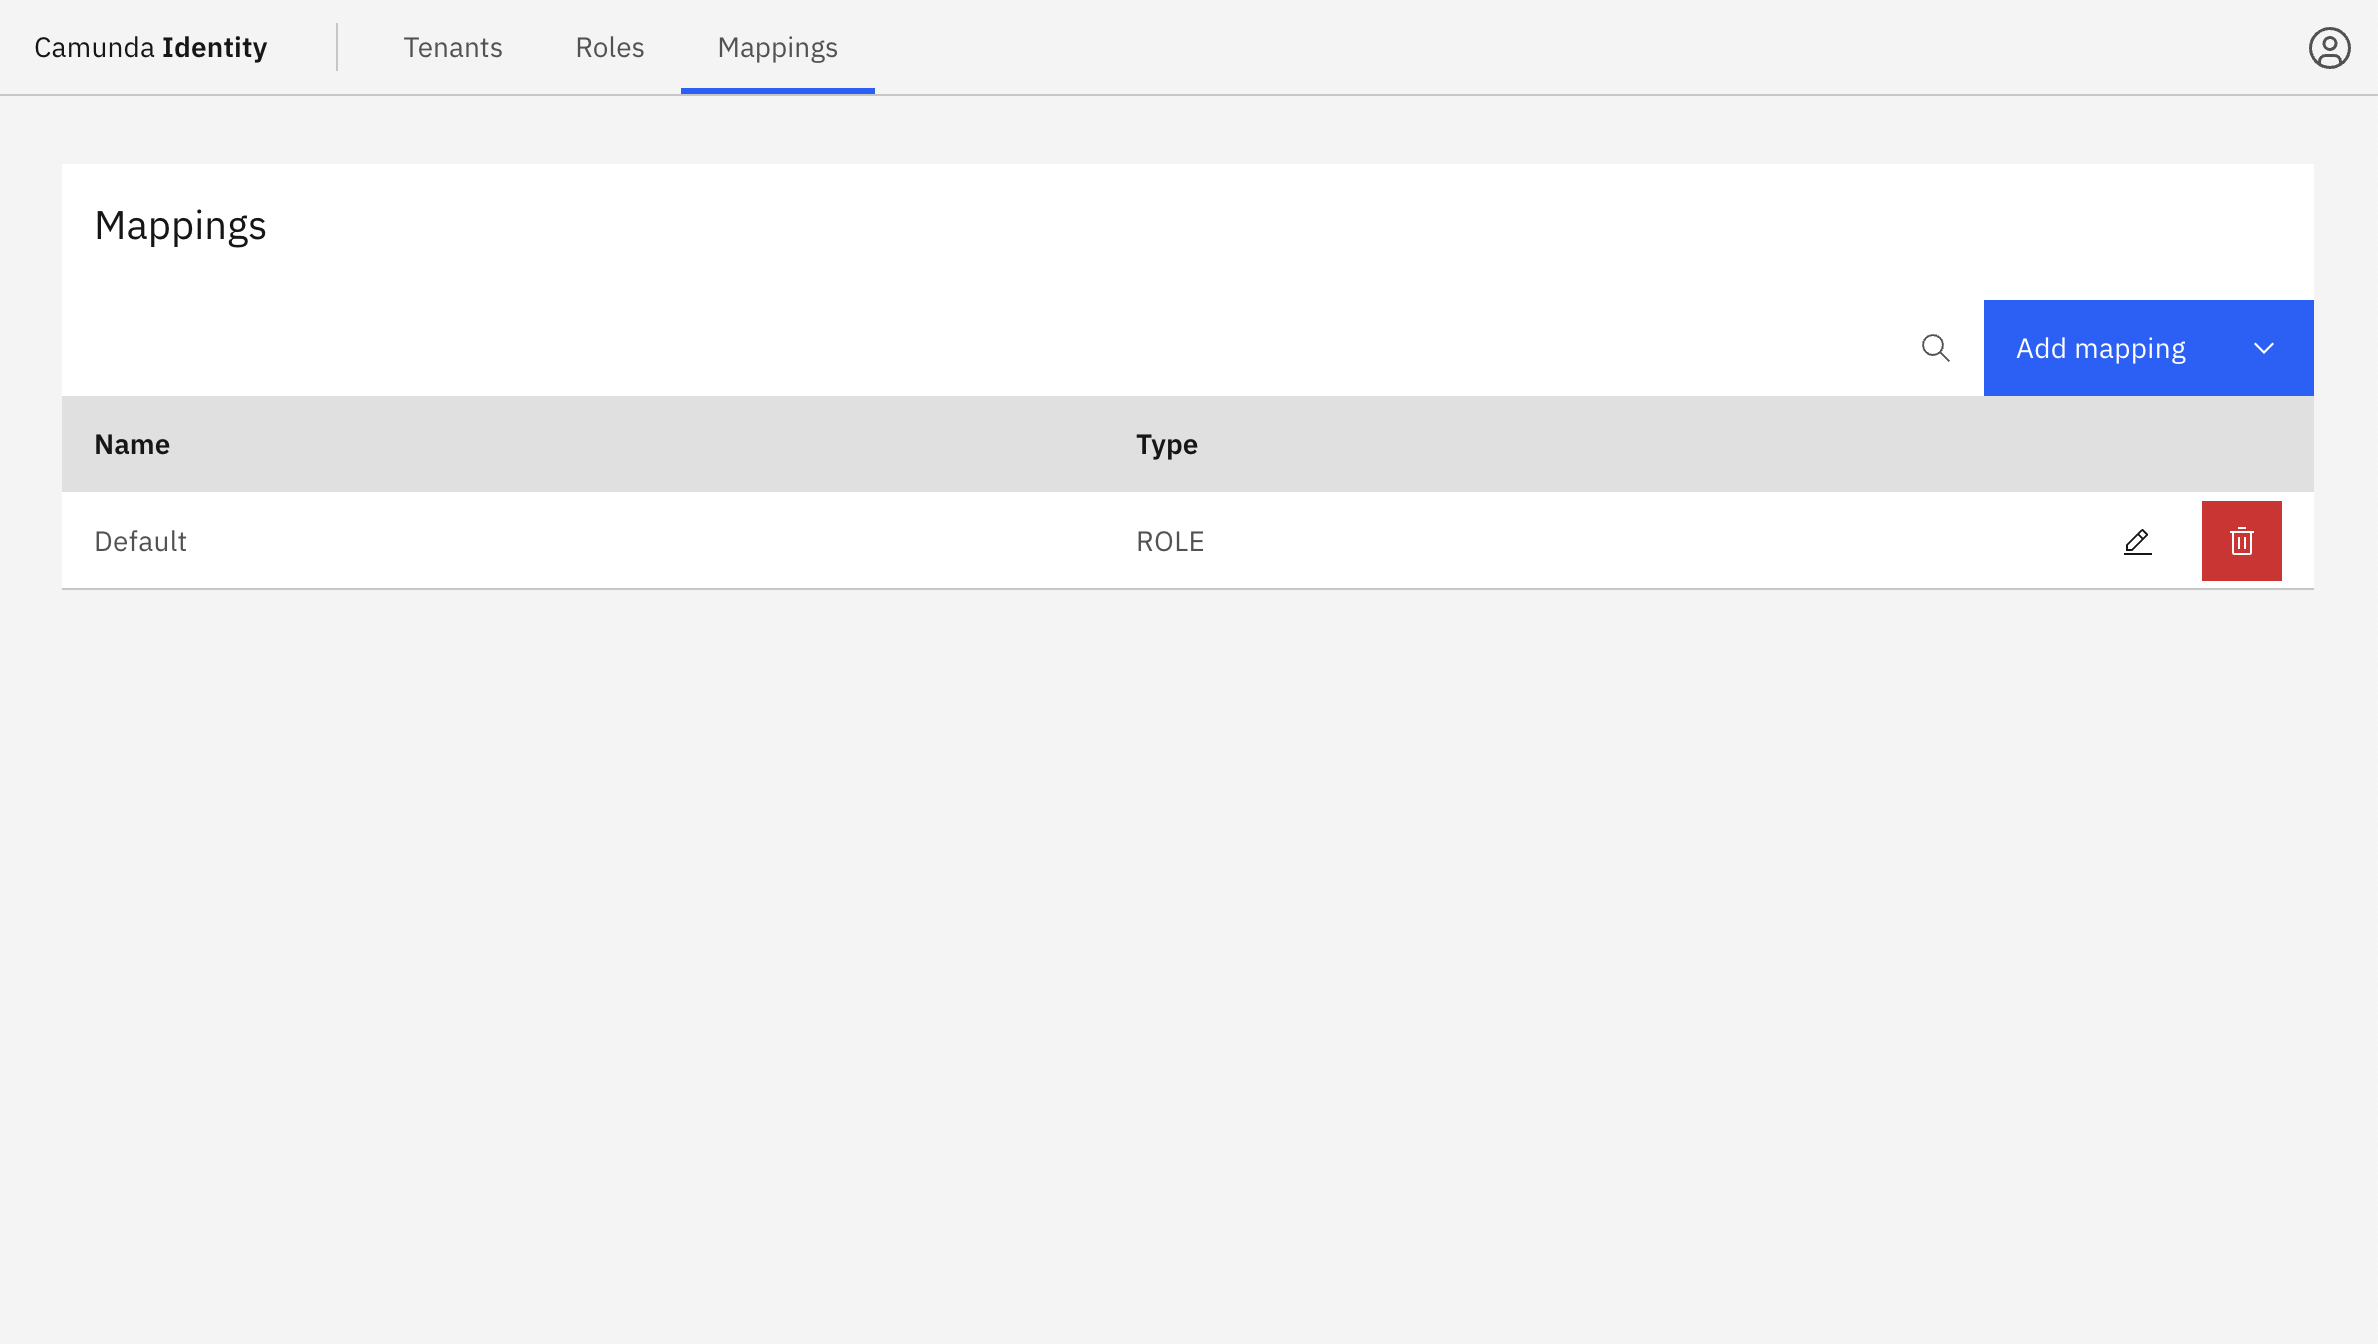
Log in to the Identity interface and navigate to the Mappings tab.
-
Click the Add mapping button and select the type of mapping to create. You can create a mapping for a role or tenant.
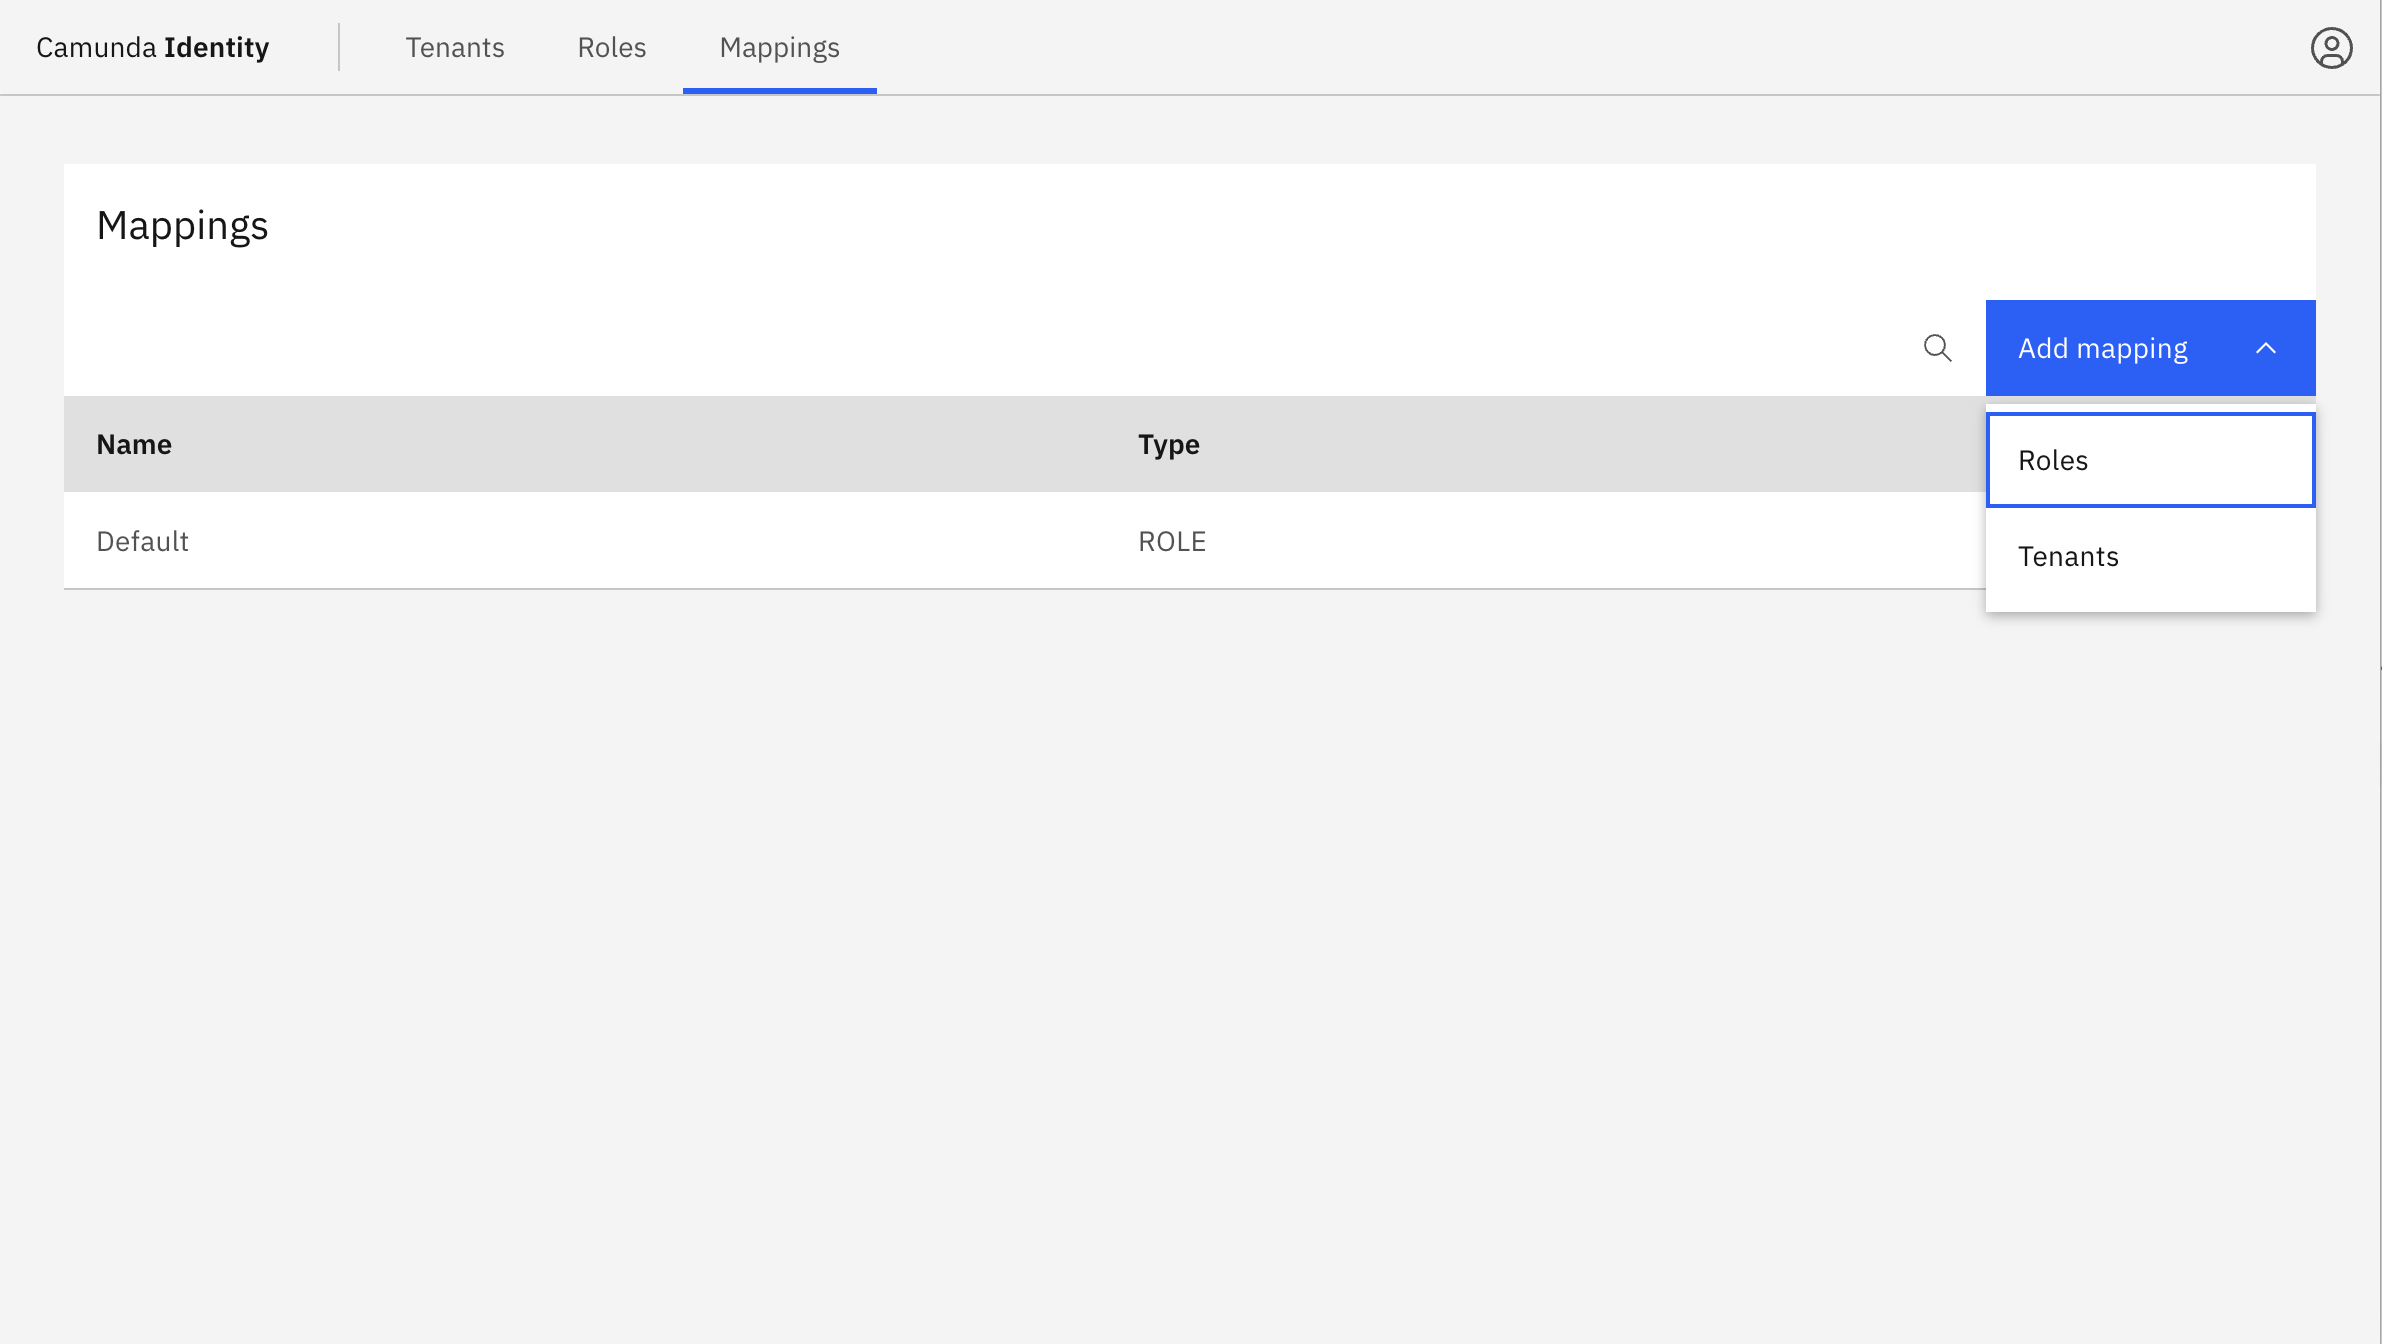
-
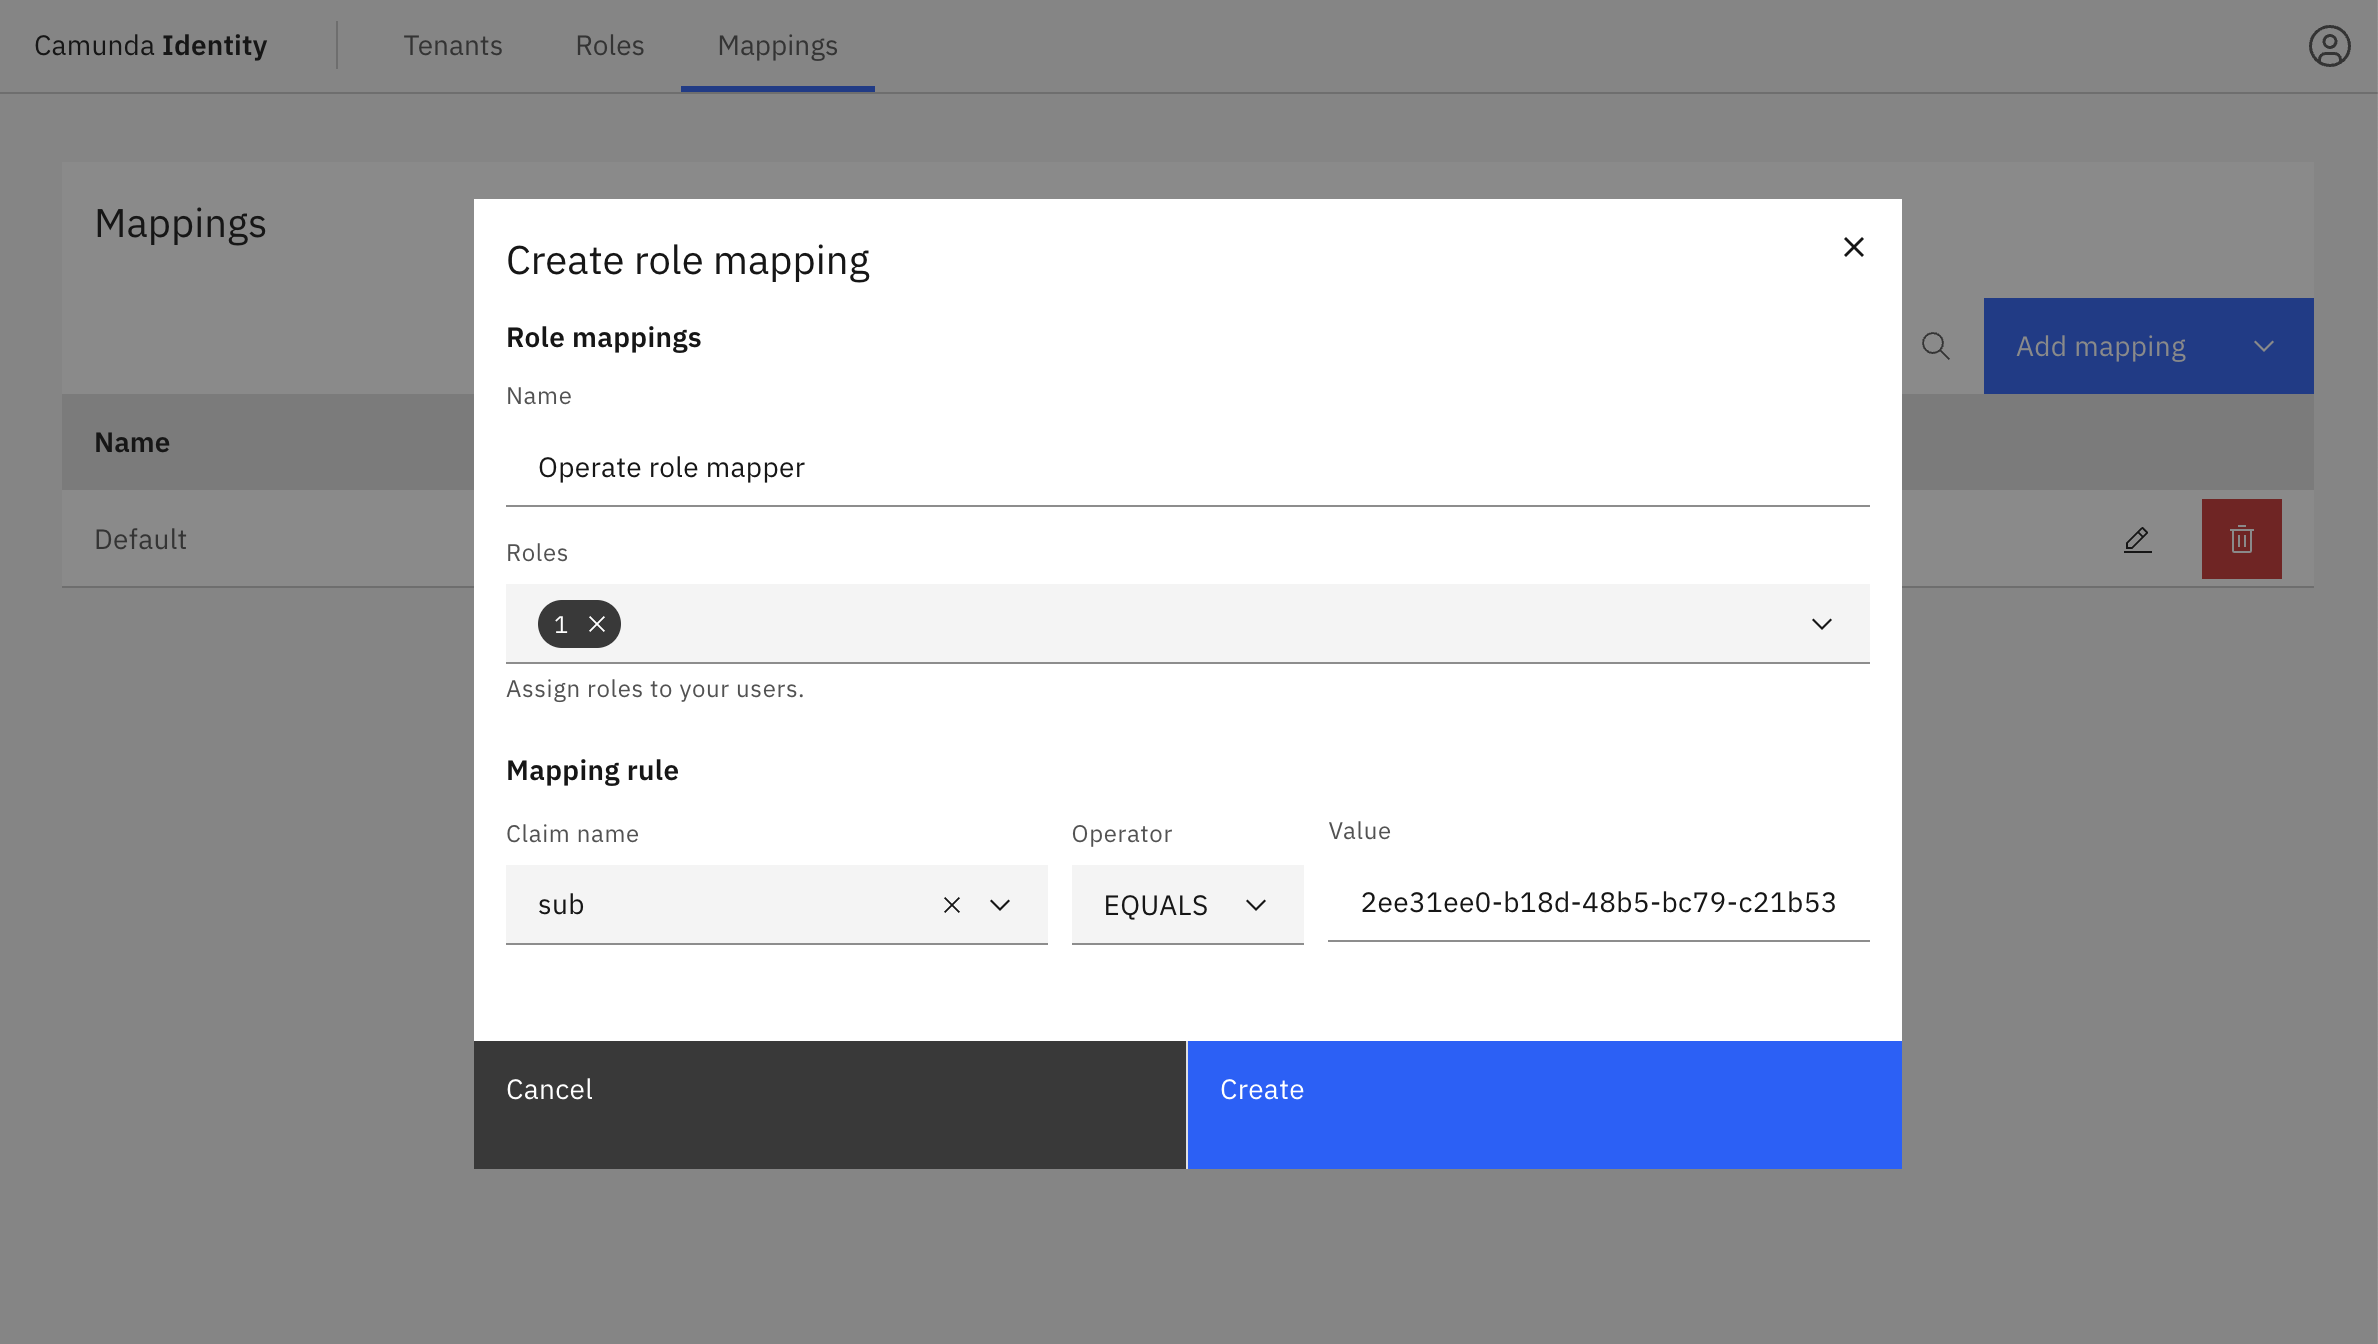
Fill in the fields for the mapping rule and click Create.
 note
noteThe operator option is used to define how we evaluate the rules against your tokens. The options are:
- Contains: Used for array-based claims, such as a list of roles.
- Equals: Used for string-based claims, such as a string ID.
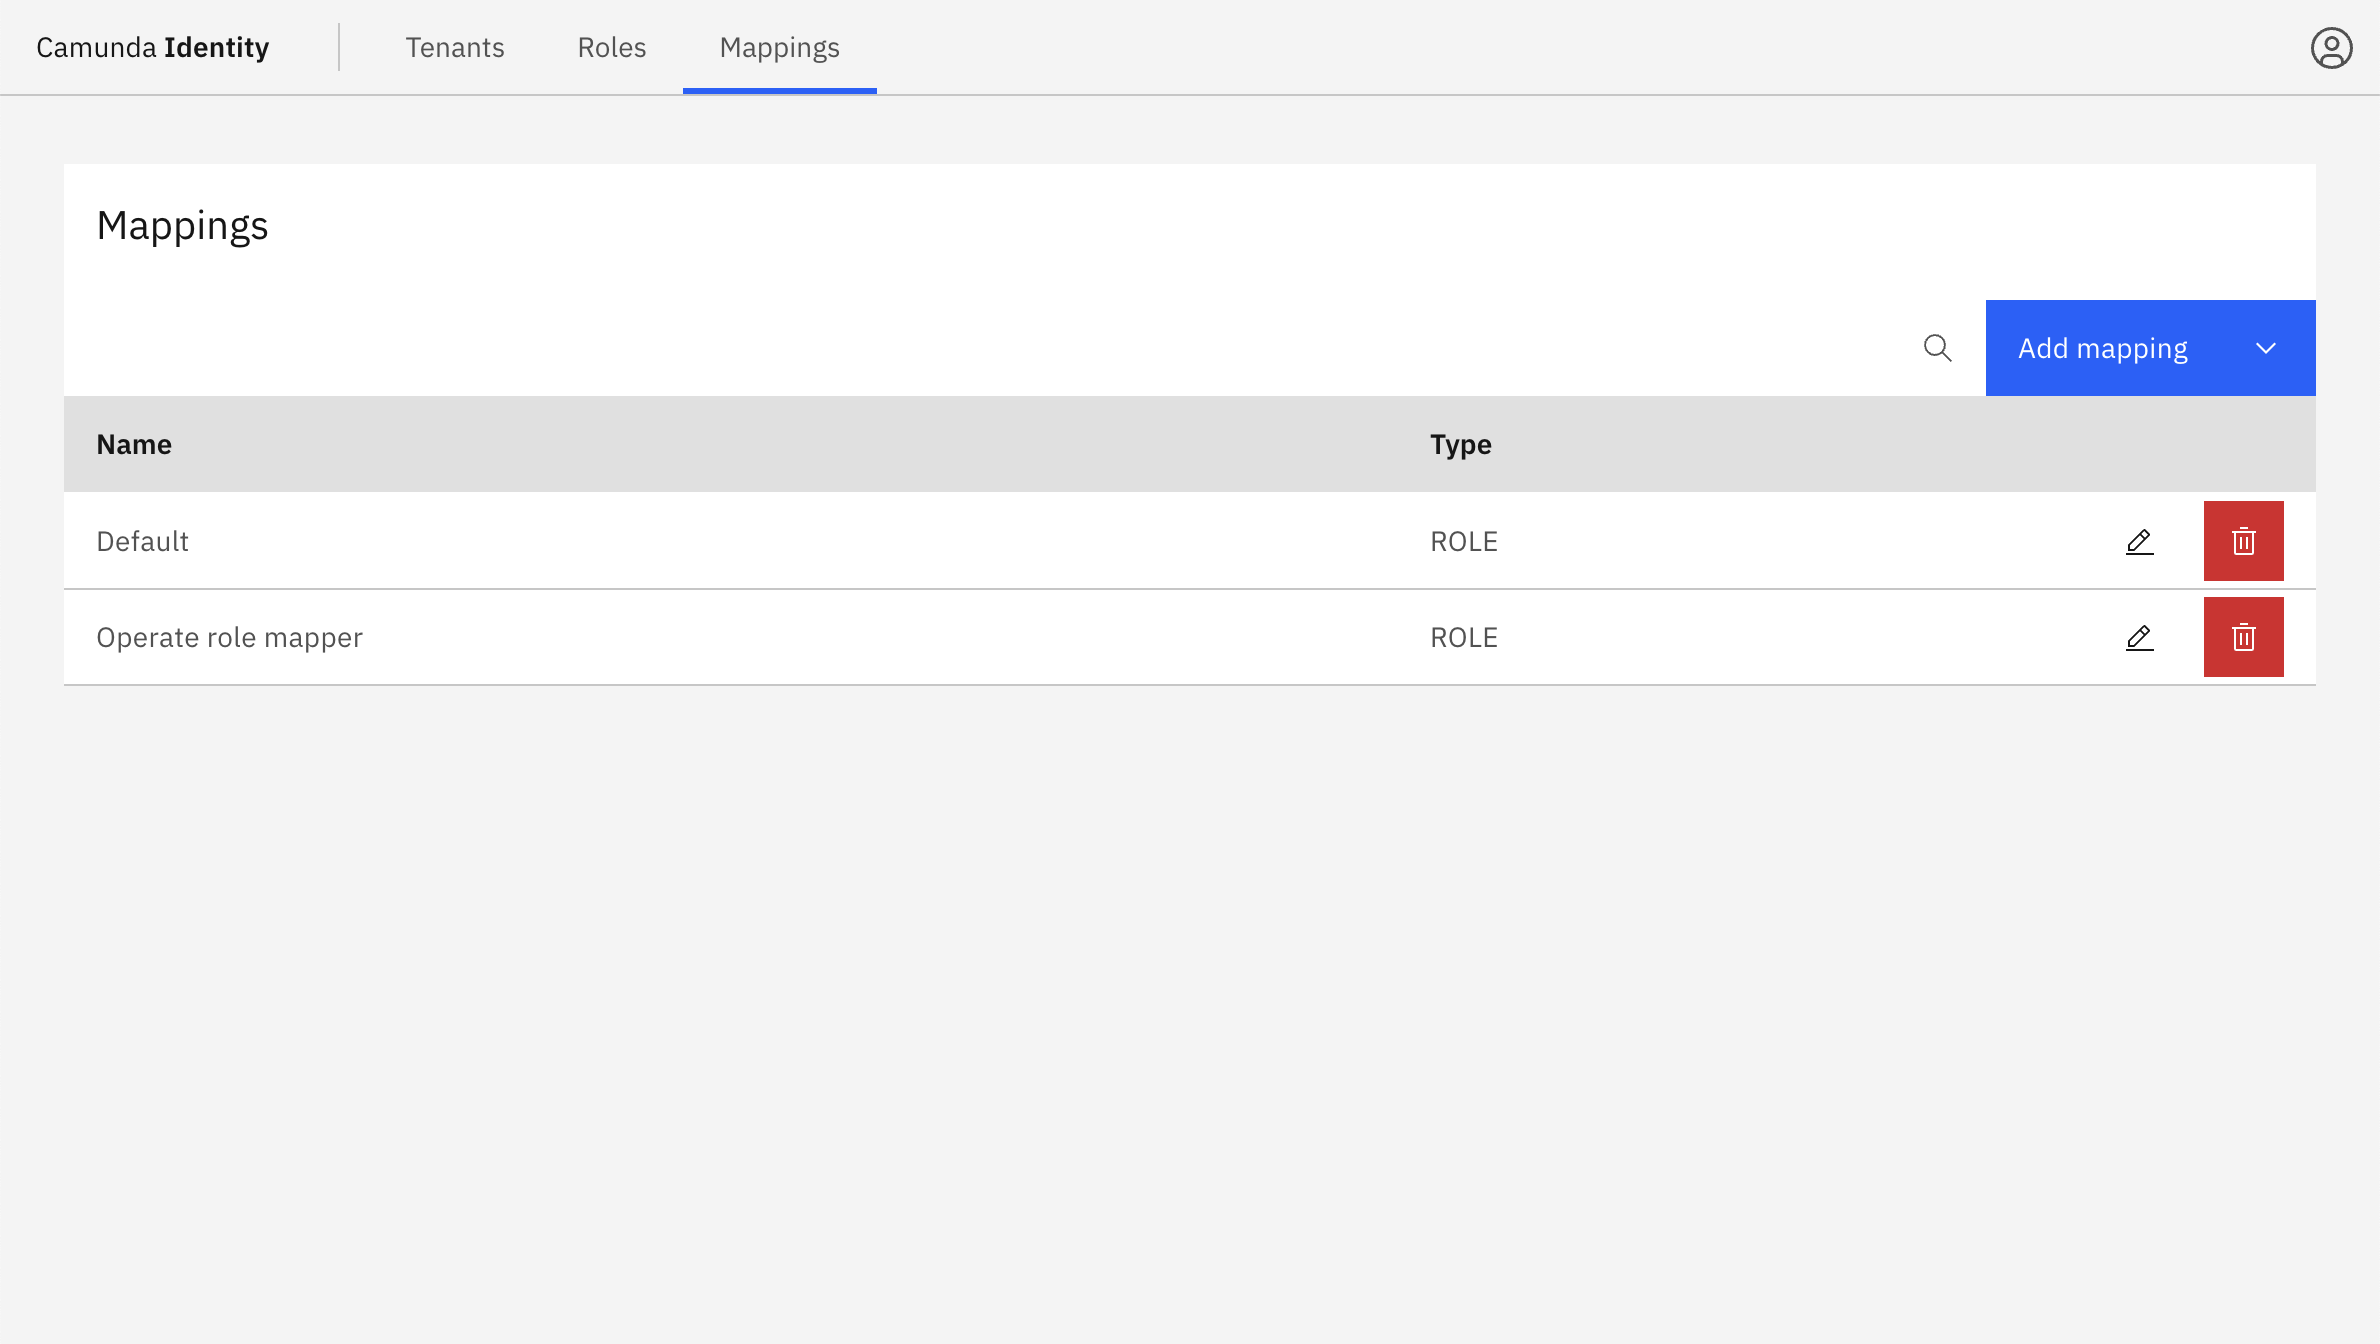
The created mapping rule can be seen in the table.
Edit a mapping rule
-
Click the pencil icon on the row of the mapping rule you want to update.
-
Update the fields for the mapping rule and click Update.
You can only update the entities applied by the mapping rule and the claims used to map the entities. You cannot update the mapping rule type.
Delete a mapping rule
Click on the trash can icon on the row of the mapping rule you want to delete.
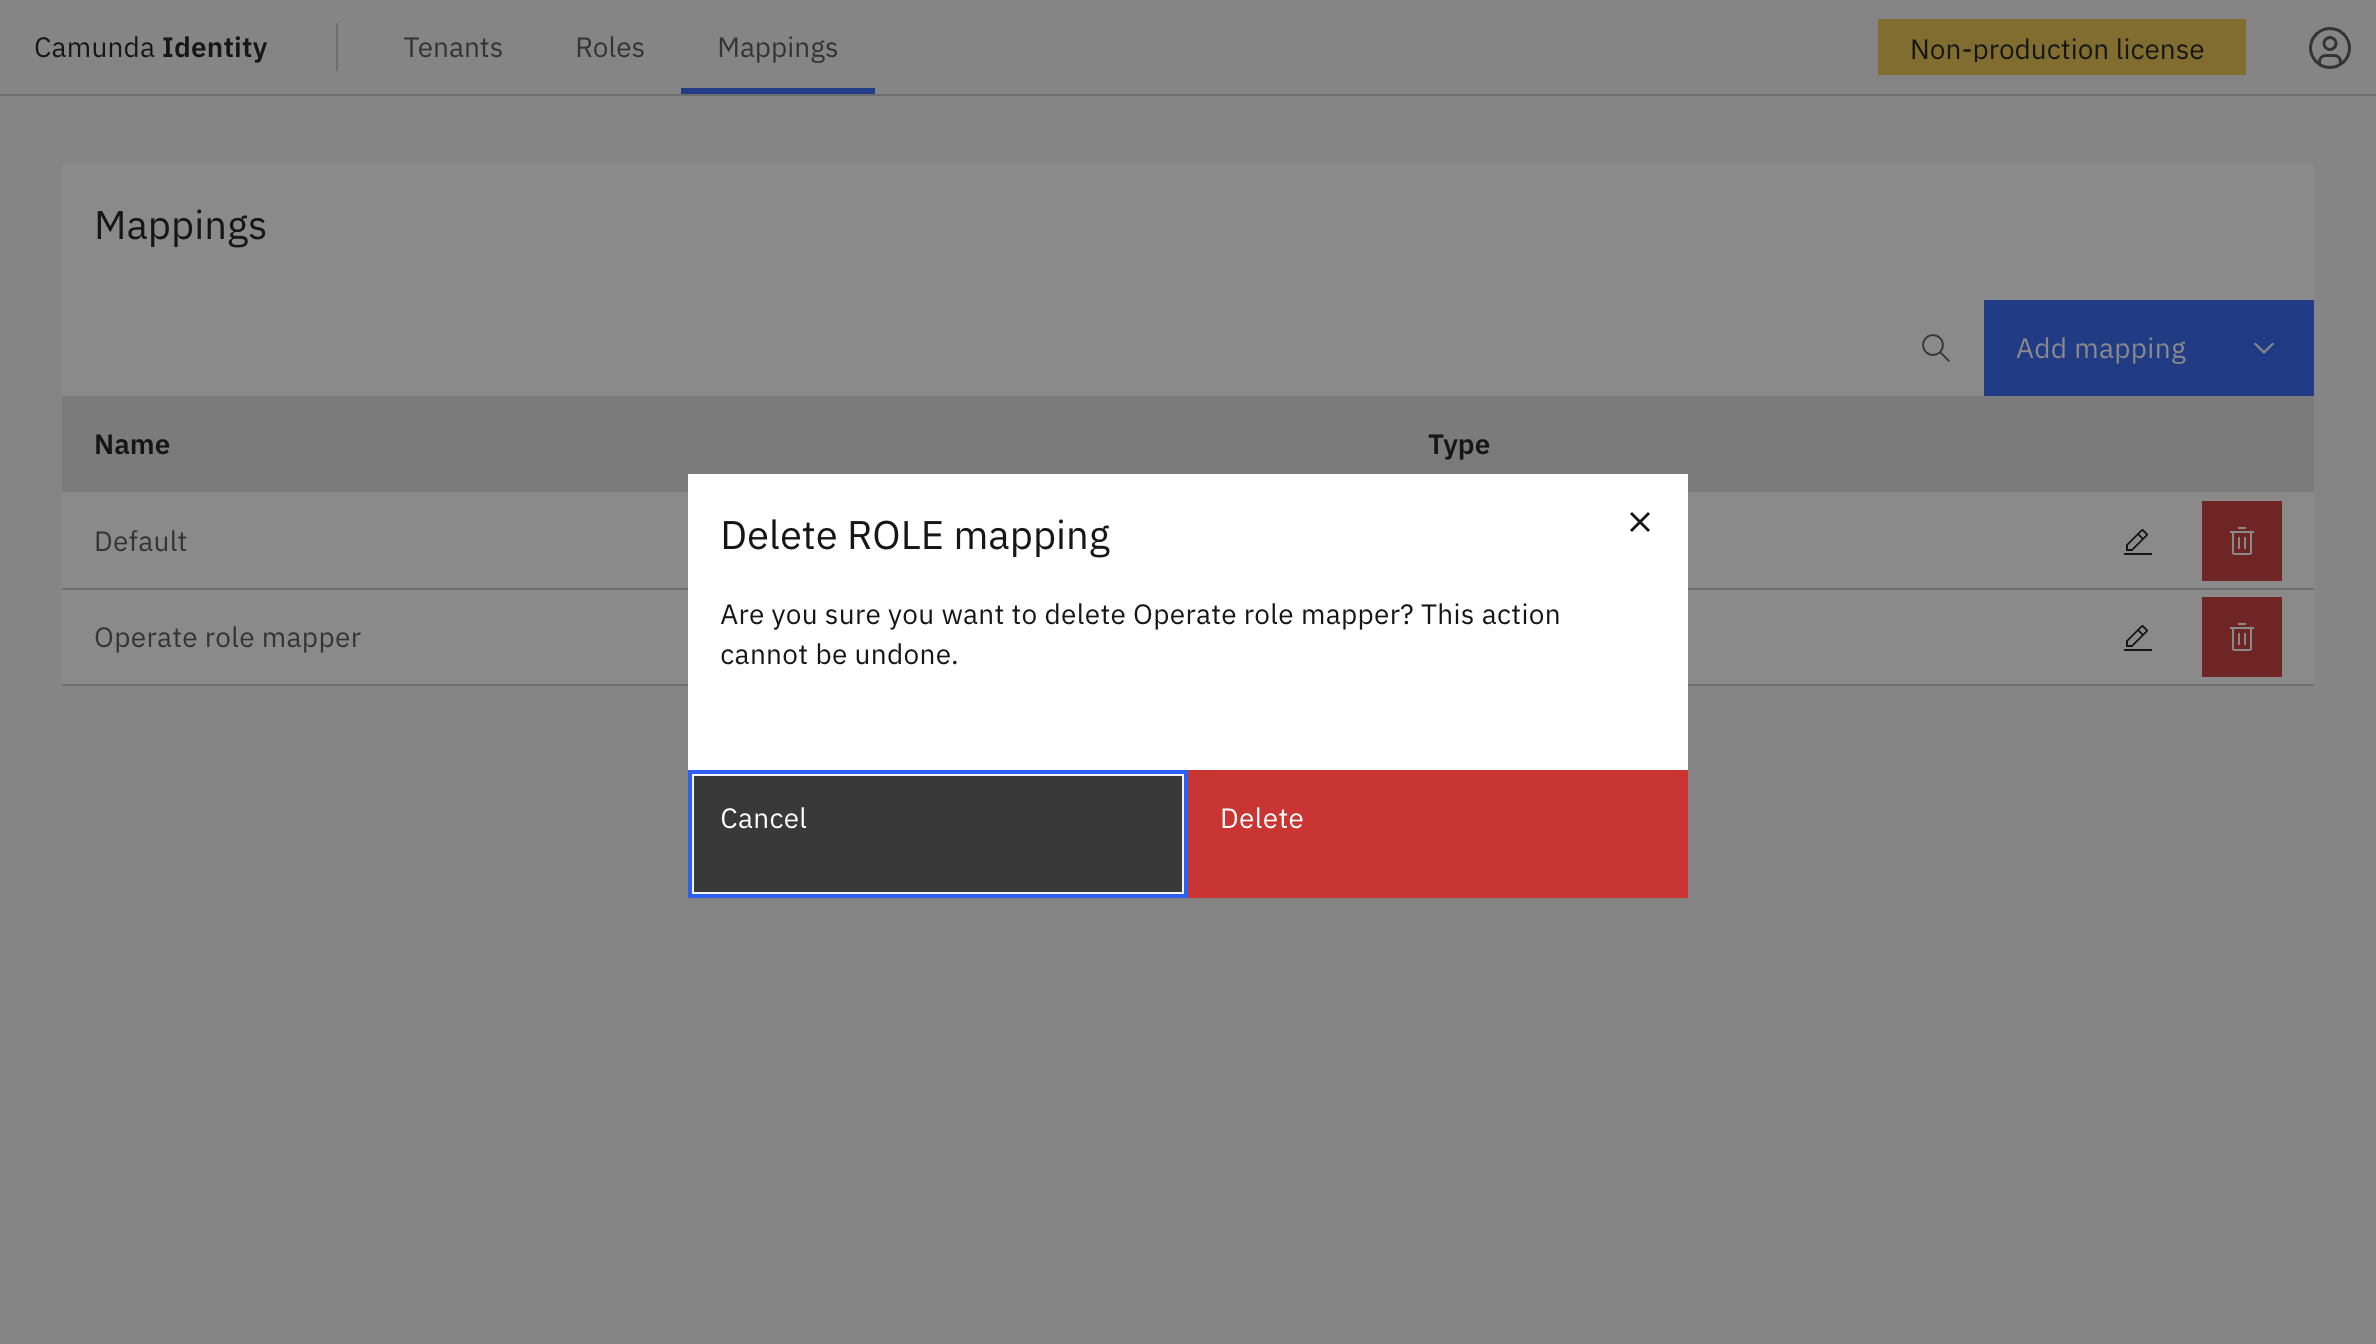
After confirming, the mapping rule is deleted and no longer appears in the table.