Tenants for Optimize
Multi-tenancy in Camunda 8 allows a single installation to host multiple tenants (such as departments, teams, or external clients) while maintaining per-tenant isolation of data and processes in a shared environment.
To learn more, see multi-tenancy.
About Optimize tenants
Tenants managed within Management Identity apply only to Optimize, allowing you to isolate data access for reports and dashboards. This is effective only if you have multi-tenancy checks enabled for your Orchestration Cluster.
If you enable multi-tenancy for Optimize, you must create tenants with the same identifiers as those configured for your Orchestration Cluster. This alignment is important for correct data isolation and association in Optimize.
Enable multi-tenancy for Optimize
By default, multi-tenancy is disabled in Management Identity.
To enable multi-tenancy:
- Enable the
MULTITENANCY_ENABLEDfeature flag. - Configure a database.
Create a tenant
A <default> tenant is automatically created during Identity startup.
-
Log in to Management Identity and select the Tenants tab.
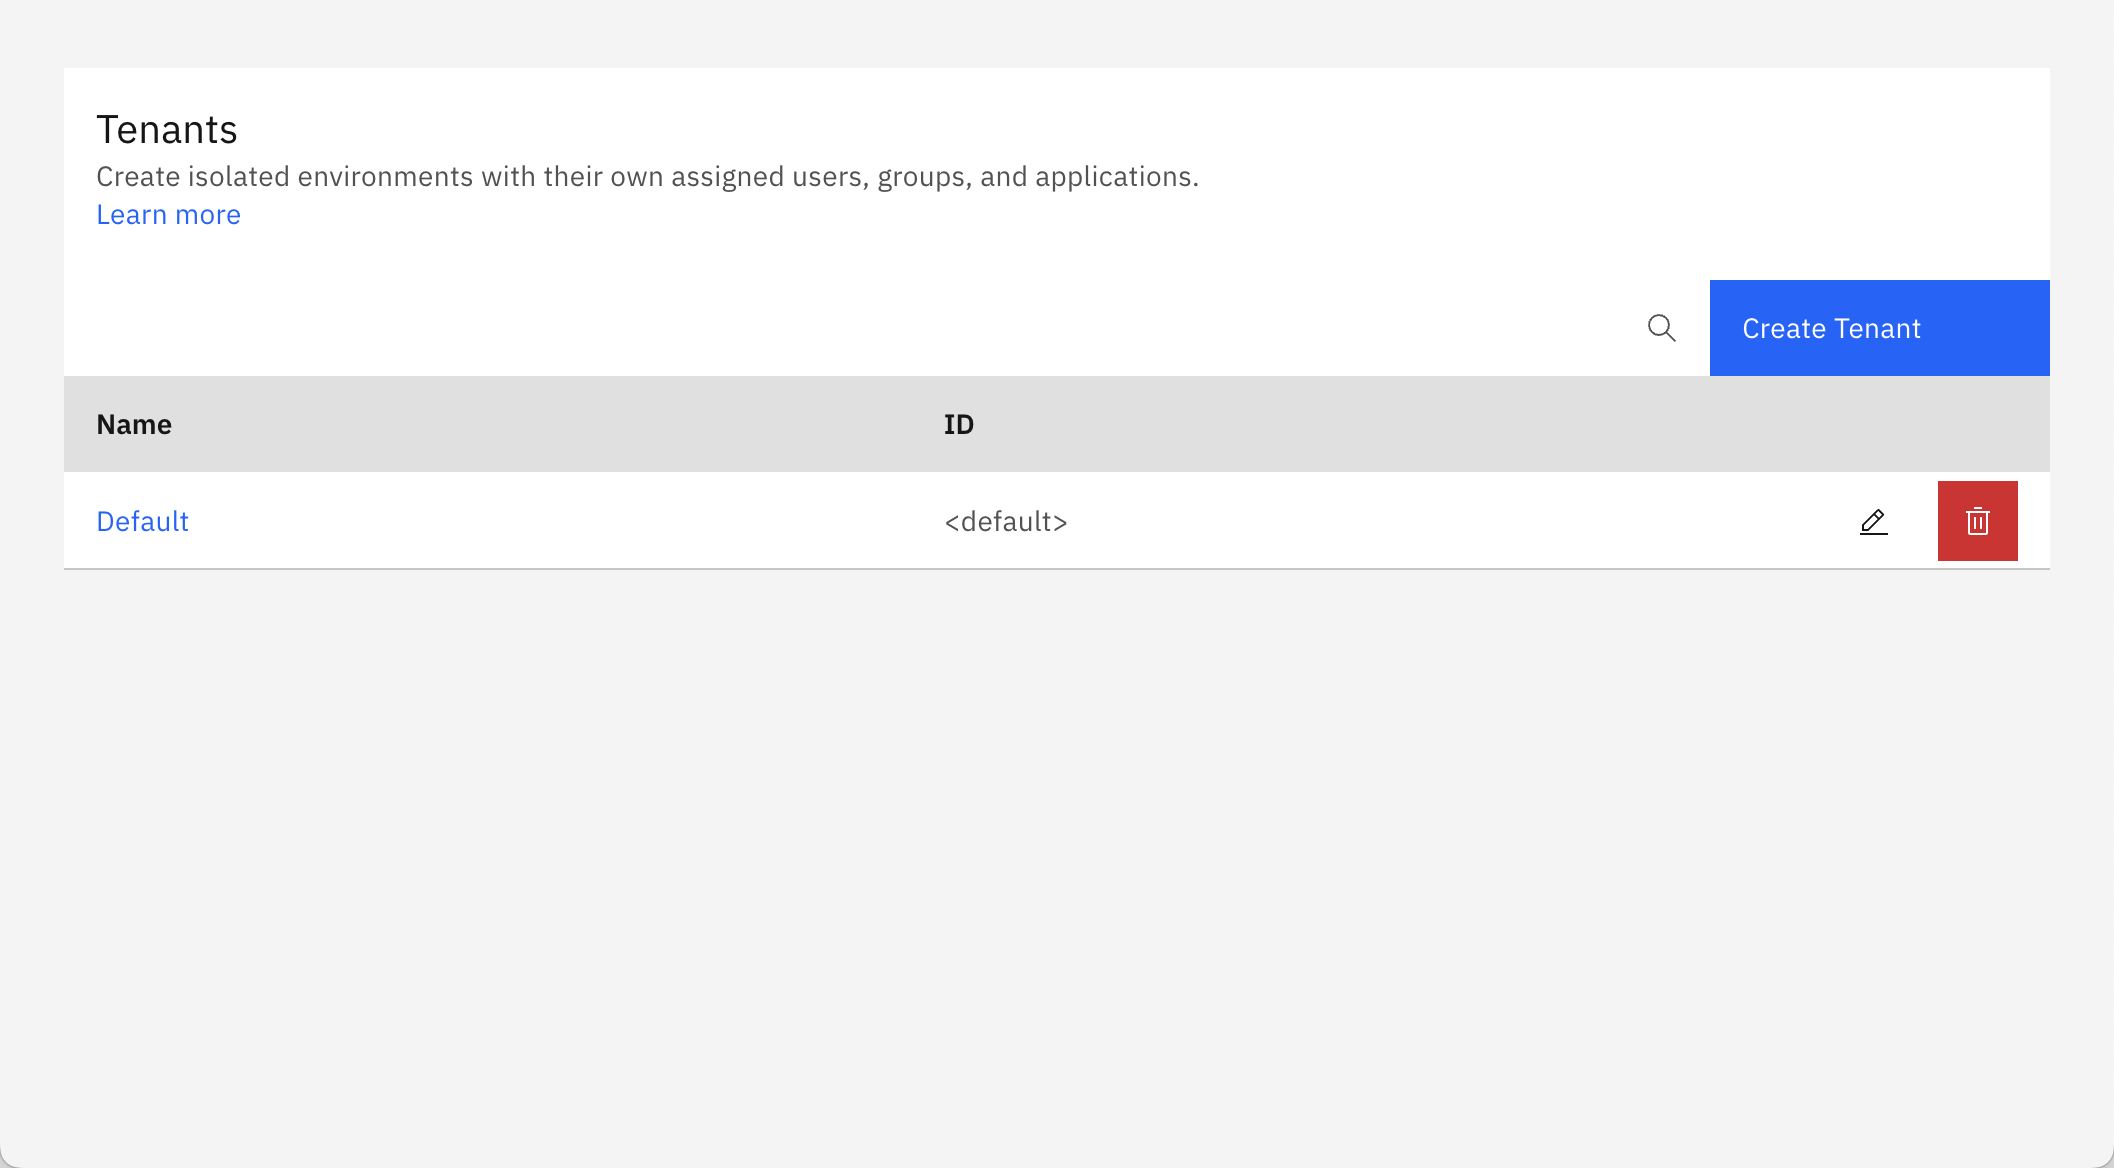
-
Click Create Tenant and a modal will open.
-
Enter a name and ID for the tenant, and click Create tenant:

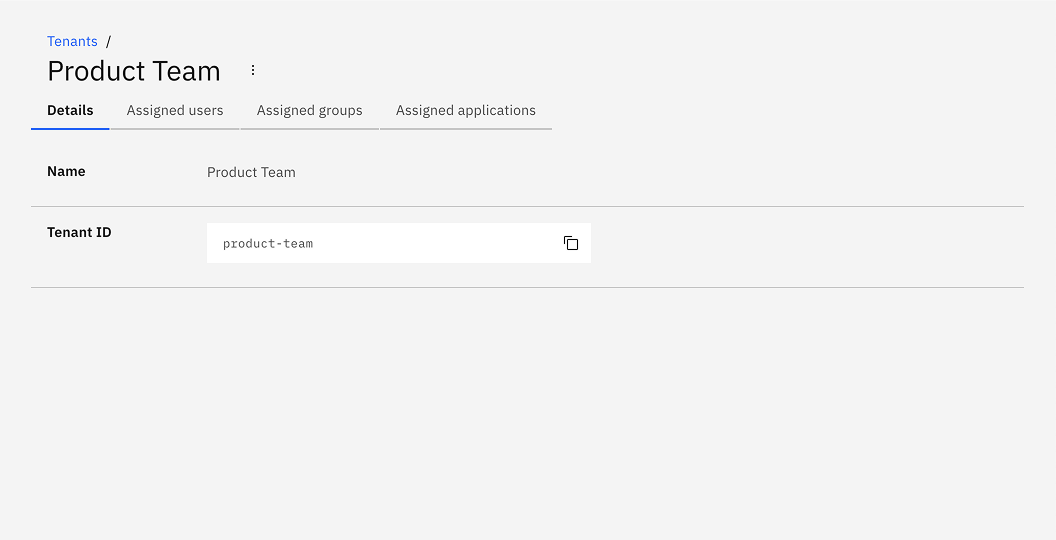
On creation, the modal closes and the table updates with your new tenant.
-
Click on your new tenant to view the details:
Tenant assignments
To assign users, groups and applications to a tenant:
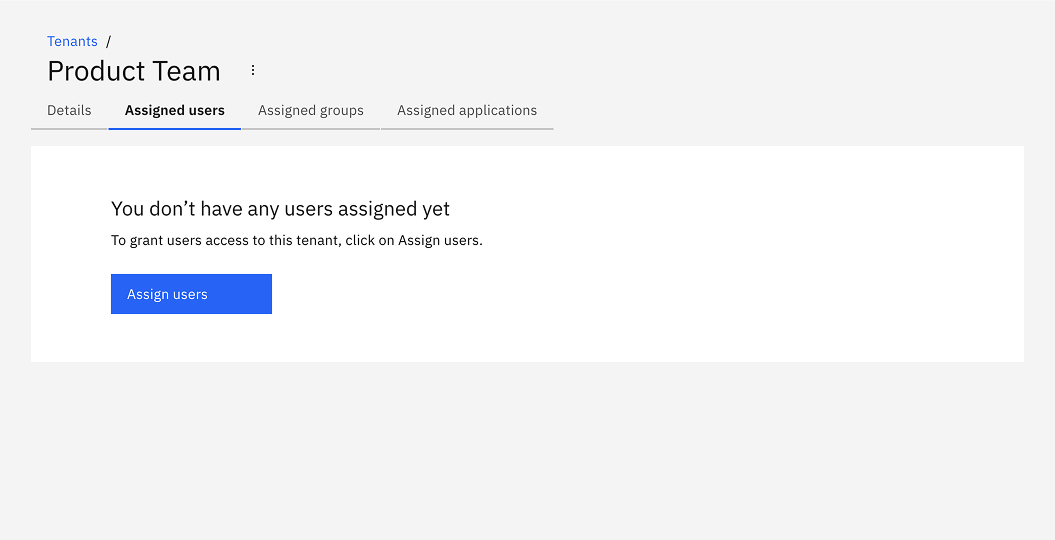
Assign users to a tenant
-
Click Assigned users to view the users assigned to the tenant, and click Assign users:
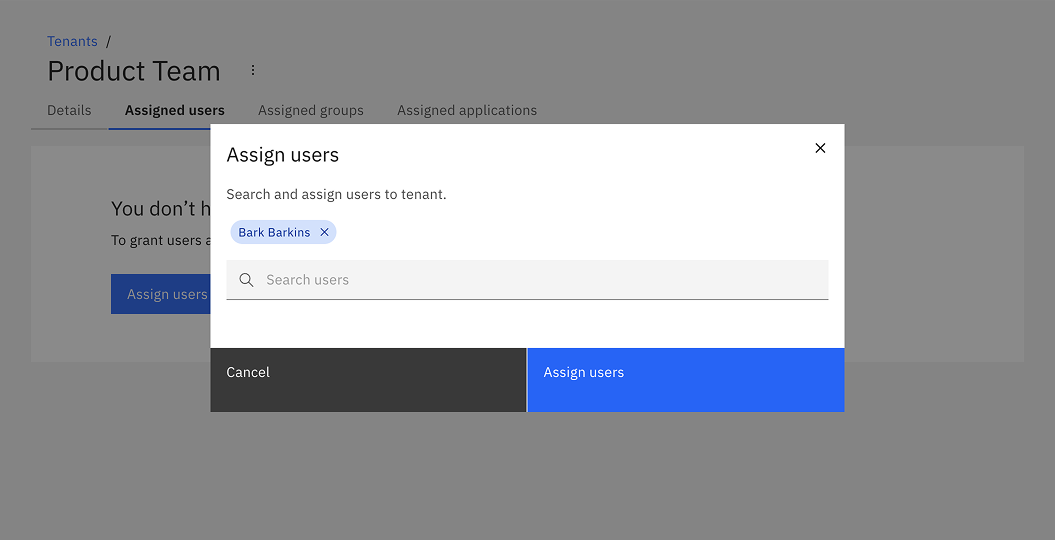
-
Search and select the users to assign to the tenant. After selecting the users, click Assign users:
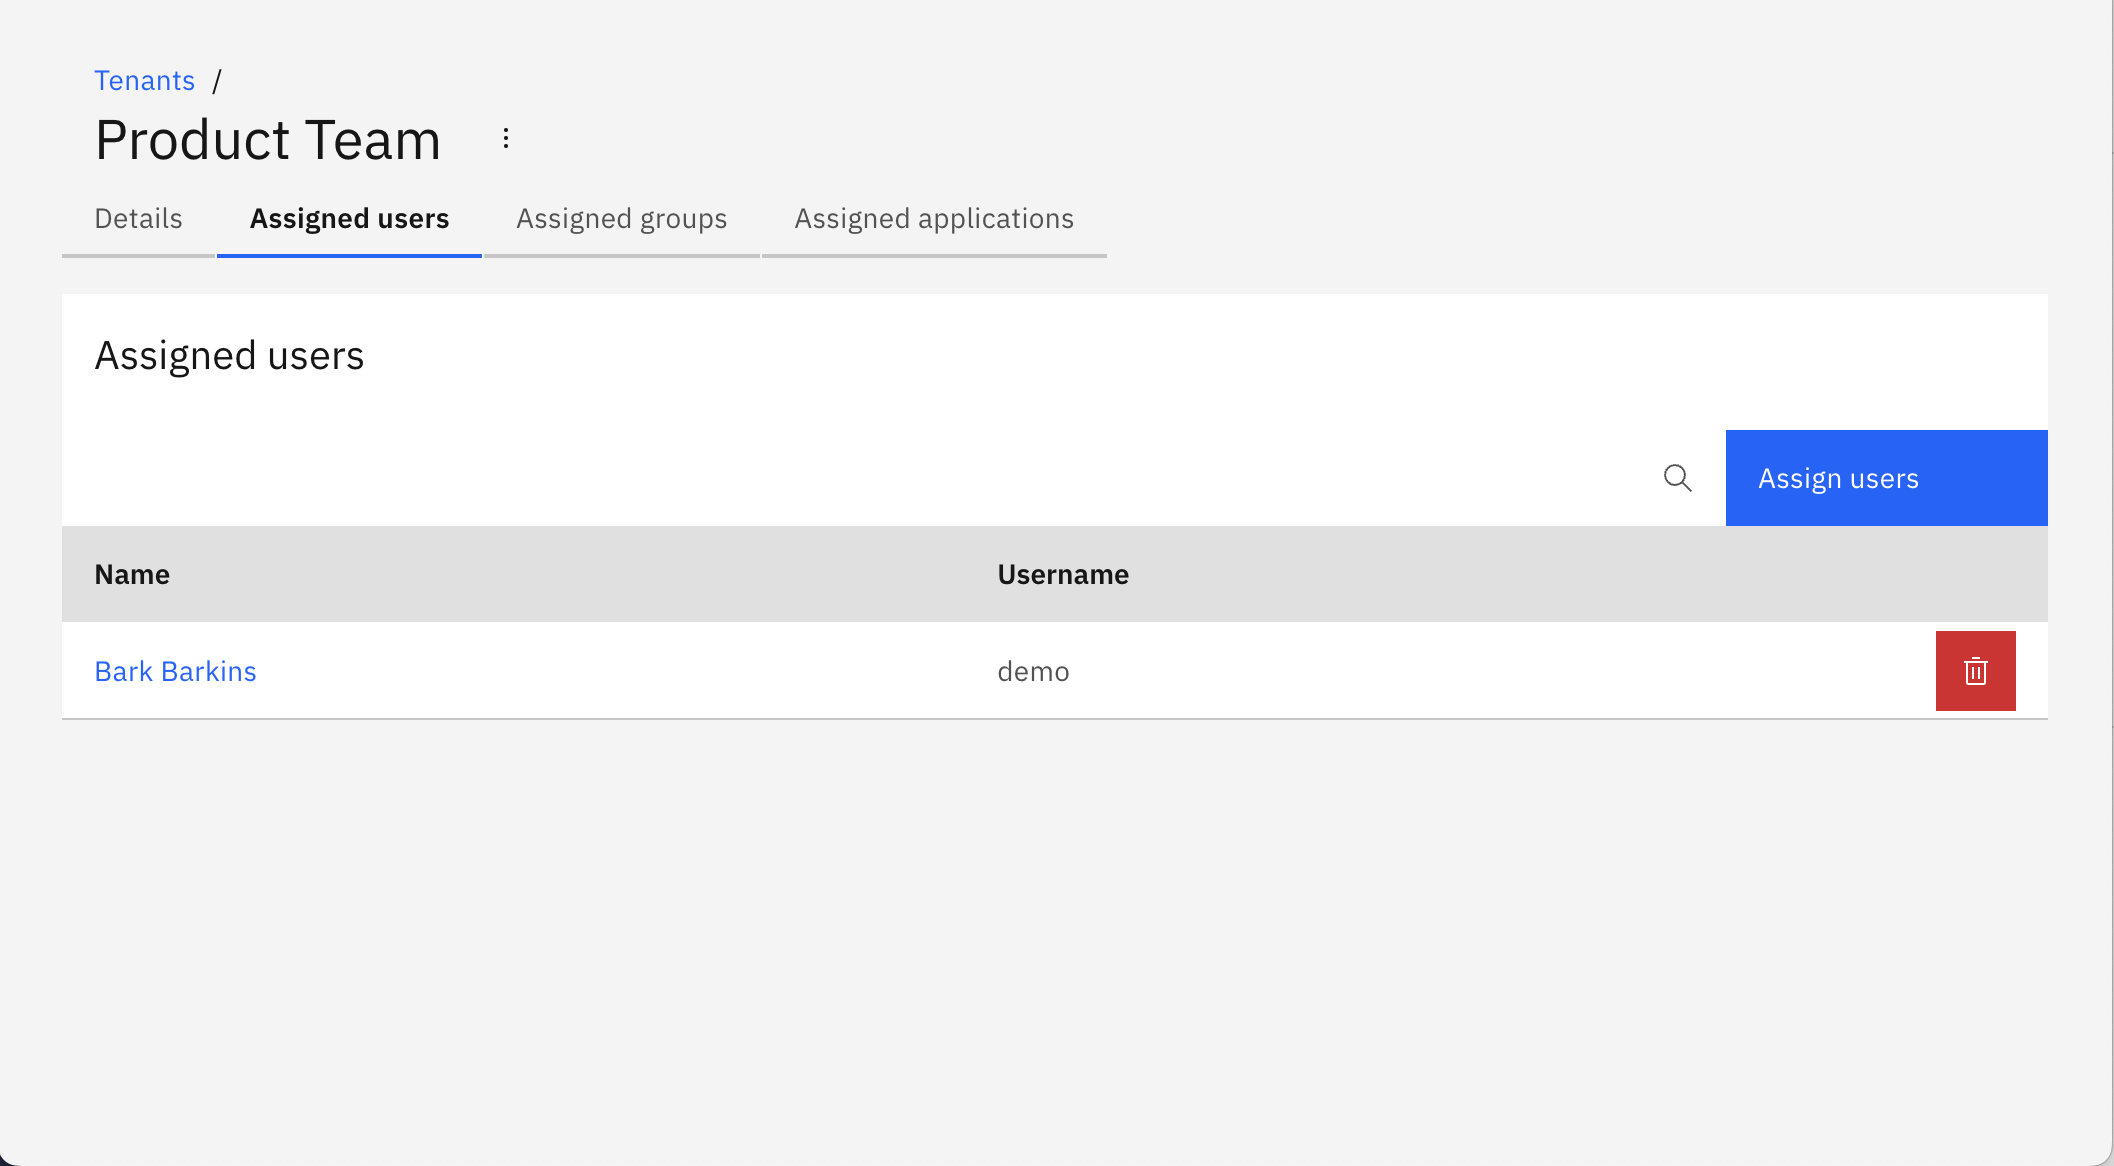
On confirmation, the modal closes, the table updates, and the assigned users are shown:
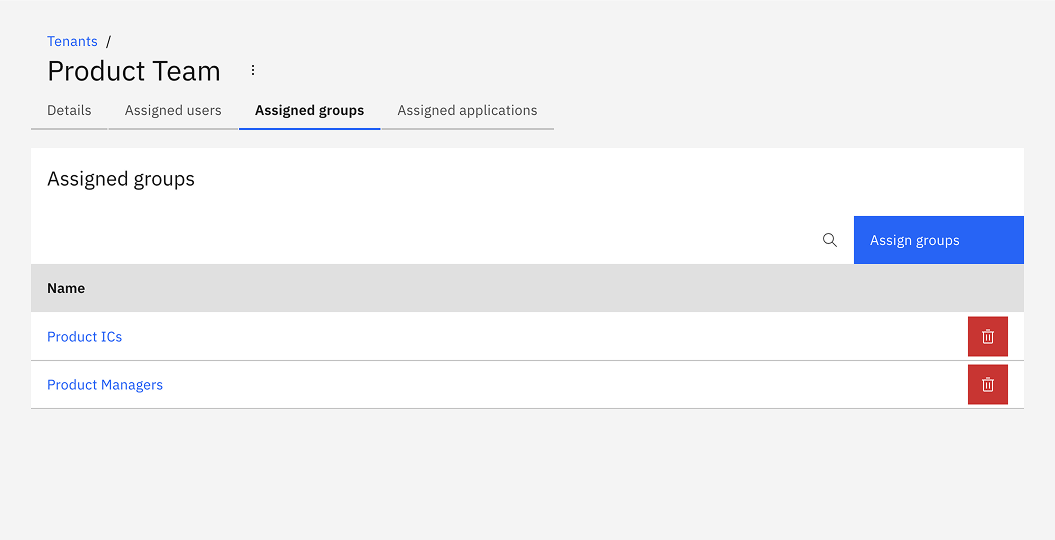
Assign groups to a tenant
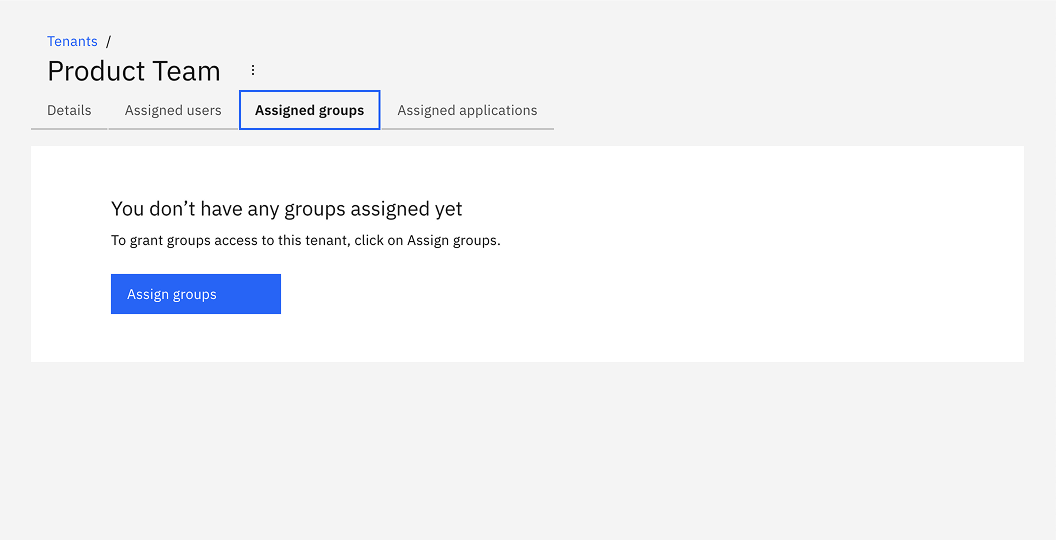
-
Click Assigned groups to view the groups assigned to the tenant, and click Assign groups:
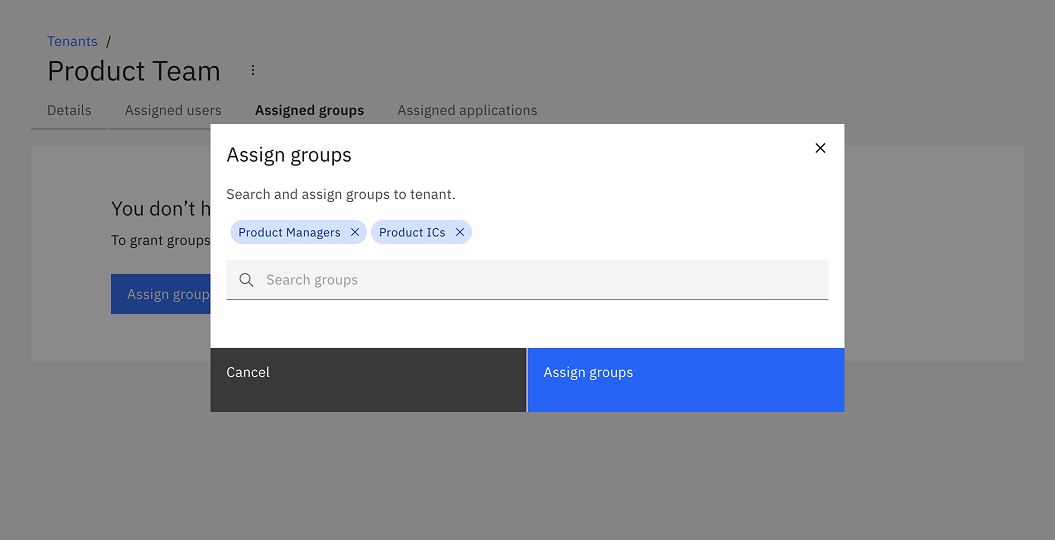
-
Search and select the groups to assign to the tenant. After selecting the groups, click Assign groups:
On confirmation, the modal closes, the table updates, and the assigned groups are shown:
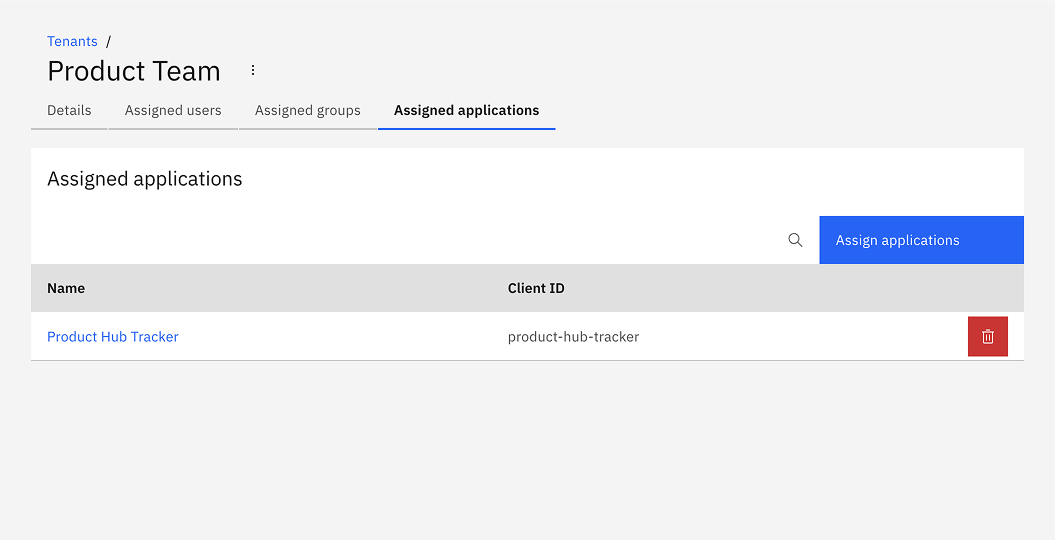
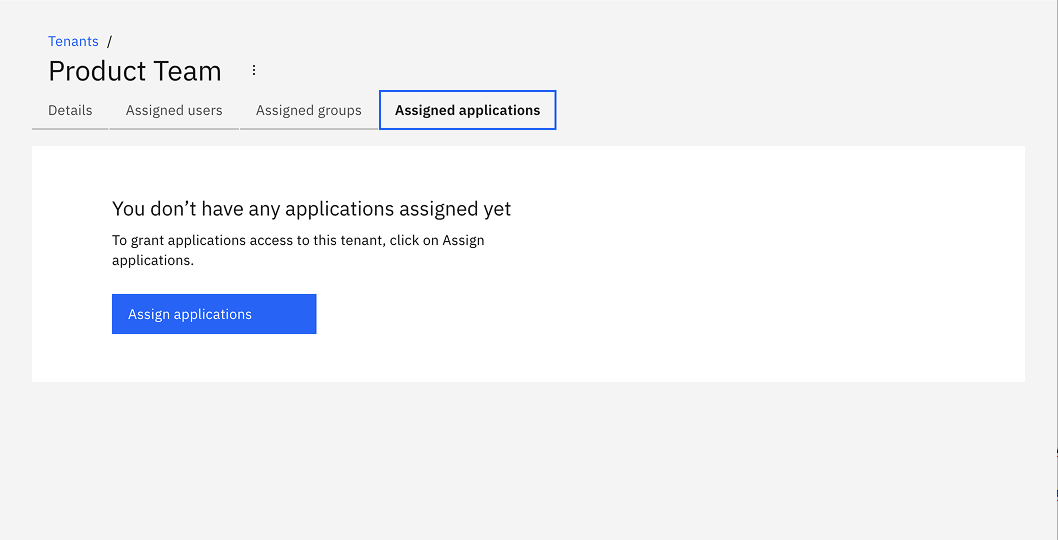
Assign applications to a tenant
-
Click Assigned applications to view the applications assigned to the tenant, and click Assign applications:
-
Search and select the applications to assign to the tenant. After selecting the applications, click Assign applications:

On confirmation, the modal closes, the table updates, and the assigned applications are shown: