Get started with API orchestration
This guide is designed for users who prefer a low-code approach to process automation. You can follow this tutorial using either a local, Self-Managed lightweight setup, or Camunda 8 SaaS.
This guide will walk you through working with a REST connector task as a first time Camunda 8 SaaS user.
The REST connector is a protocol connector, where you can make a request to a REST API and use the response in the next steps of your process.
New to connectors? Review our introduction to connectors to get familiar with their capabilities, and have a closer look at all of the available out-of-the-box connectors.
Have you signed up for Camunda yet?
Sign Up
Visit signup.camunda.com/accounts to sign up.
Create an account
Fill out the form and click Create account.
When you fill out the form, you'll receive a confirmation email. Click on the link to verify your email address.
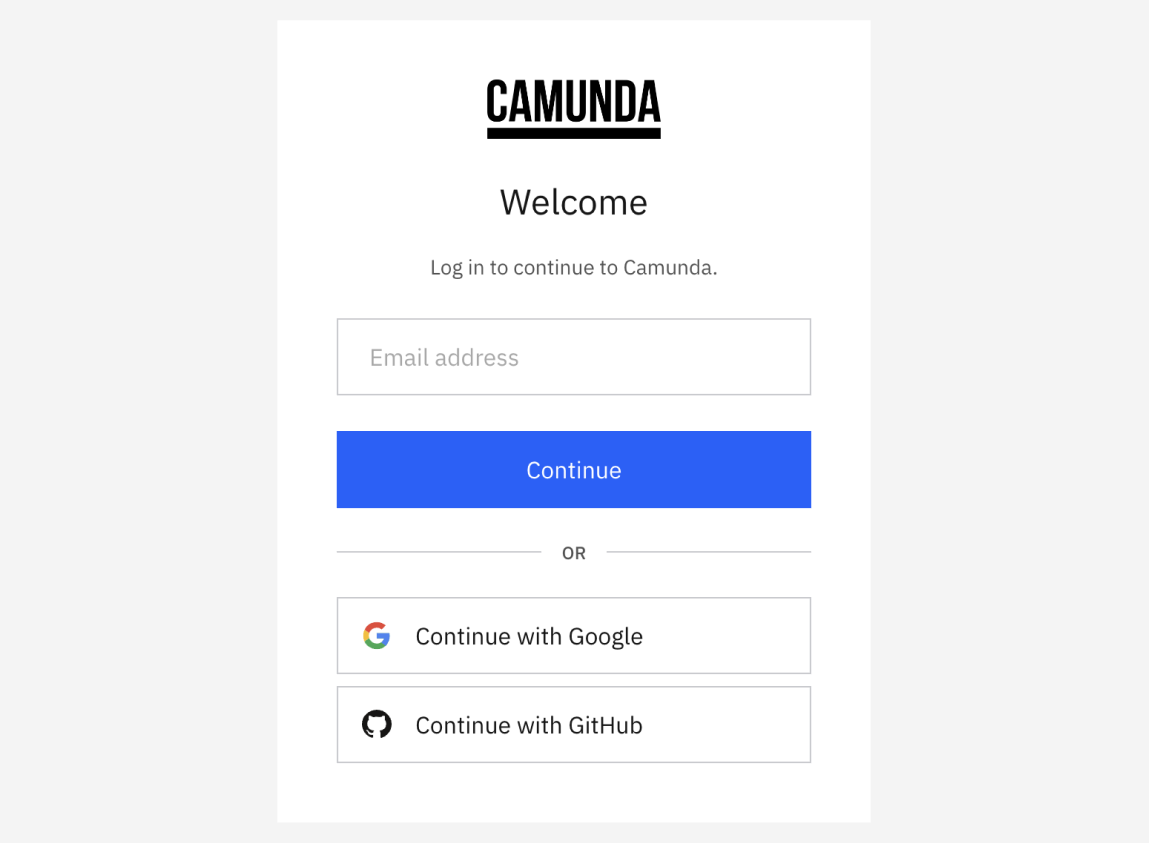
Log in to your Camunda 8 account
Log in with the email address and password you used in the previous form, or use the social login buttons. To access the login site directly, navigate to camunda.io.

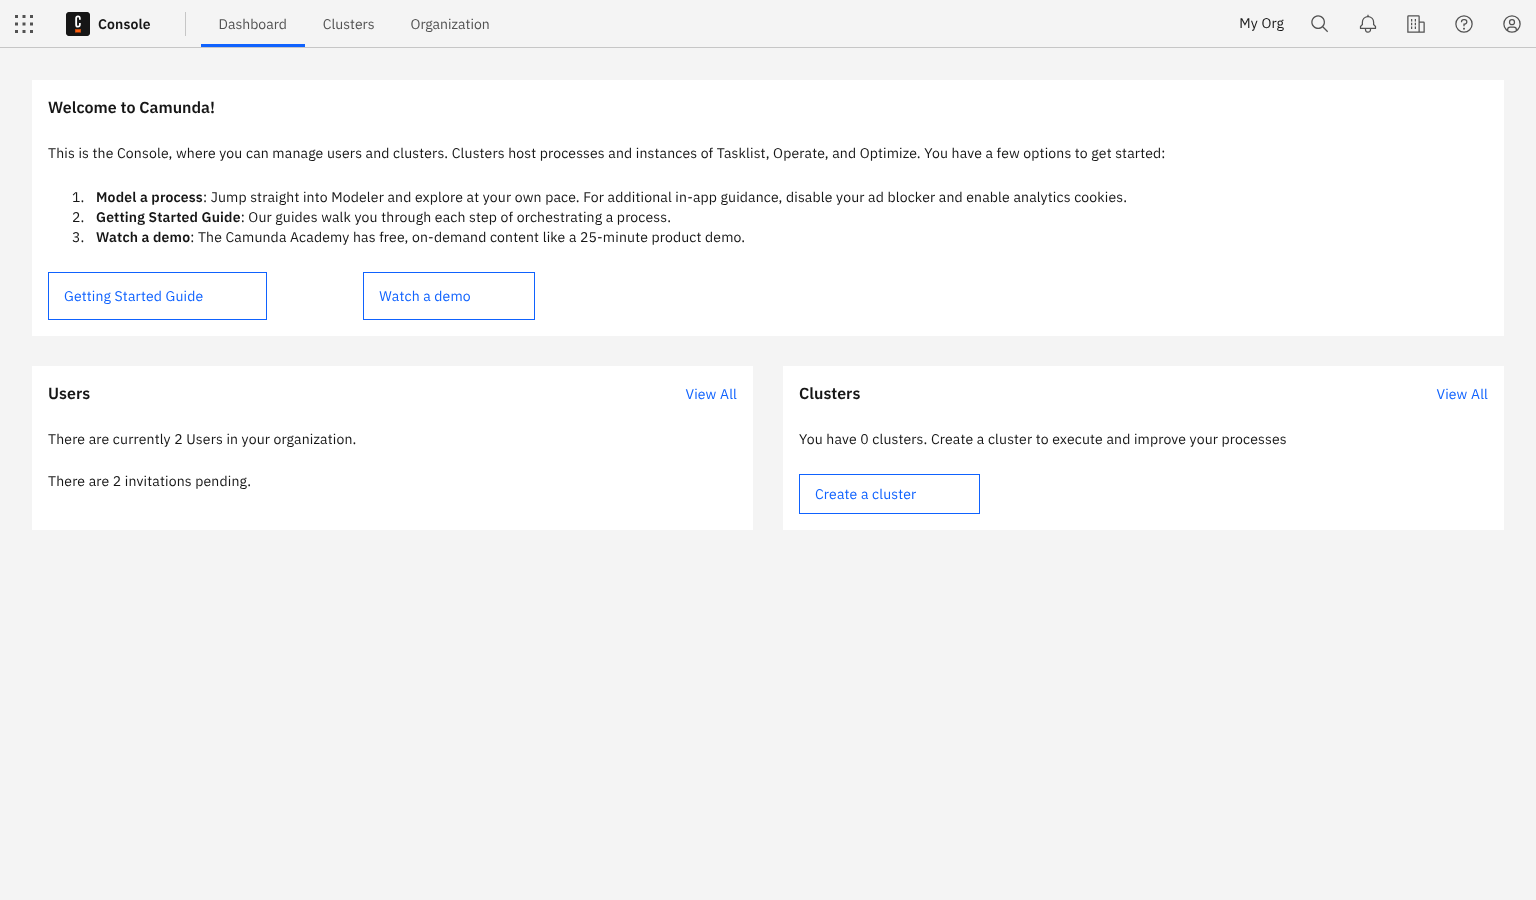
After login, select the square-shaped Camunda components icon in the upper-left corner, and select Console to view the Console overview page. This is the central place to manage the clusters, diagrams, and forms you want to deploy to Camunda 8.

The concept of a connector consists of two parts: the business logic is implemented as a job worker, and the user interface during modeling is provided using an element template. In this guide, you will create a REST connector task in your process, handle the HTTP response, and deploy your process. New to creating a process? Get started by modeling your first diagram.
Step 1: Create a REST connector task
To use a REST connector in your process, follow the steps below:
-
Create a BPMN diagram. To do this, click New project within Modeler.
-
Name your project and select Create new > BPMN diagram.
-
Give your model a descriptive name and ID. On the right side of the page, expand the General section of the properties panel to find the name and ID fields. For this guide, we'll use
API Orchestration Tutorialfor the name andapi-orchestration-tutorialfor the ID. -
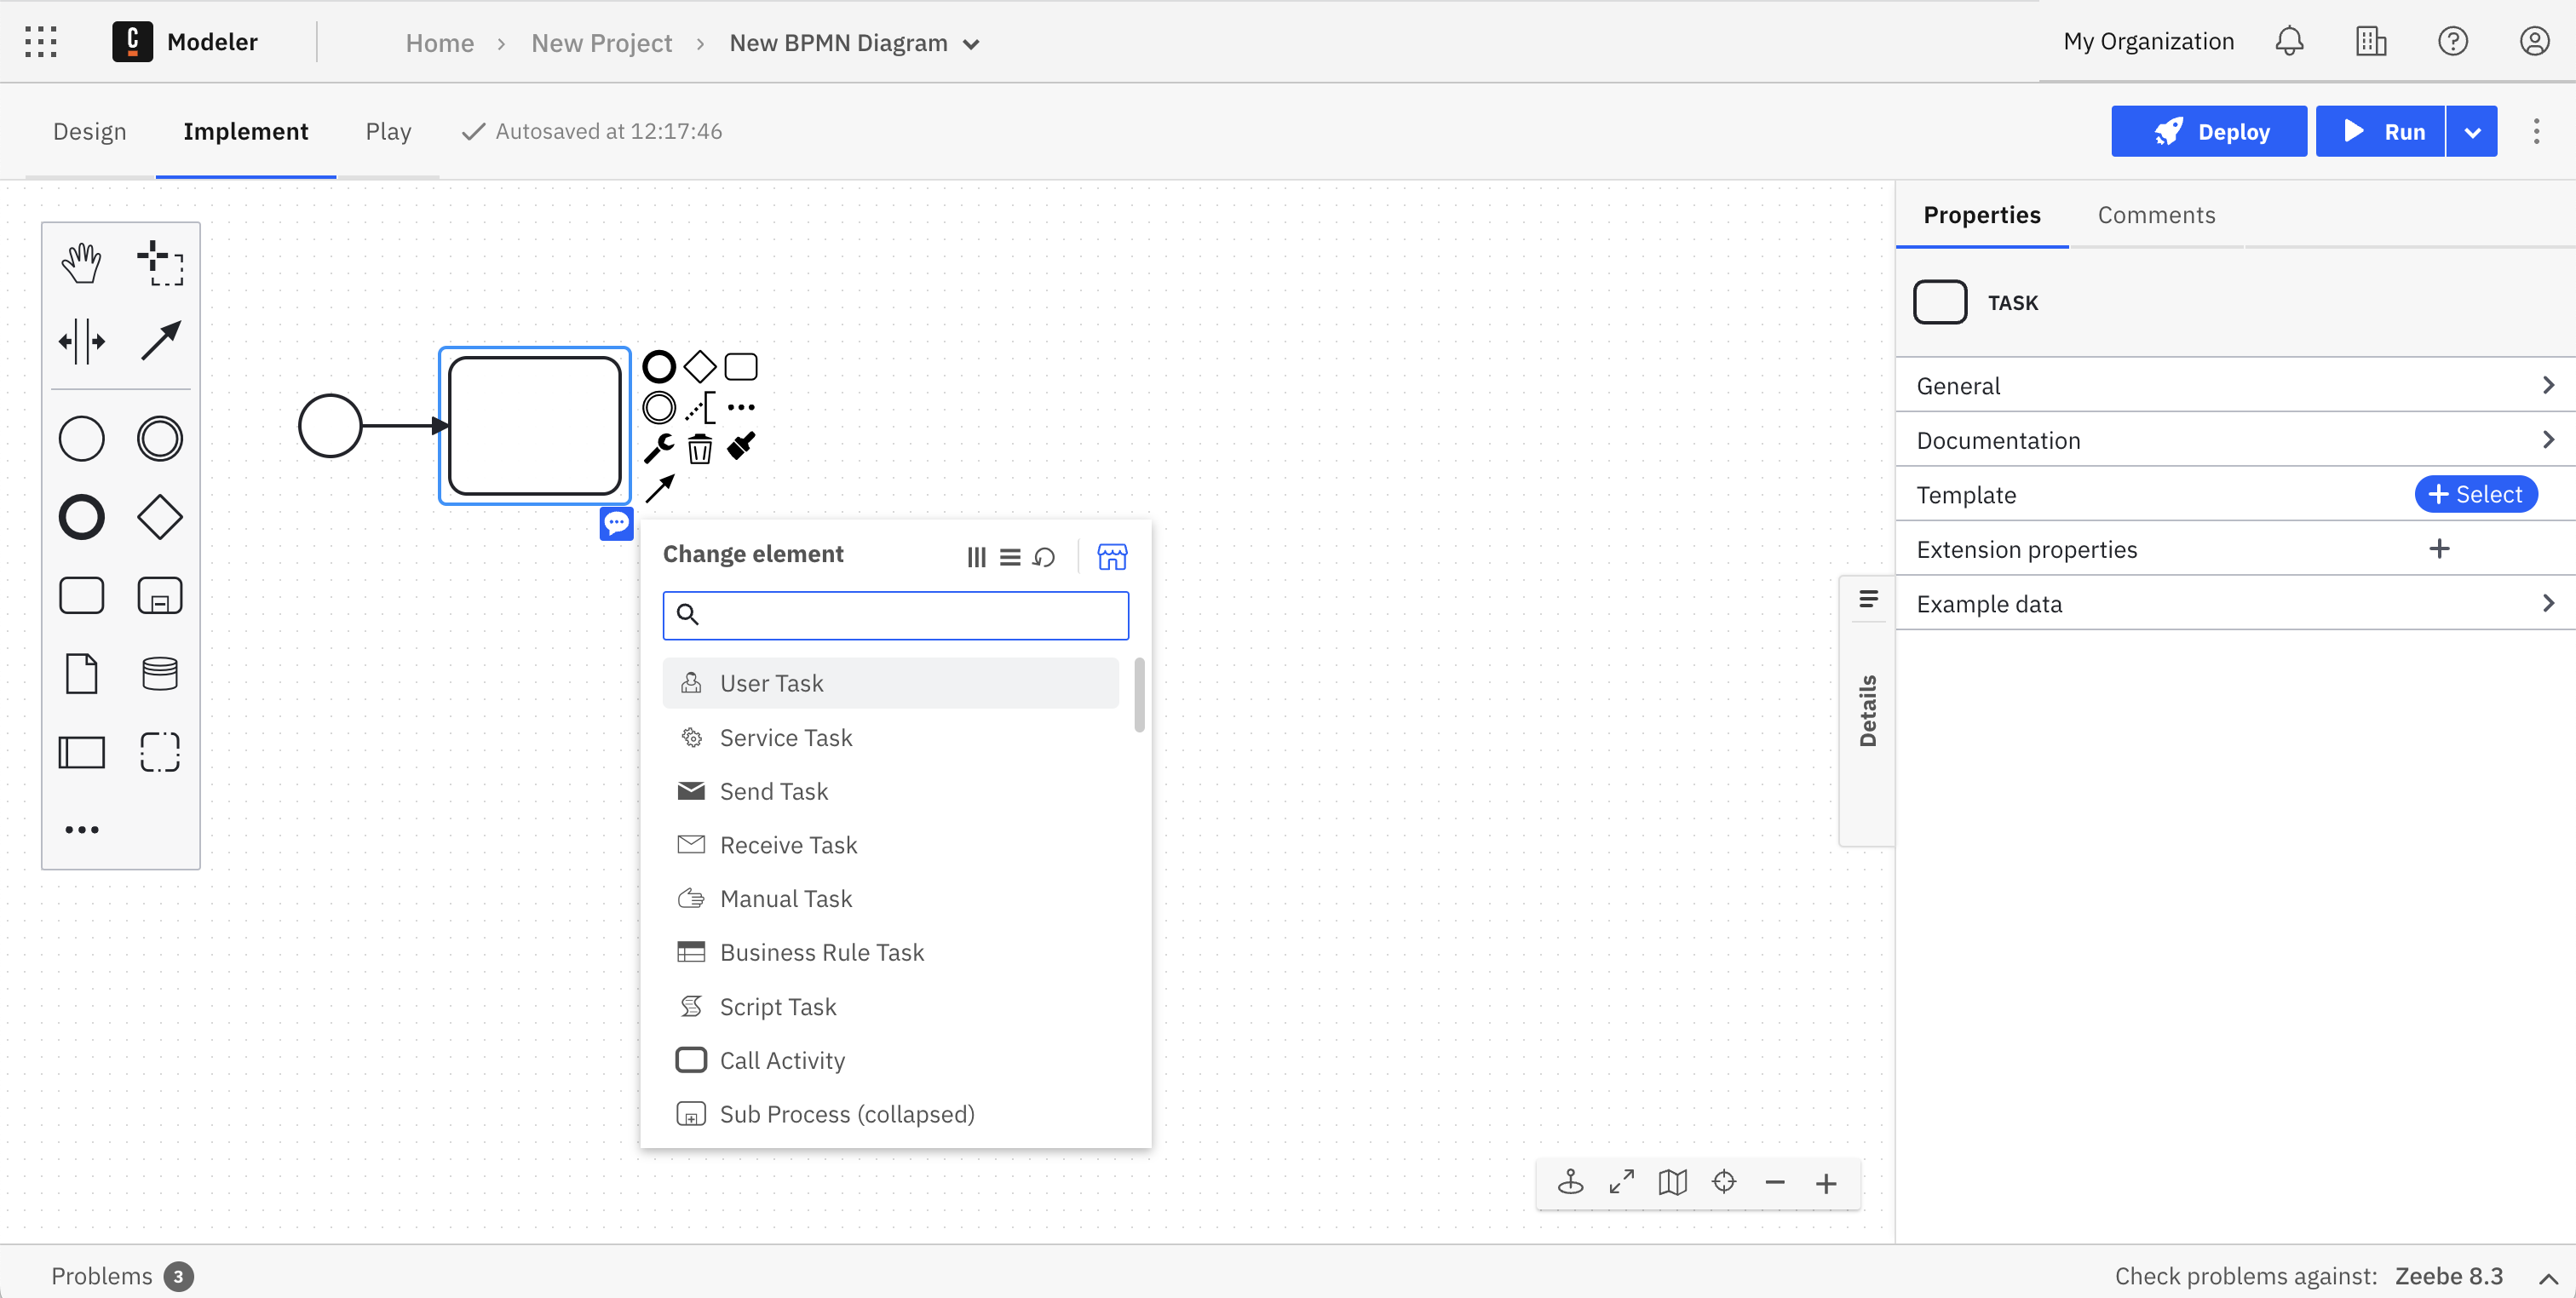
Use Web Modeler to design a BPMN flow with a connector. Create a connector by dragging the rectangular task element from the palette, or click the existing start event and the displayed task element to the right of the start event.
-
Change the task type by clicking on the element and selecting the Change element menu icon. Select REST Outbound connector in the Connectors section. Alternatively, you can directly choose a REST Outbound connector by using the context pad.

-
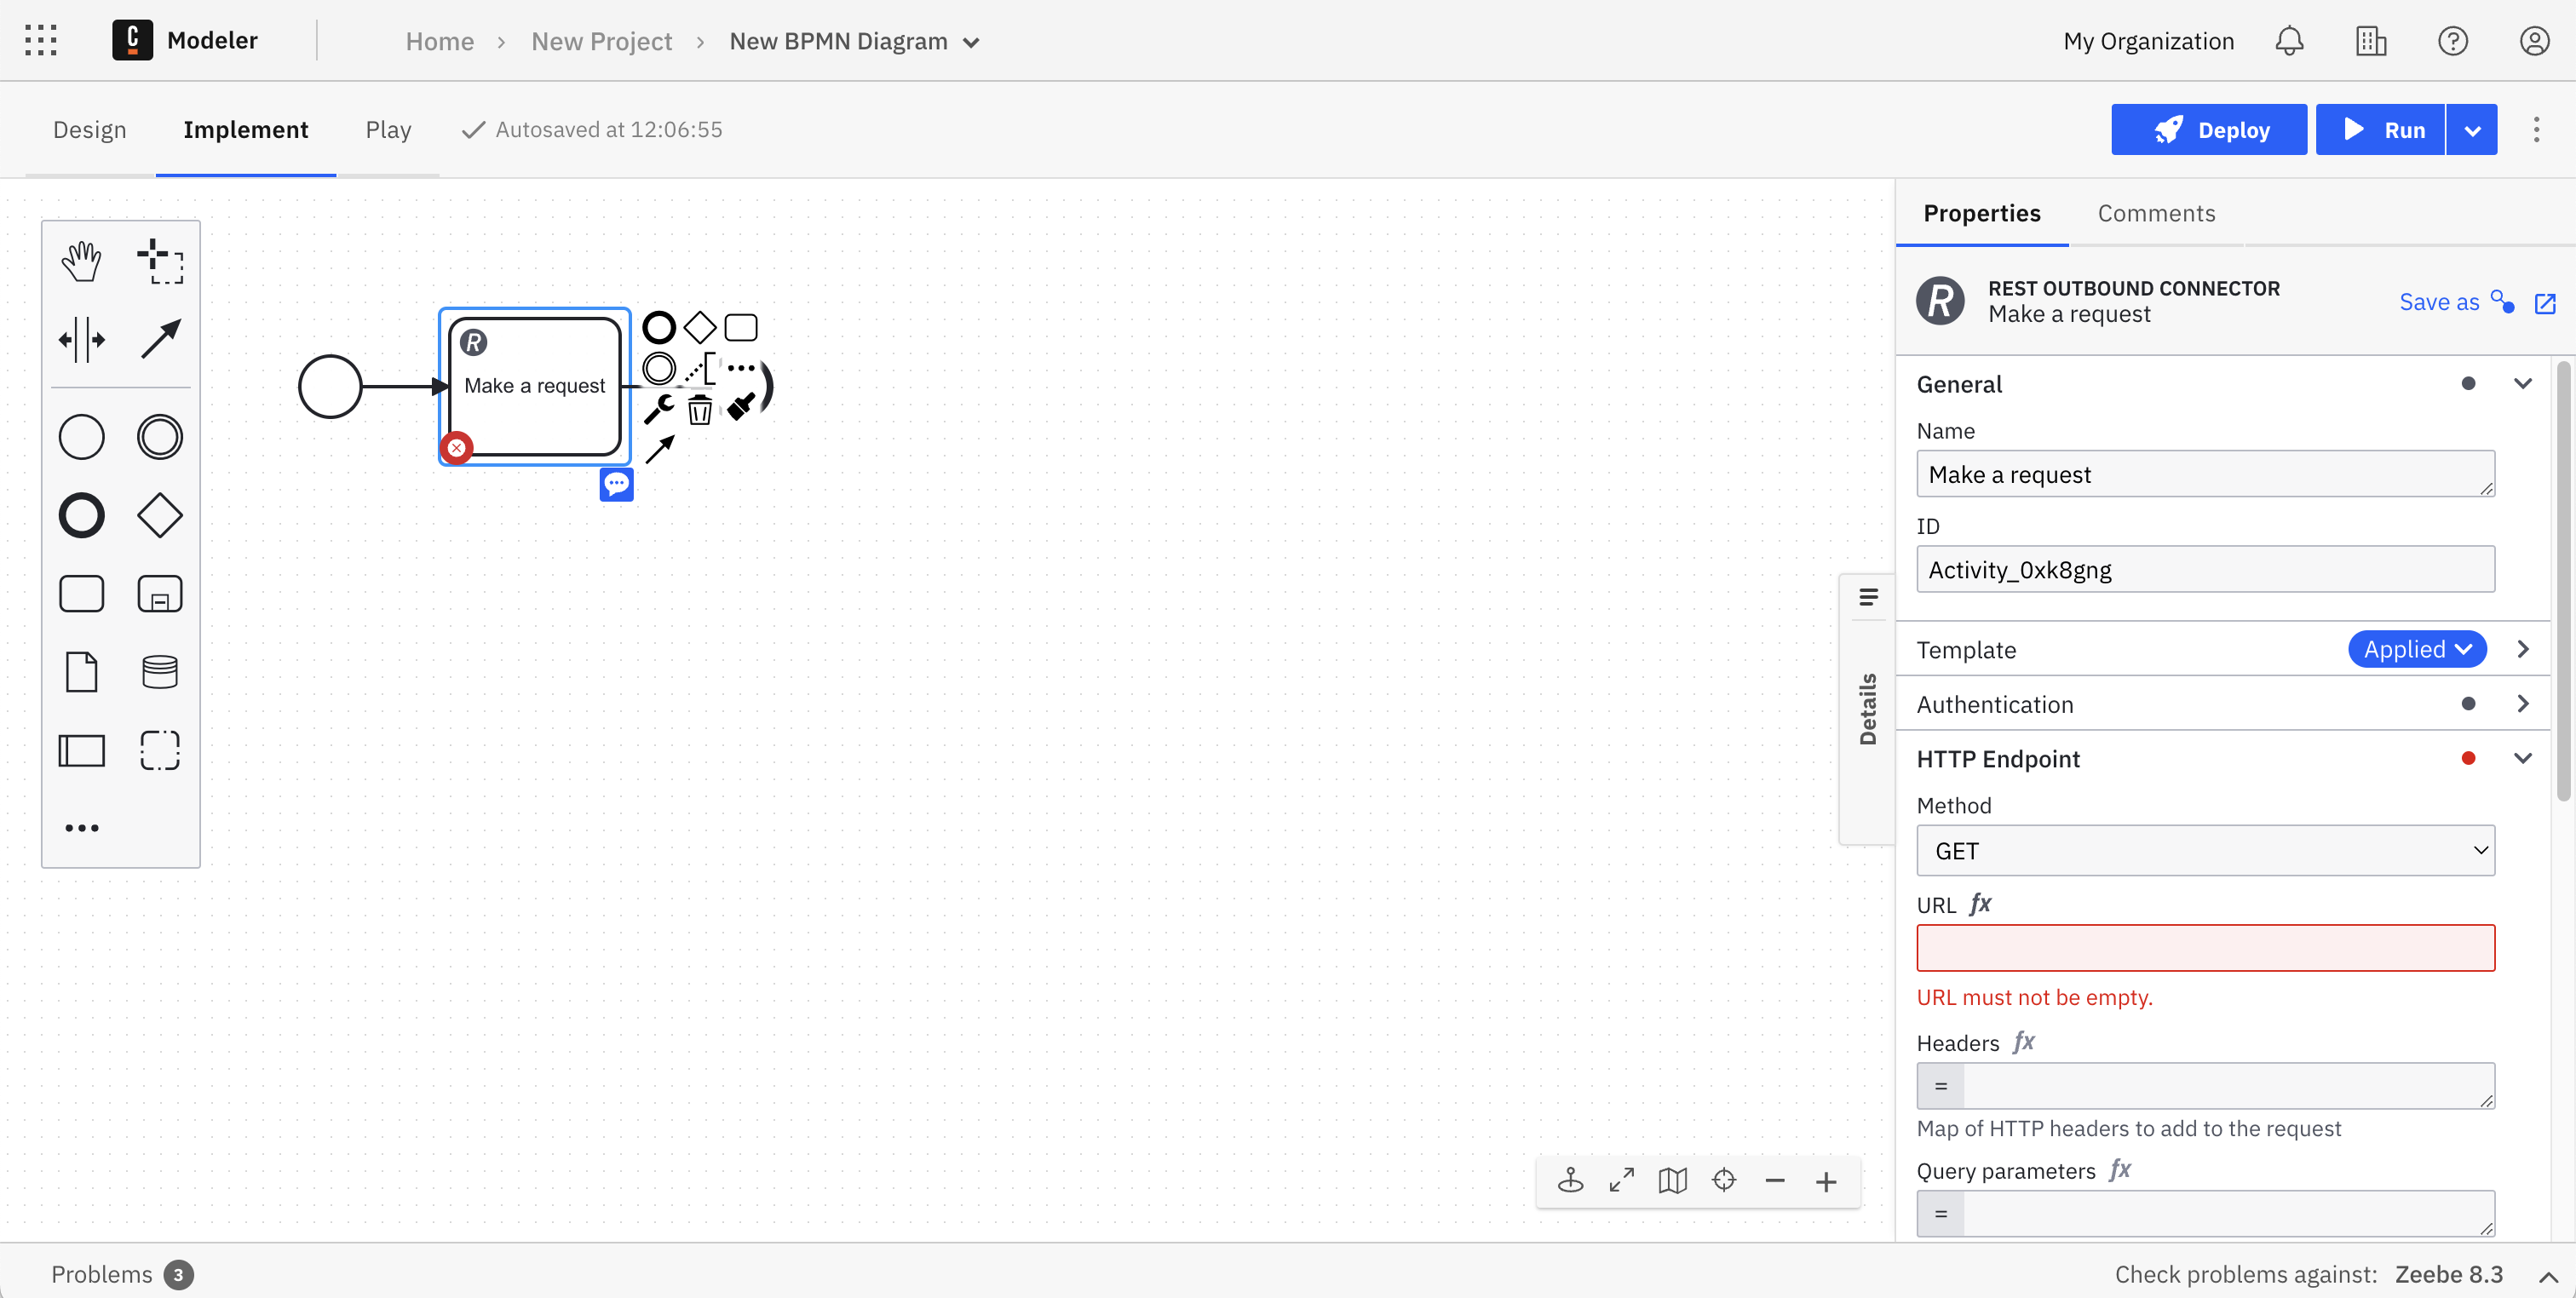
Add a descriptive name using the General section in the properties panel. For this guide, we'll use
Make a request.
Step 2: Make your REST connector executable

To make the REST connector executable, fill out the mandatory URL field in the HTTP Endpoint section (highlighted in red) in the properties panel with https://catfact.ninja/fact so we can get a random cat fact from the Cat Fact API for this example.
Step 3: Handle your response
The HTTP response will be available in a temporary local response variable. This variable can be mapped to the process by specifying Result Variable.
In the Response Mapping section use ={"body" : body} as the Result Expression so you can see the entire JSON object returned if it's successful.
Step 4: Deploy your process
To deploy your process, take the following steps:
- Drag the bolded circular end event element from the palette and onto the canvas, or by clicking on the final service task, and then the end event element alongside it. Ensure there is an arrow connecting the service task to the end event.
- In the top right corner click the blue Deploy button. Your diagram is now deployed to your cluster.
note
If you have not yet created a cluster, clicking Deploy will take you to the console to create a cluster. Once you make your cluster creation request, you will automatically be redirected back to Modeler. The creation of a cluster can take 1 to 5 minutes. To read more about creating clusters, visit our documentation on creating a cluster.
- Start a new process instance by clicking on the blue Run button.
- In the top left corner of the screen, click the square-shaped Camunda components button. Navigate to Operate to see your process instance with a token waiting at the service task by clicking View process instances.
Wrap up
Congratulations! You successfully built your first API orchestration solution with Camunda 8.
Camunda 8 empowers users to automate processes faster. connectors are reusable components that allow you to access APIs without writing code.
Don't want to build the process yourself? Click this button to create it from a template in Camunda 8 SaaS, or sign up first.
Additional resources and next steps
- Learn more about Camunda 8 and what it can do by reading What is Camunda 8 or watching our Overview video in Camunda Academy.
- Learn about types of connectors
- Use connectors in your BPMN process
- Camunda Academy: Generate a Connector Template from an API Specification