Save tasks as element templates
Element templates allow you to create reusable, configurable building blocks that can be shared across your organization.
With the Save as template feature, you can convert any supported task into an element template.
Supported task types
The Save as template feature is available for the following BPMN activity types:
- Service task
- User task
- Send task
- Receive task
- Business rule task
- Script task
- Manual task
- Call activity
You cannot create a template for the undefined task type.
Create an element template from a task
You can save any supported task as an element template directly from the properties panel in Web Modeler.
Configure your task with the desired properties, save it as a template, and optionally customize it further in the template editor.
Prerequisites
Before saving a task as a template:
- Ensure the task is properly configured with the desired properties.
- Resolve any validation errors on the task. The Save as template button is disabled if errors are present.
Step 1: Configure your task
First, configure your task with all the necessary properties you want to include in your template.
The configuration depends on your task type and use case.
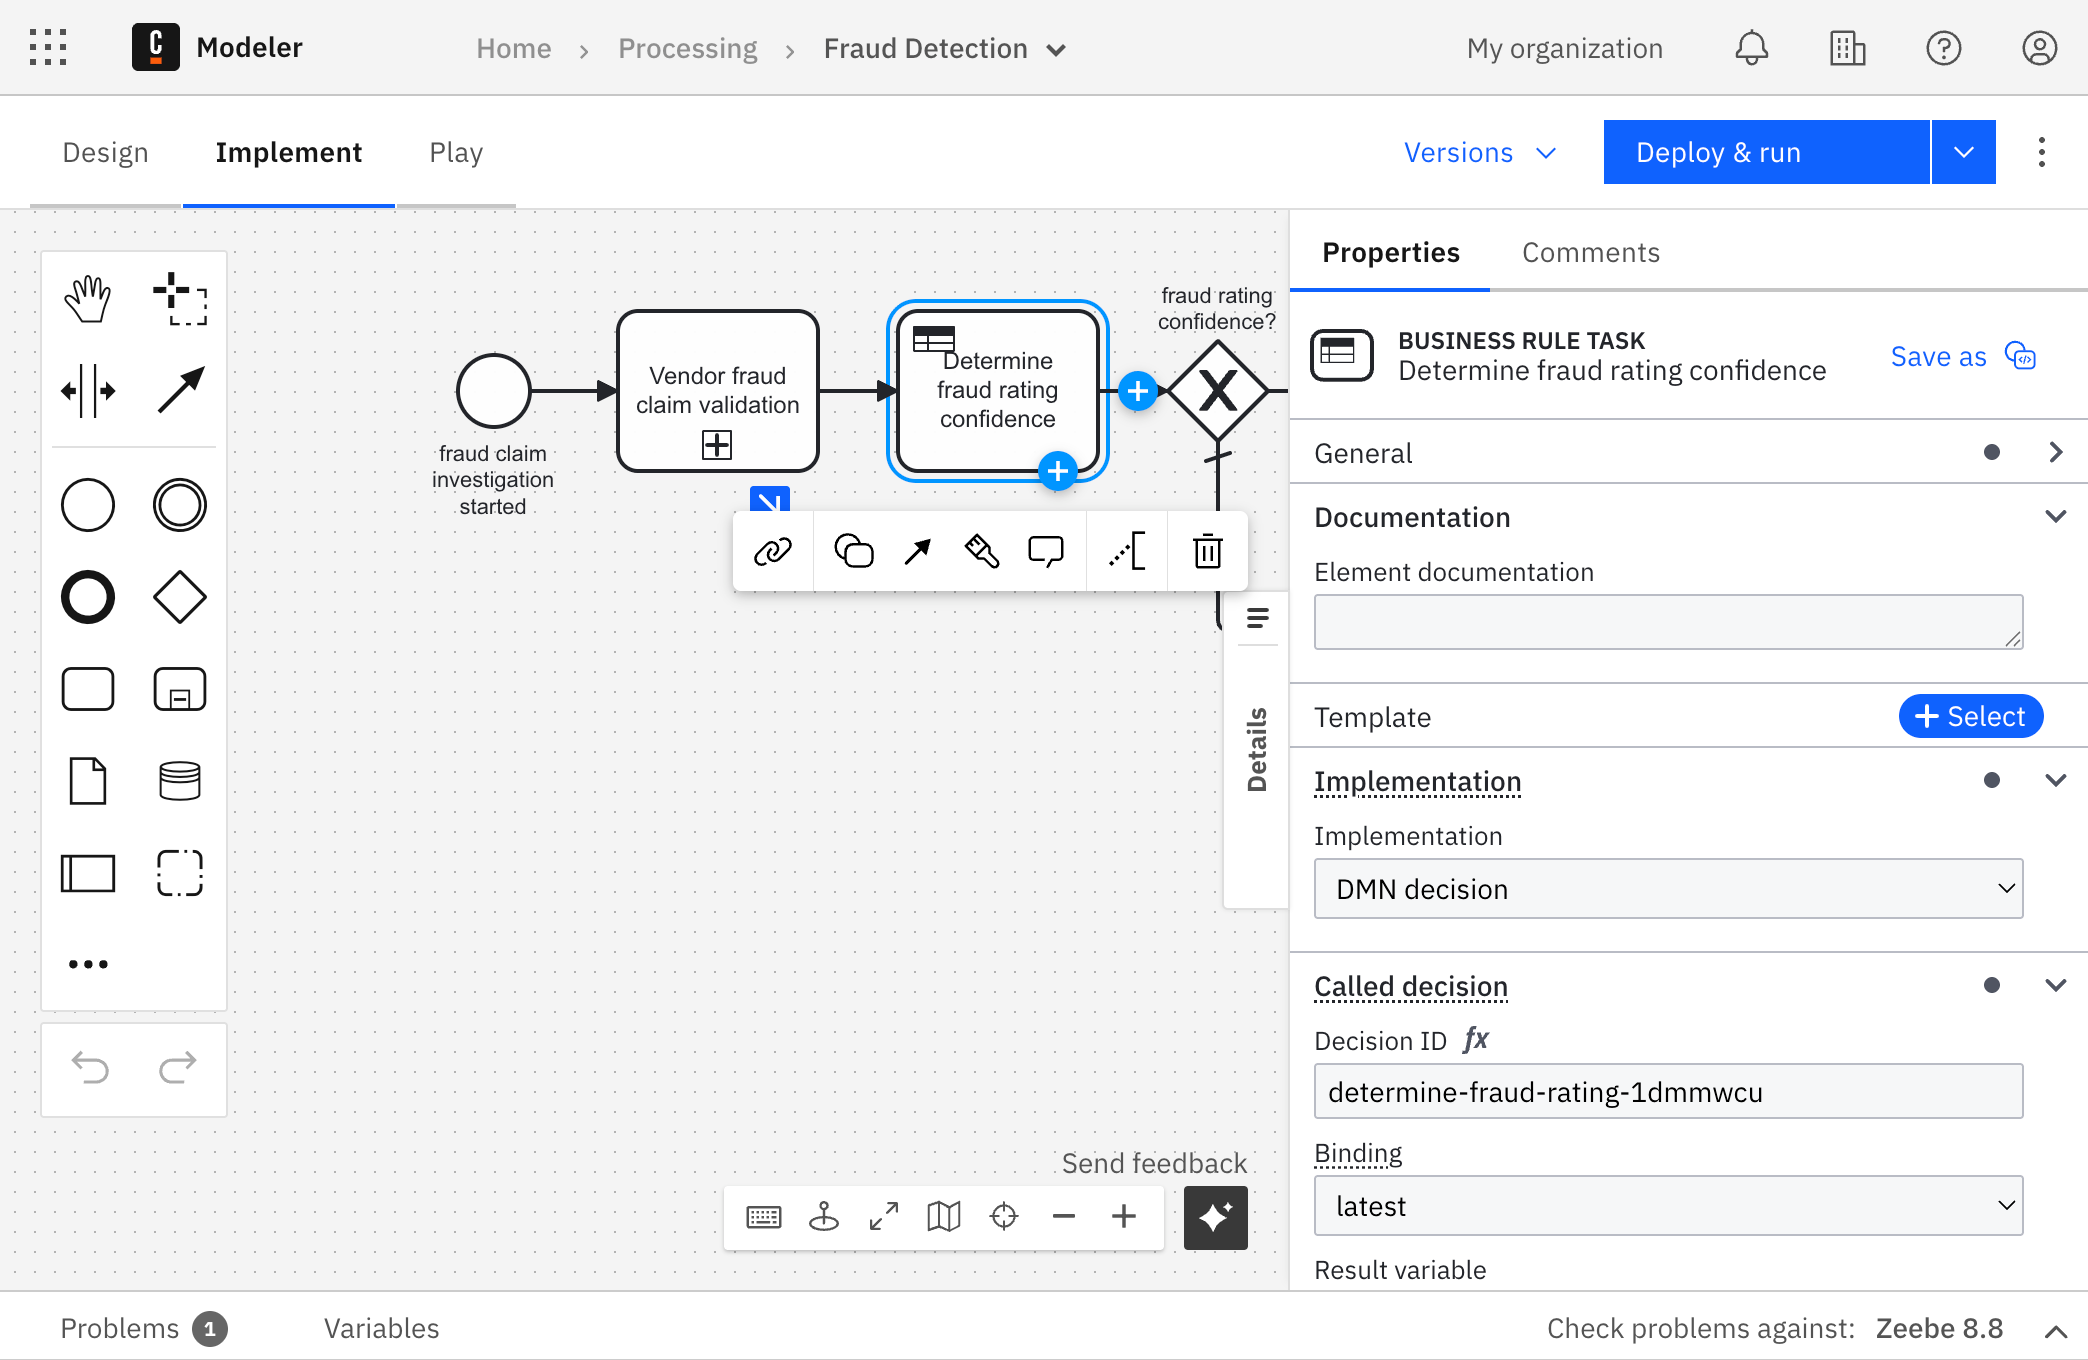
In this example, we'll configure a business rule task for fraud detection:
-
Select a task in your BPMN diagram.
-
Configure the task with the properties you need. For example, set up a business rule task by defining:
- Implementation: Choose the implementation type (for example, DMN decision).
- Called decision: Reference the decision to be invoked.
- Binding type: Select the resource binding type. We recommend using
versionTagto ensure that the template always references a compatible resource version. - Result variable: Define where to store the decision result.
- Add any required input/output mappings for your business logic.
Step 2: Save the task as a template
-
With your configured task selected, look for the Save as button (template icon) in the top-right corner of the properties panel.
-
Click the Save as button to open the template configuration dialog.
-
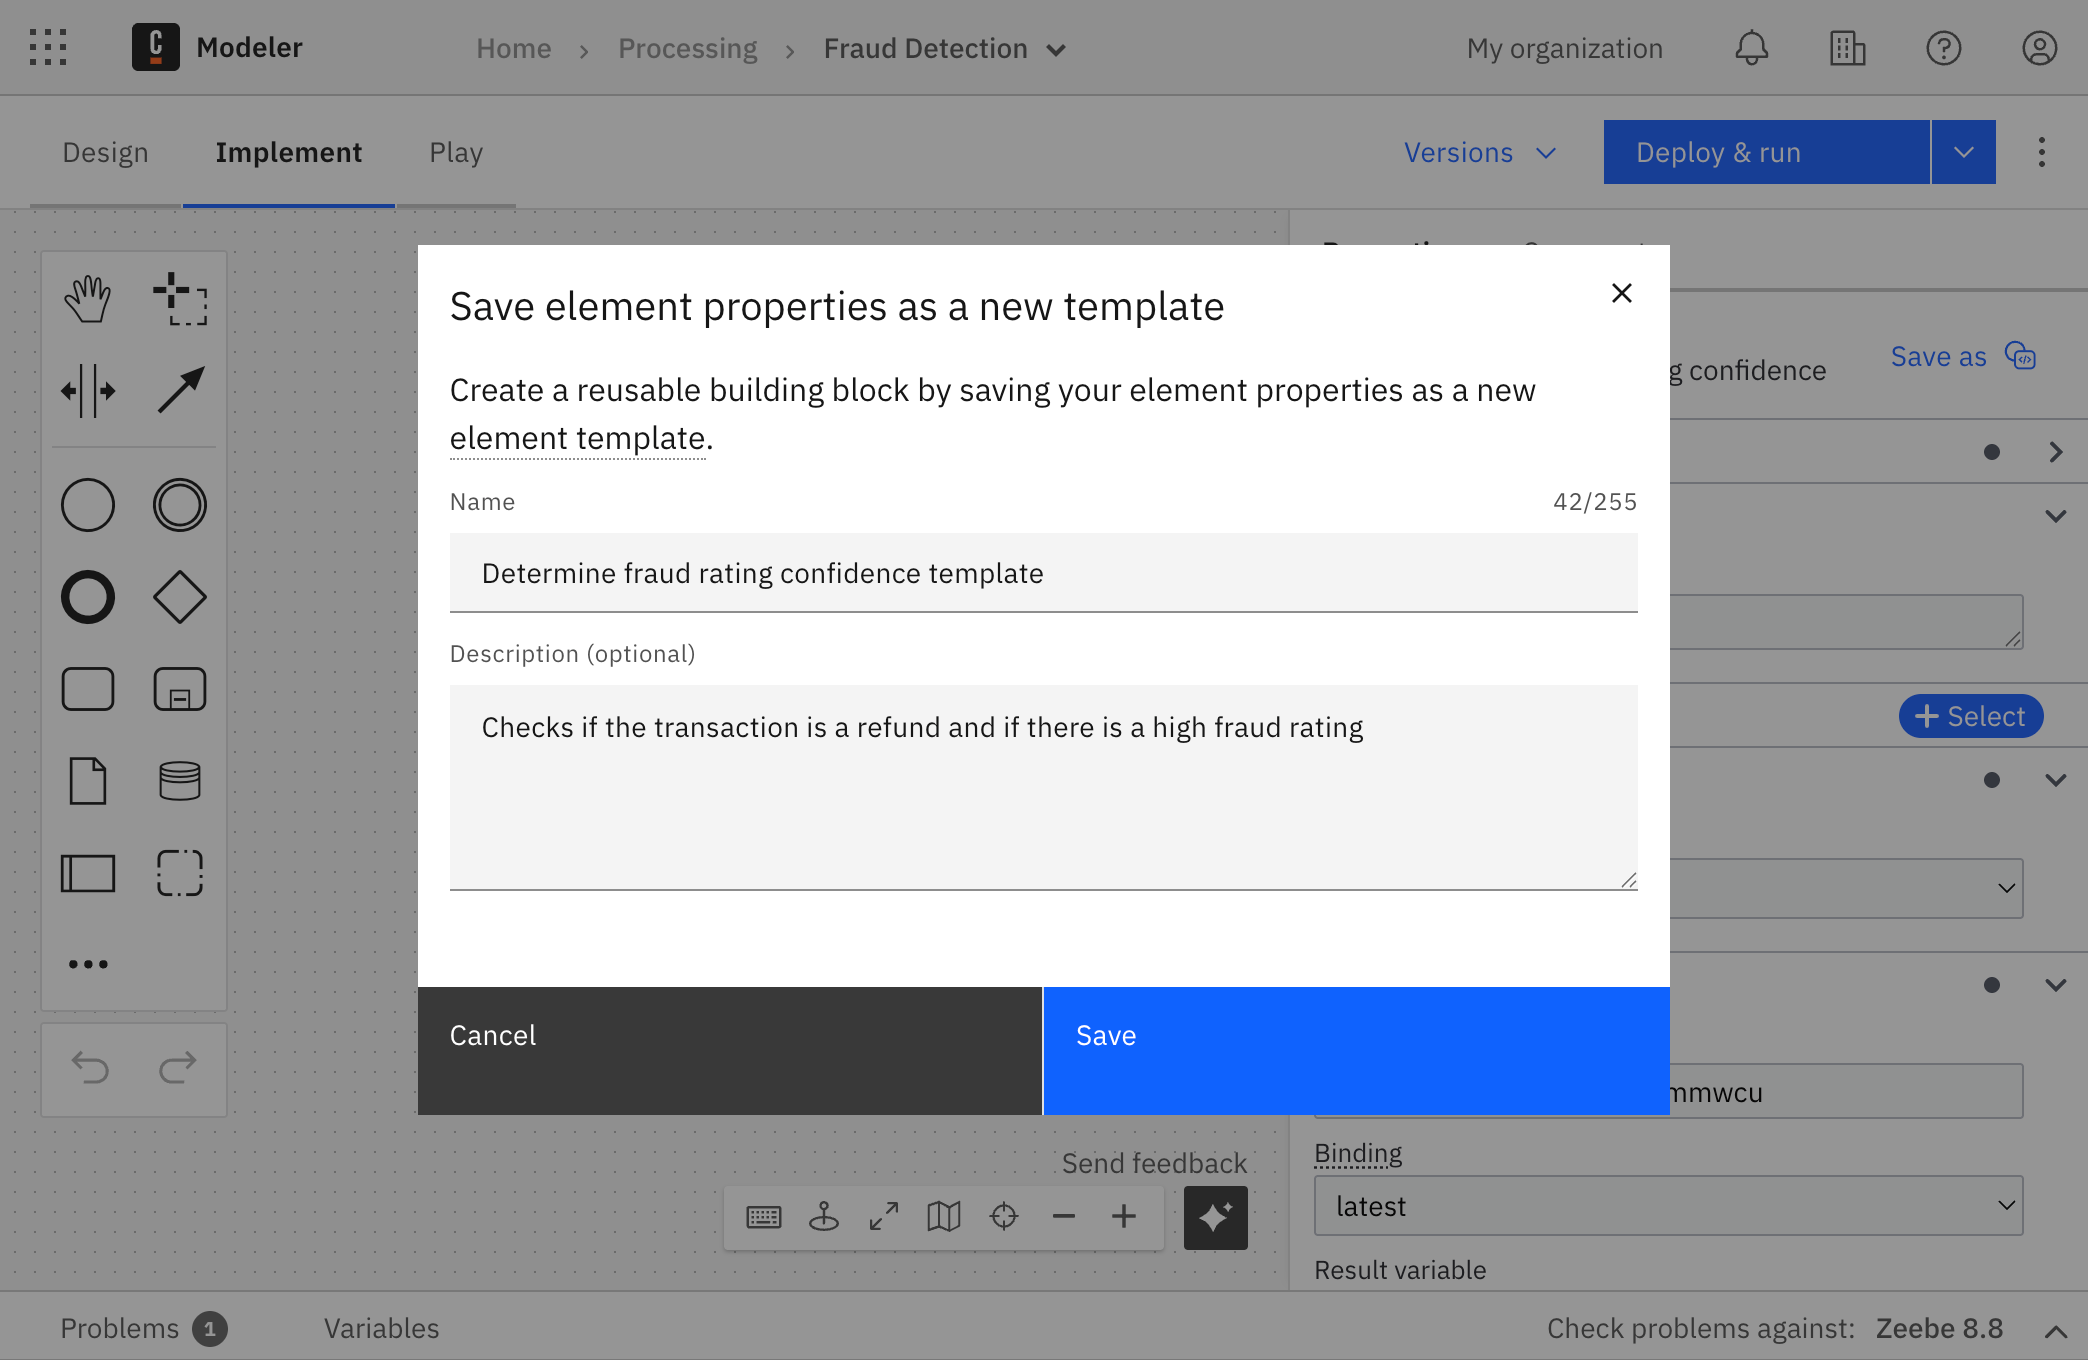
In the Save element properties as a new template dialog, provide:
- Name: Enter a descriptive name (for example, "Determine fraud rating confidence template").
- Description: Provide a detailed explanation of what the template does (for example, "Checks if the transaction is a refund and if there is a high fraud rating").
-
Click Save to create your template.
-
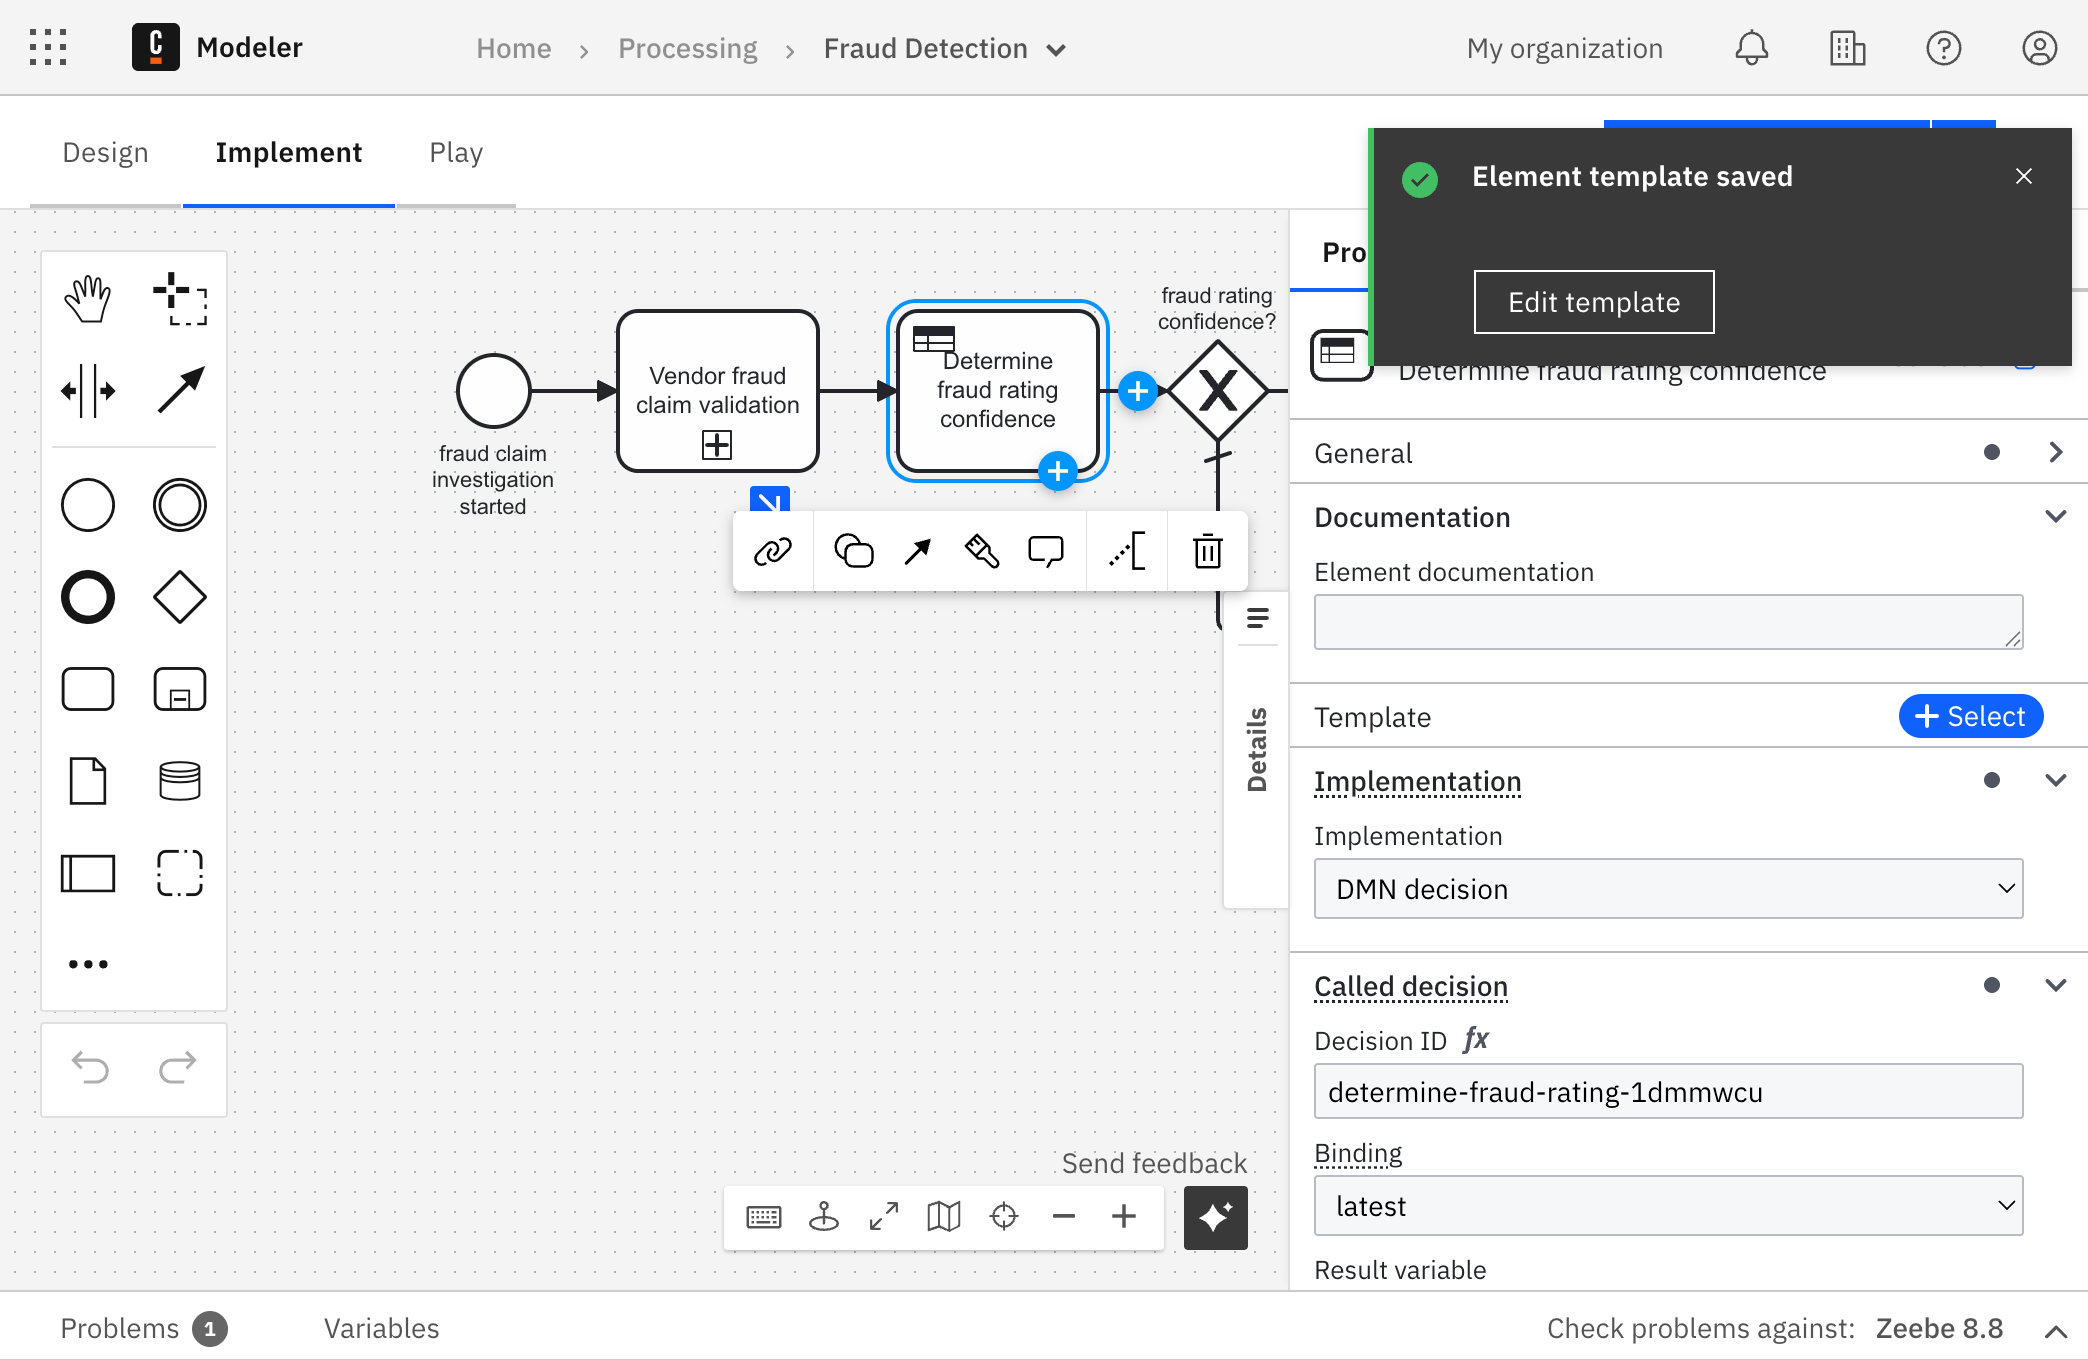
You'll see an "Element template saved" notification with an option to Edit template.
Step 3: Customize your template
If you want to further customize or publish your template:
-
Click Edit template from the notification to open the template editor.
-
The template editor allows you to:
- Modify template properties and bindings.
- Set up validation and constraints for user input.
- Configure template groups and categories.

By default, all properties are set to
"type": "String", making them visible and editable in the properties panel.
To make your template easier to use, hide unnecessary properties with"type": "Hidden", or use a dropdown ("type": "Dropdown") with limited options.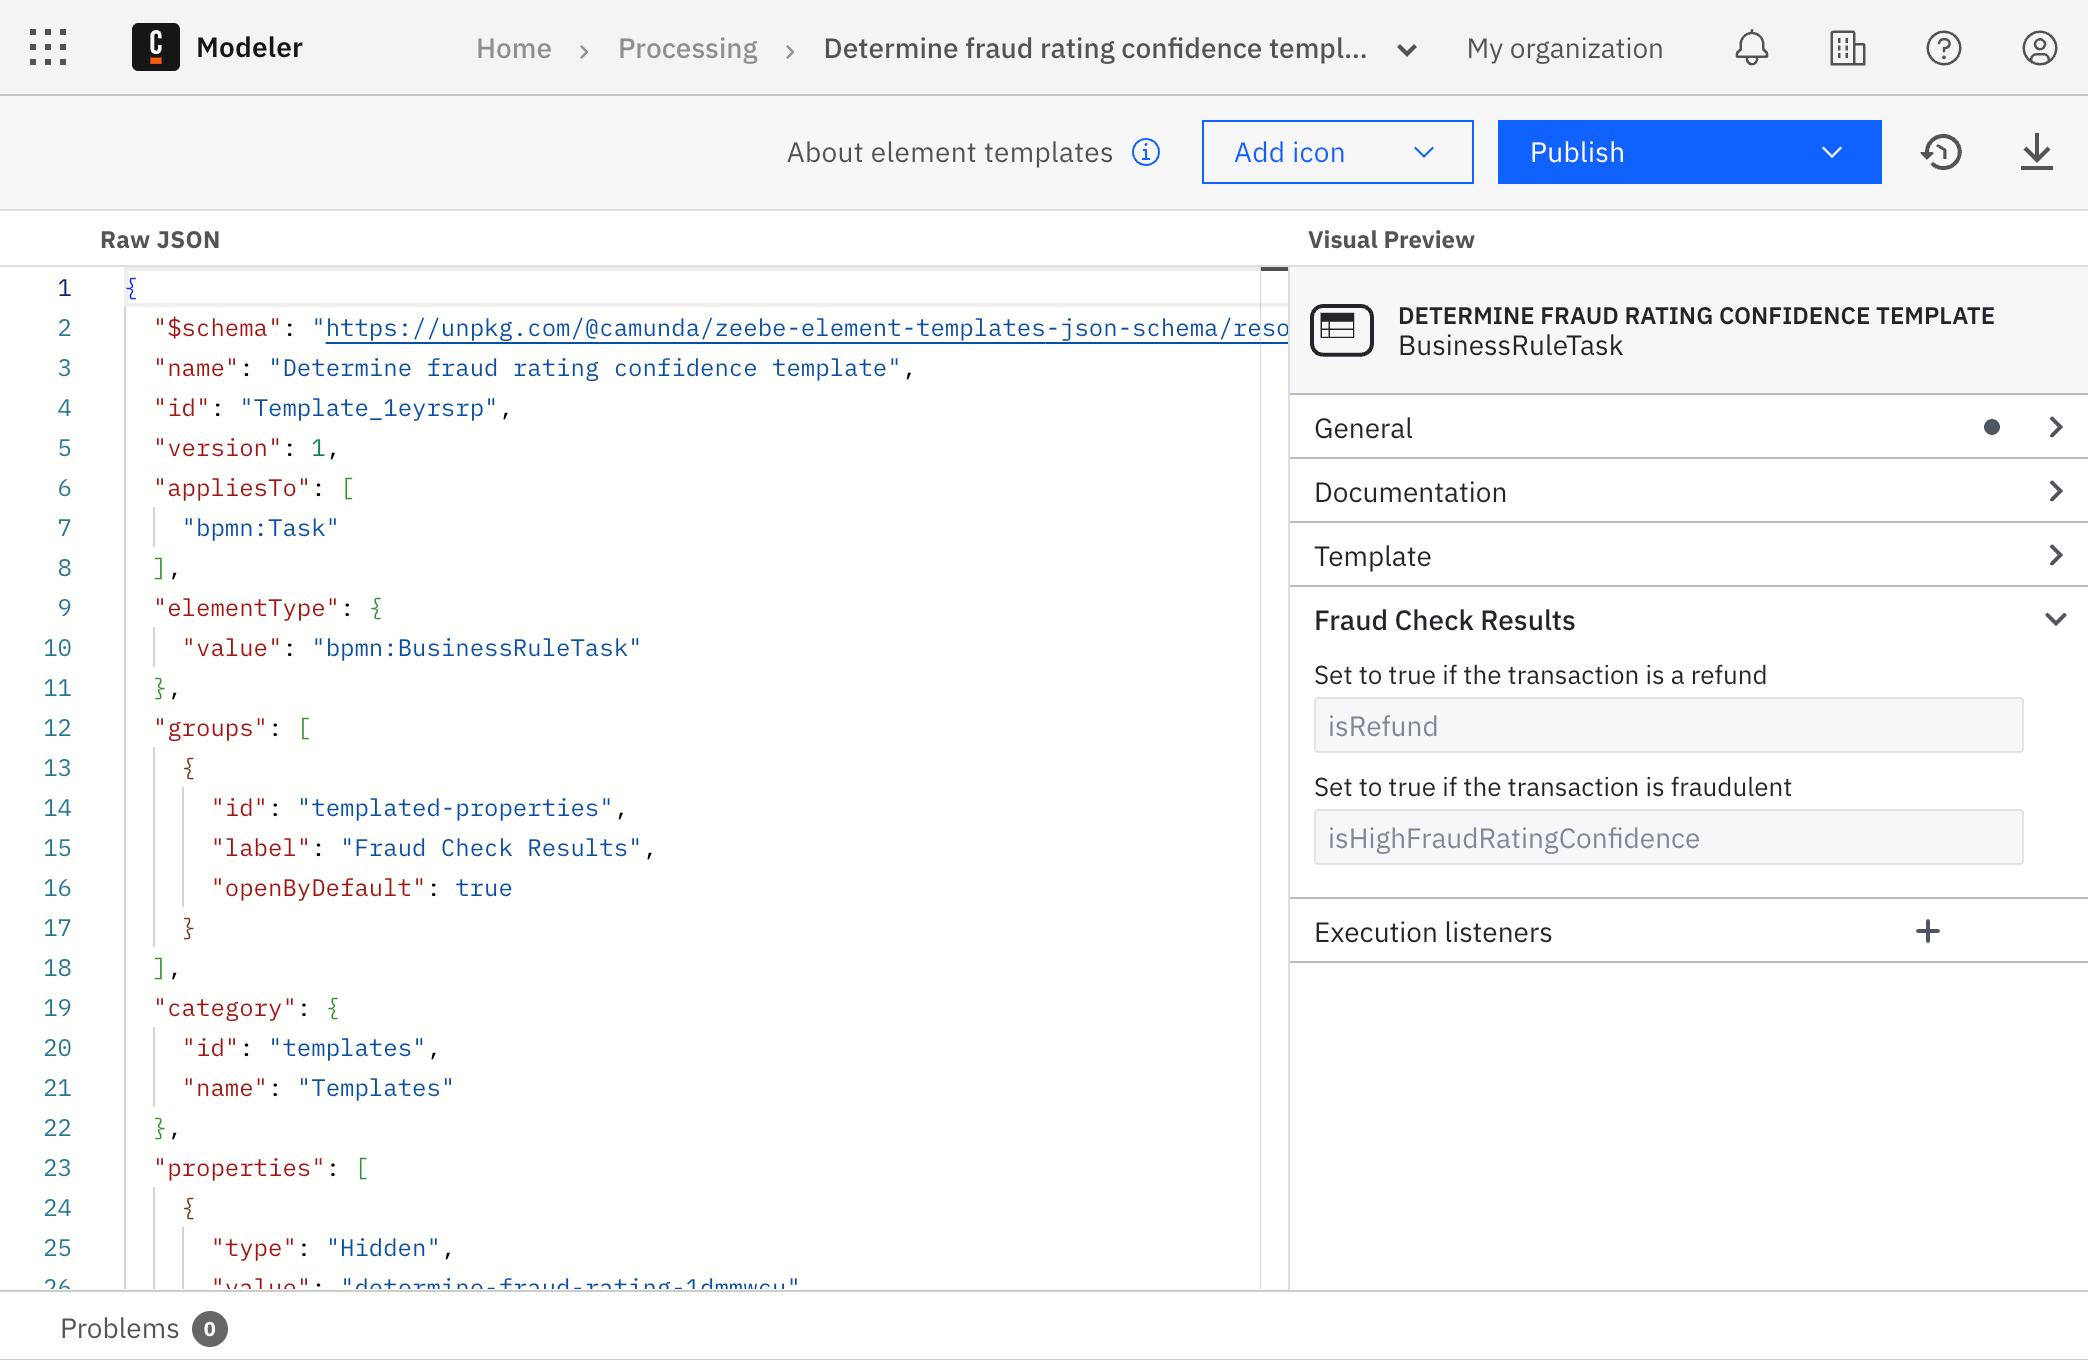
Step 4: Publish your template
-
When you're ready to make the template available to your team, click Publish to add it to your project or organization's shared resources.
-
If your template references dependencies (for example, another process or a DMN decision), a warning will remind you to ensure these dependencies are deployed in the runtime environment.
Dependencies are not included in the template and must be managed separately.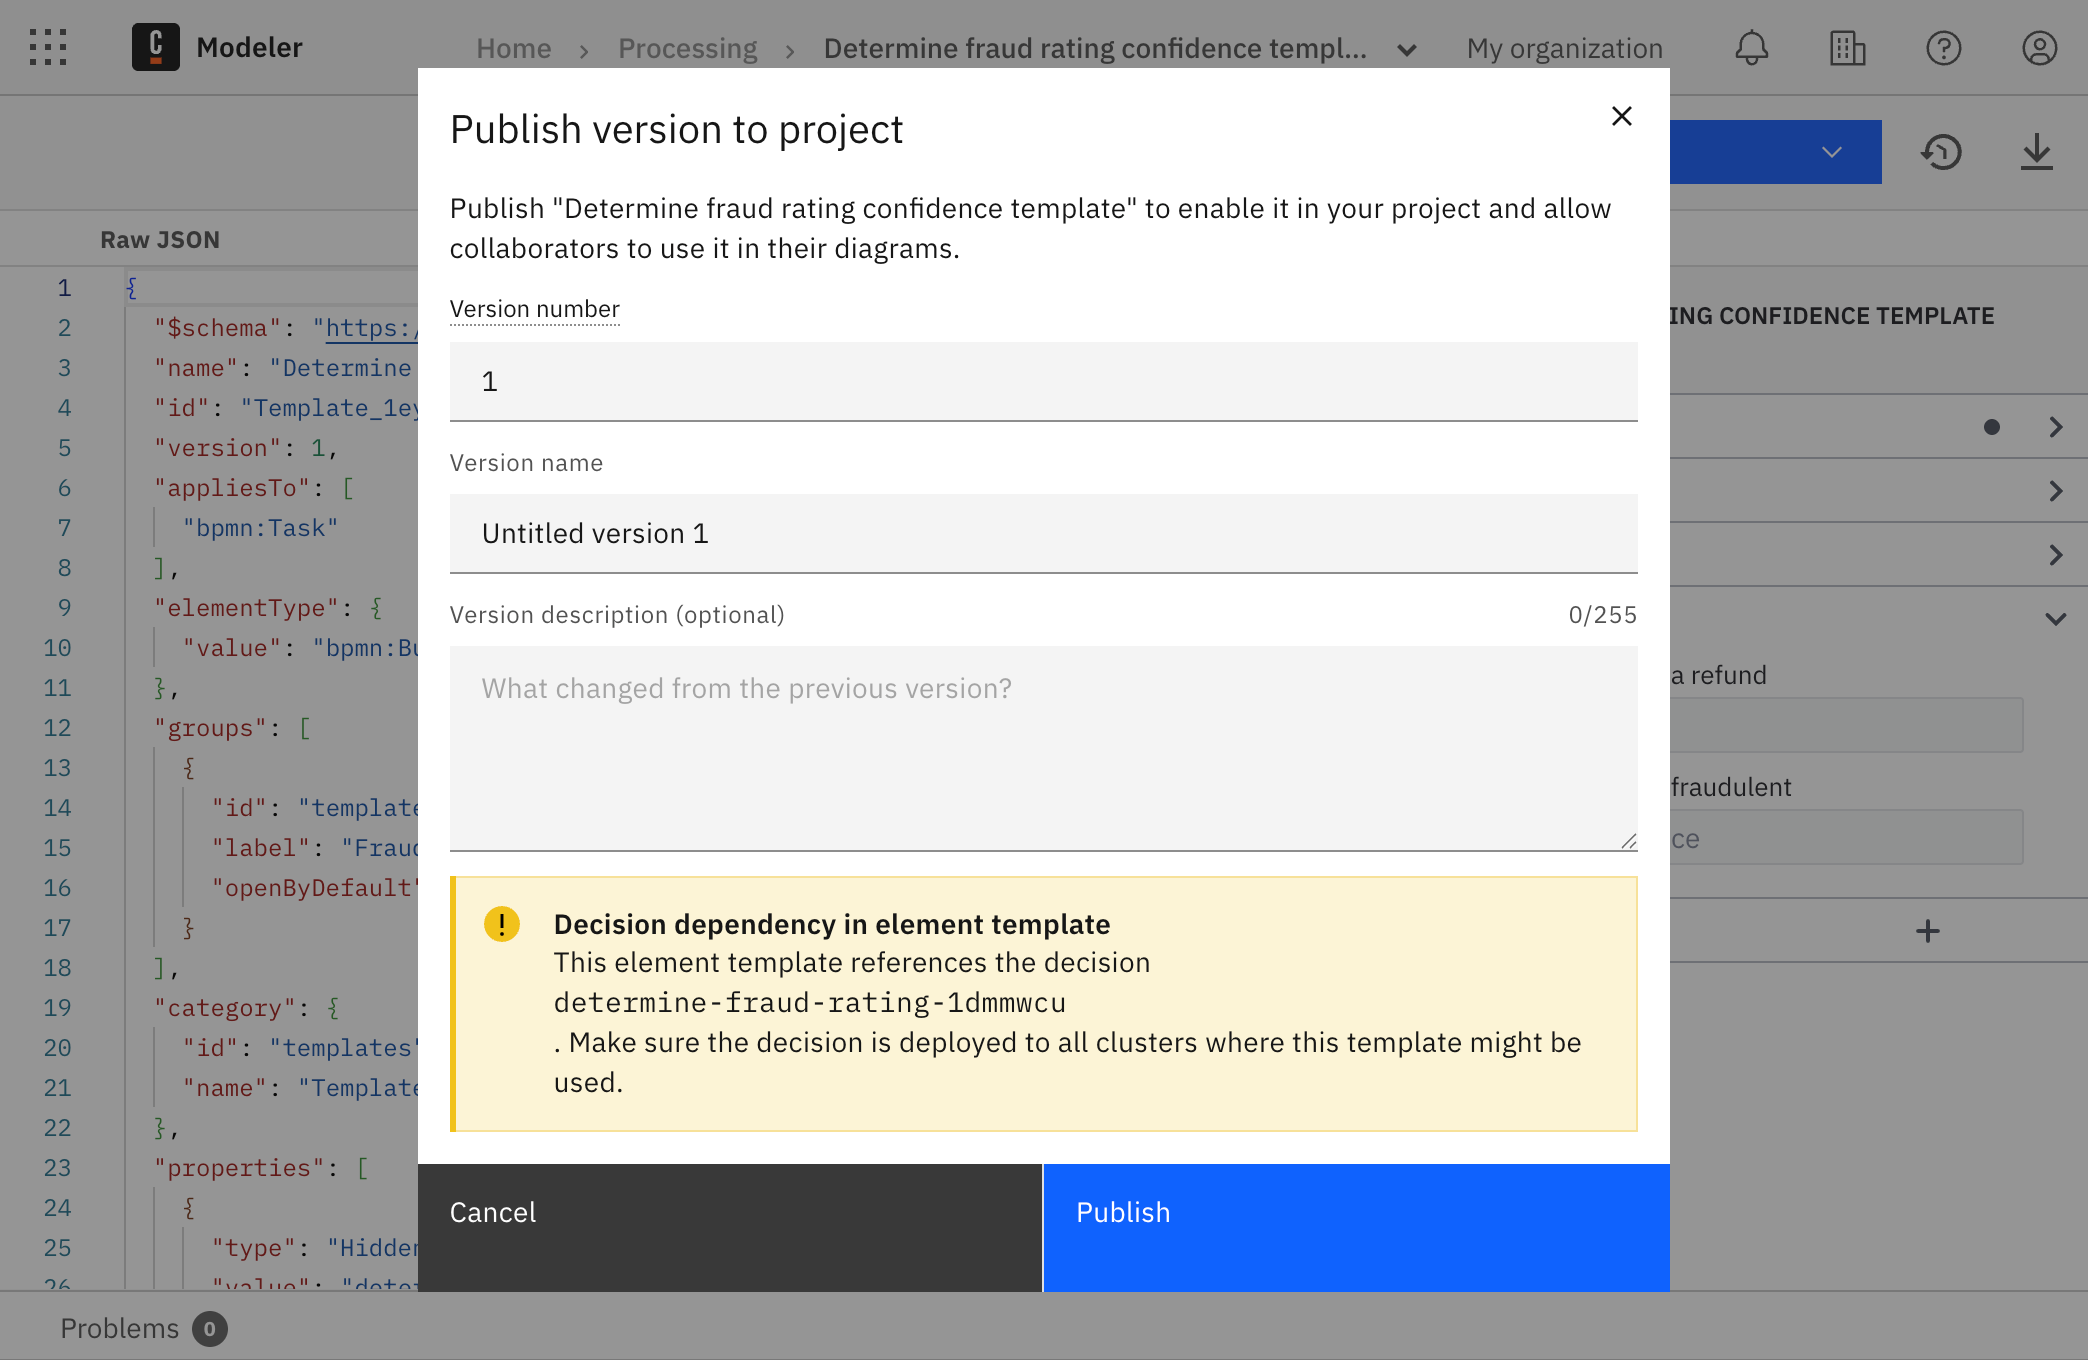
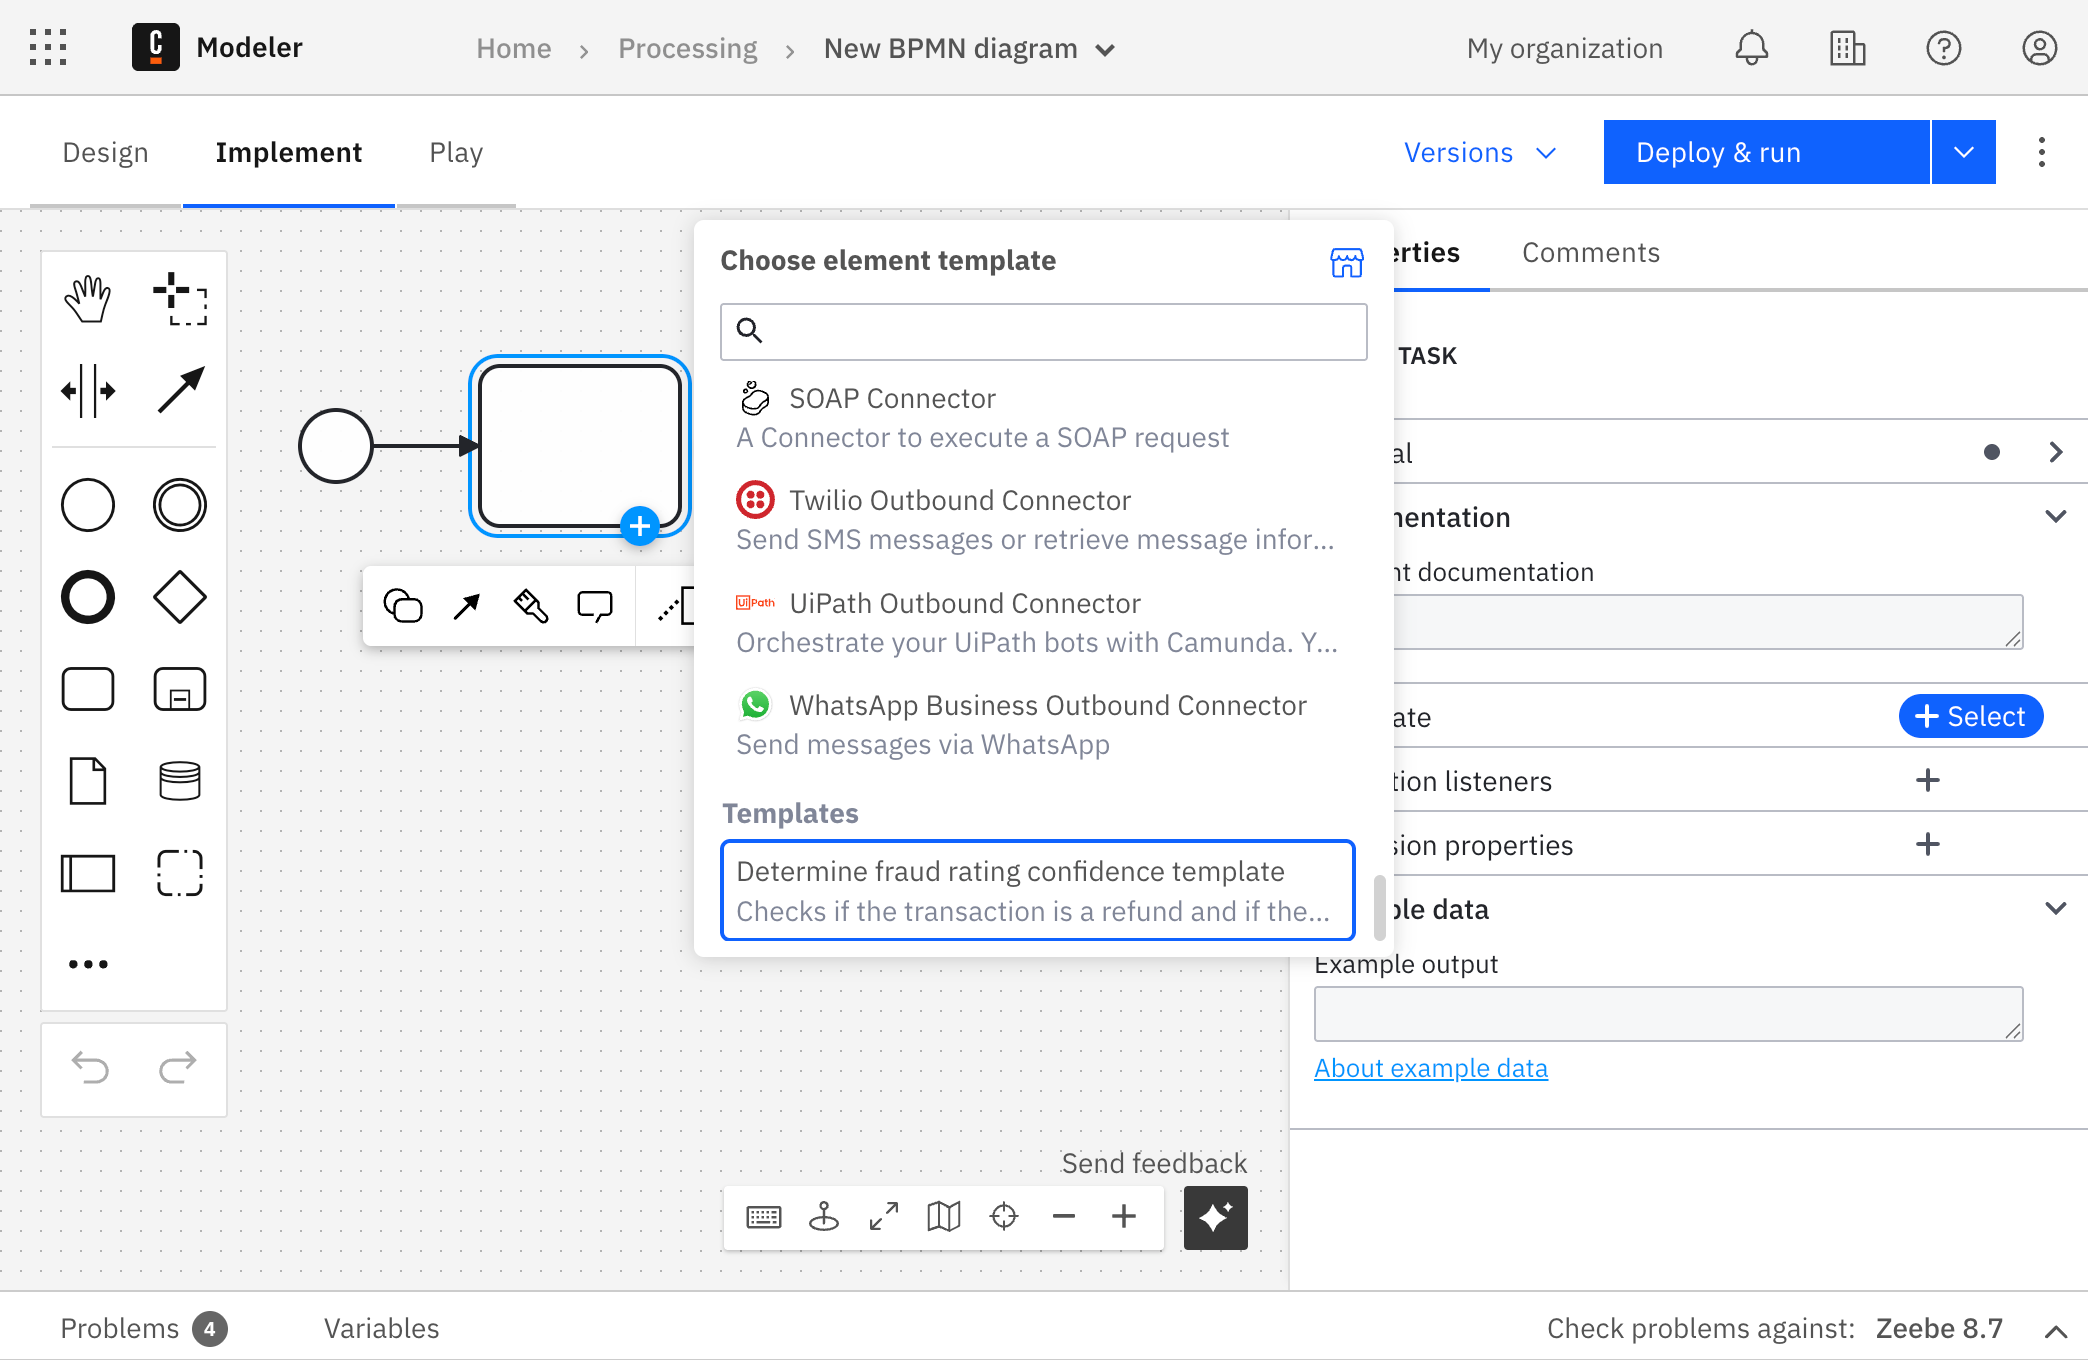
Step 5: Use your new template
Once you've created and published a template, you can use it in a diagram:
-
Add a new task to your diagram or select an existing one.
-
Apply the template by:
- Clicking Change element on the task, or
- Clicking Select in the Template section of the properties panel.
-
In the template selection dialog, find your template (for example, "Determine fraud rating confidence template") under the assigned category. By default, templates are listed under "Templates".
-
Select the template to apply it to your task. The task will automatically be configured with all template settings, including decision references, bindings, and variable mappings.
Understand template property bindings
When you save a task as a template, Web Modeler automatically converts the task's properties into template bindings:
- Input/output mappings
- Task headers
- Zeebe properties
- Element-specific properties (for example,
calledDecision,calledElement) - Message references (for message-related tasks)
Only properties supported by element templates are included. Unsupported properties remain visible in the properties panel after you apply the template.
For a list of supported properties, see the element templates reference.
When template creation is unavailable
The Save as template button is disabled in the following scenarios:
- You are not in Web Modeler's implementation mode.
- The task has validation issues.
- The element type is not supported (blank tasks, events, subprocesses, etc.).
- You don't have permissions to create templates.
Fixing validation issues will enable the button if the task type is supported.
Best practices
When creating templates from tasks:
- Create focused templates: Each template should serve a clear purpose.
- Hide details: Expose only the necessary properties.
- Validate input: Use constraints to enforce valid input and provide meaningful errors.
- Manage dependencies: Ensure referenced decisions or variables exist in the runtime environment. Use
versionTagbindings for dependencies to avoid version conflicts. - Use meaningful parameter names: Give configurable fields descriptive names.
- Test your templates: Apply them to a task to confirm they work as expected.