Tenants
Use Identity to manage Orchestration Cluster tenants and isolate data within a single cluster.
About tenants
A tenant is a logical boundary for data within a Camunda 8 installation.
This enables multiple teams, departments, or clients to share a single environment while keeping data isolated.
To learn more about tenants, see multi-tenancy.
You can manage your Orchestration Cluster tenants directly in Identity.
- Tenancy is enabled by default.
- Tenancy checks are disabled by default. All data maps to the
<default>tenant.
This allows administrators to set up tenants and assignments before enforcing tenancy checks.
To enable multi-tenancy checks, see Self-Managed configuration properties.
Create a tenant
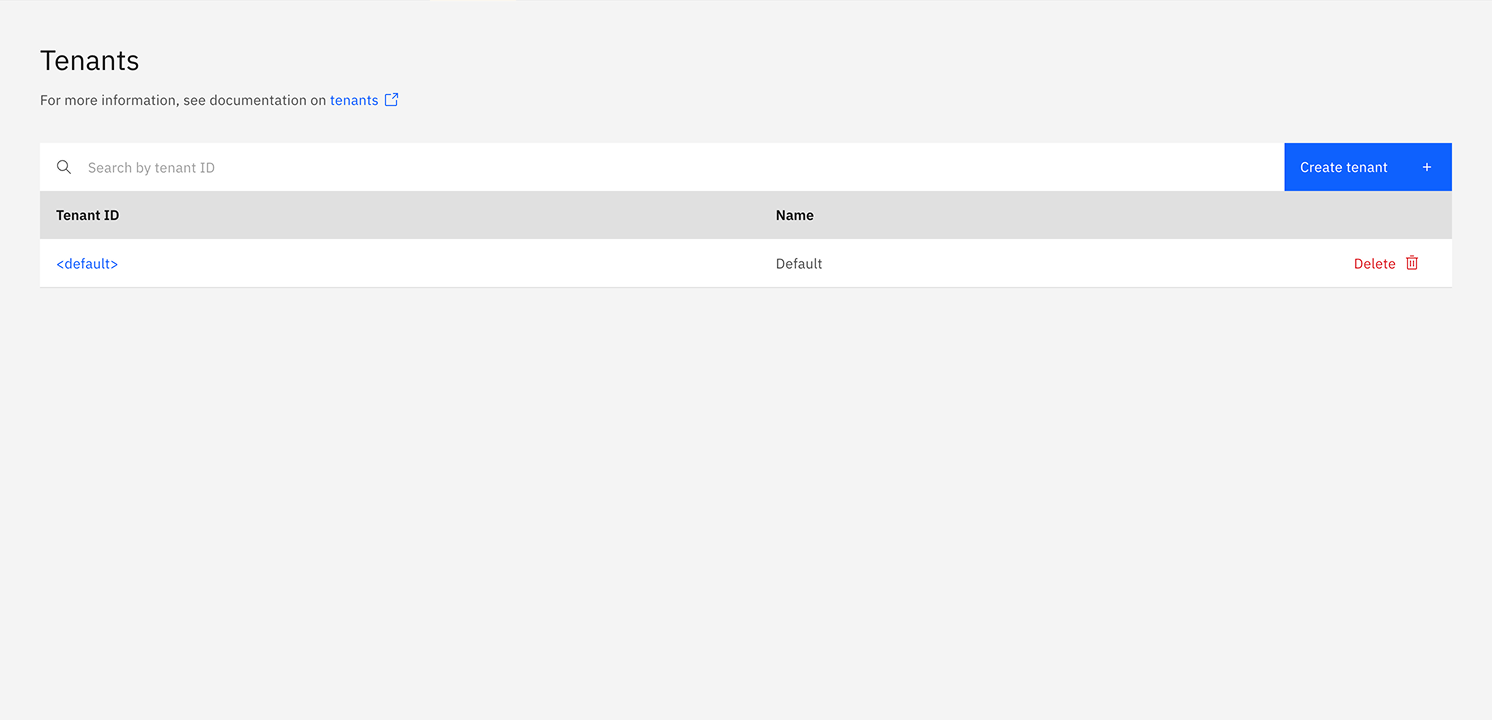
The <default> tenant is automatically created when Identity starts.
-
Log in to Identity and open the Tenants tab.
-
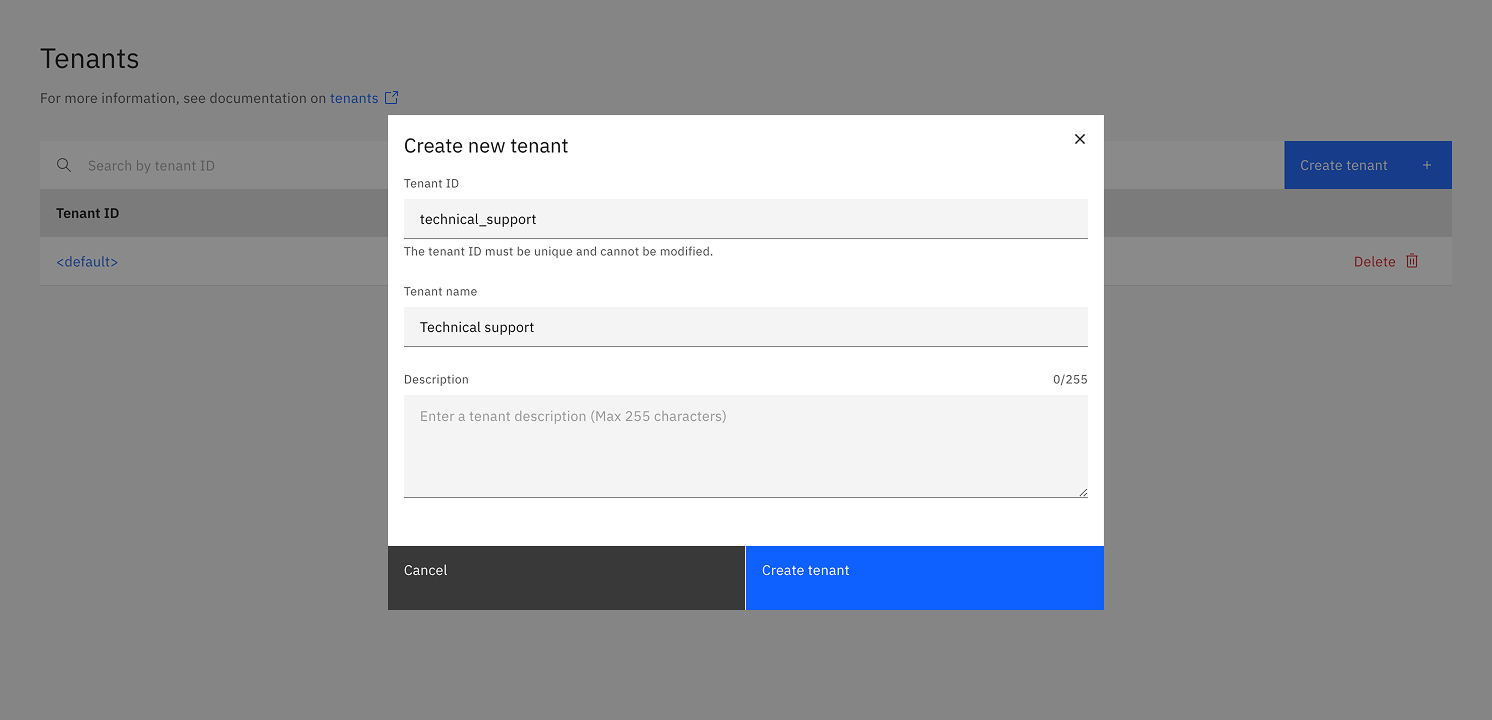
Click Create tenant. In the modal, provide the tenant ID, name, and optional description. Then click Create tenant.
-
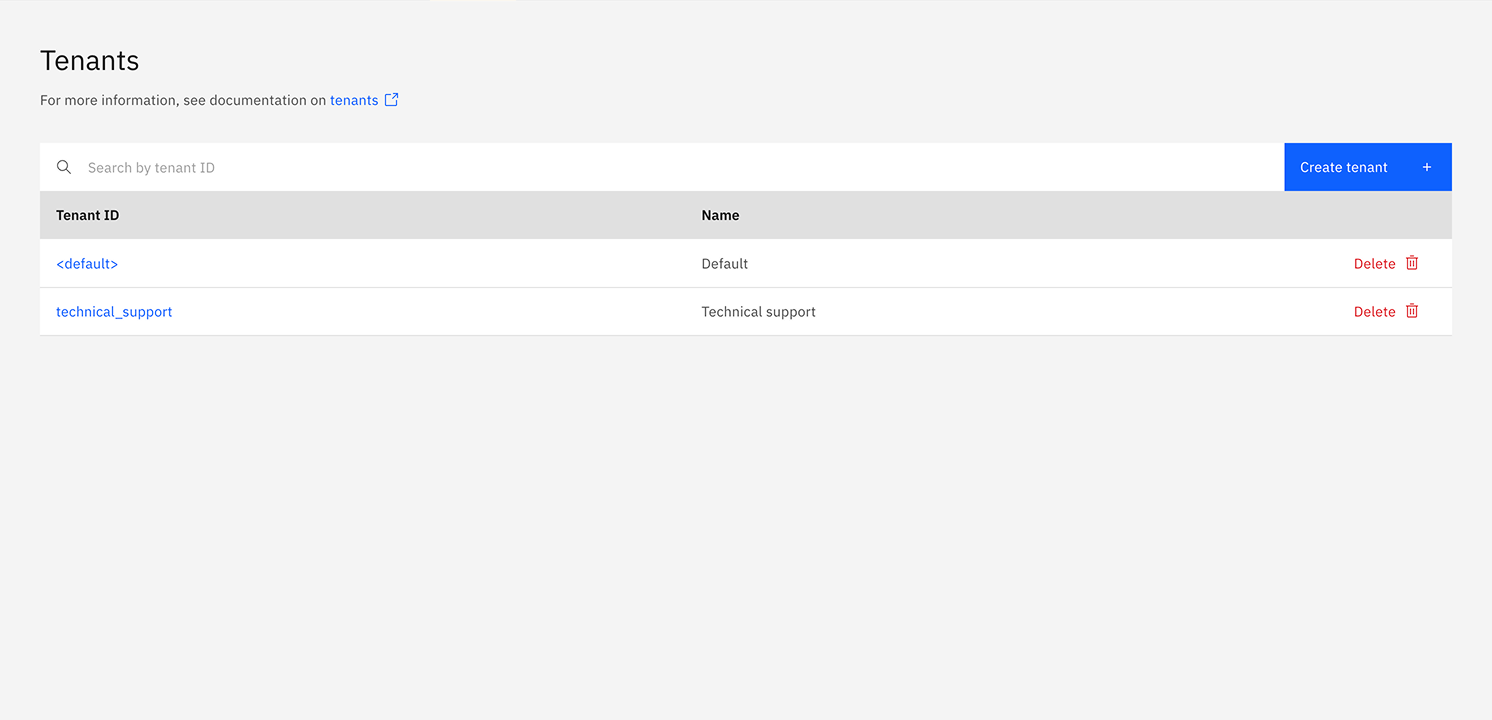
The tenant appears in the list. If not, refresh the page.
-
Click the tenant to open details and manage assignments.
Update and delete a tenant
Tenants cannot be updated after creation. To change a tenant's details, you must delete the tenant and then create a new tenant with the details you require.
To delete a tenant, click on the Delete option in the list of tenants, and confirm the deletion.
The <default> tenant is a system entity and cannot be deleted.
Tenant assignments
You can assign the following entities to a tenant:
You can manage these assignments by selecting the relevant tab on the tenant details page.
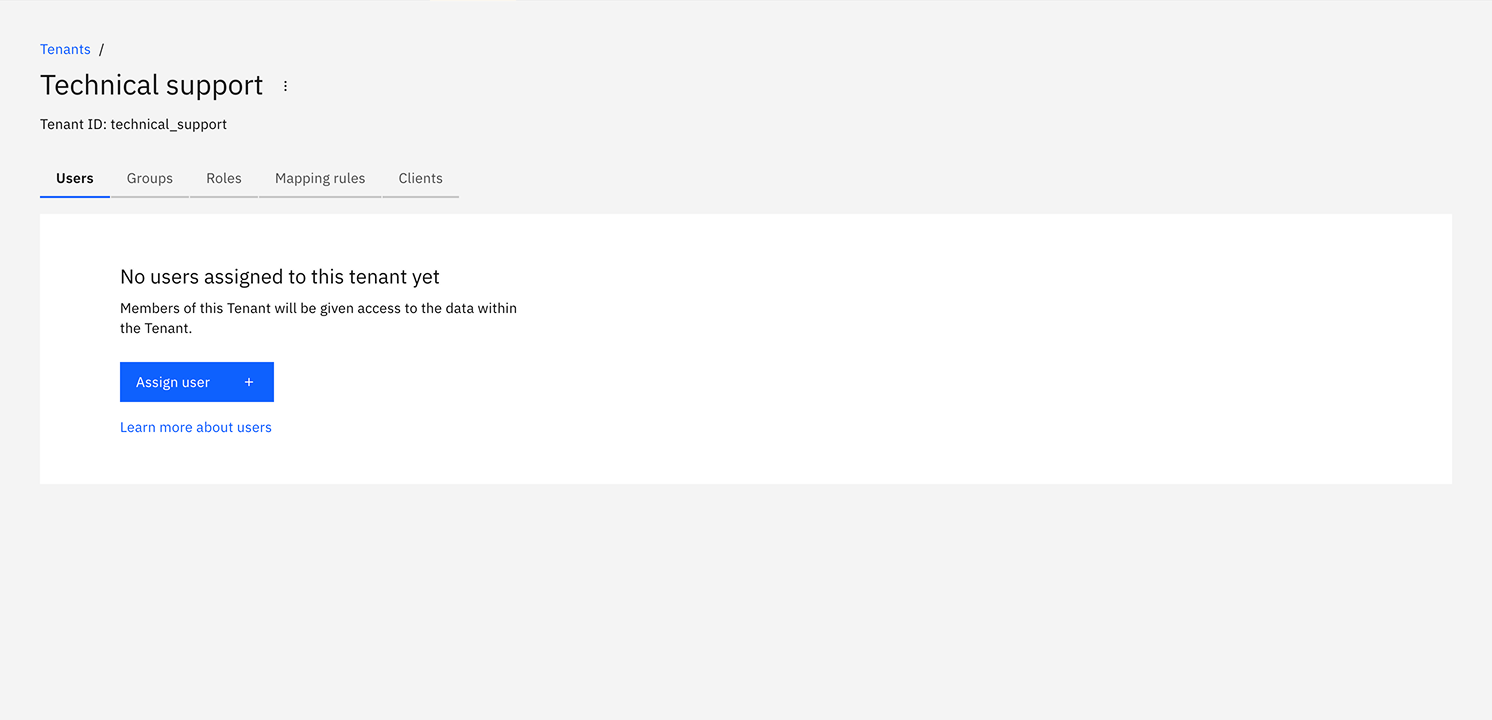
Assign users to a tenant
-
Select the Users tab.
-
Click Assign user. In the modal, enter the username and confirm. The username field has to match the value of the claim configured as
username-claim.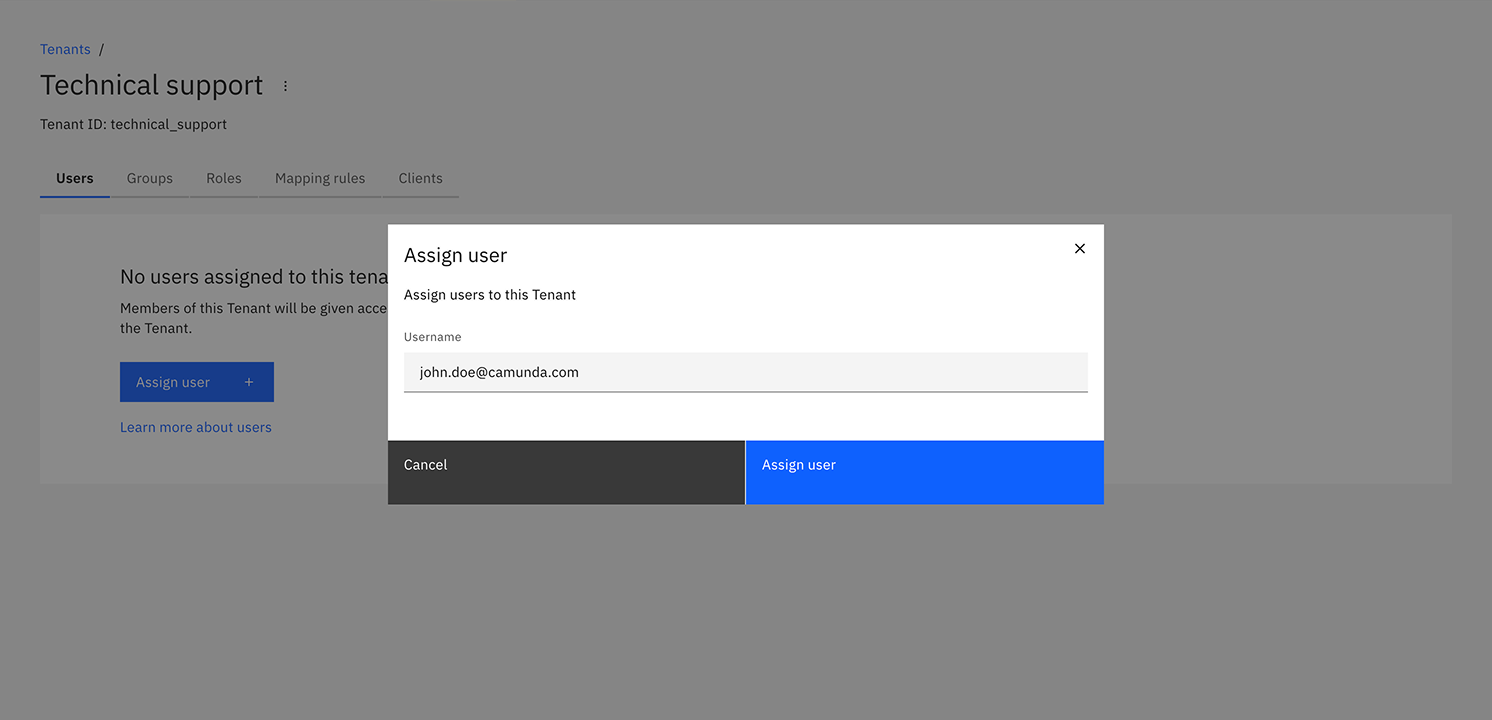
-
The user appears in the list after assignment. Refresh the page if needed.

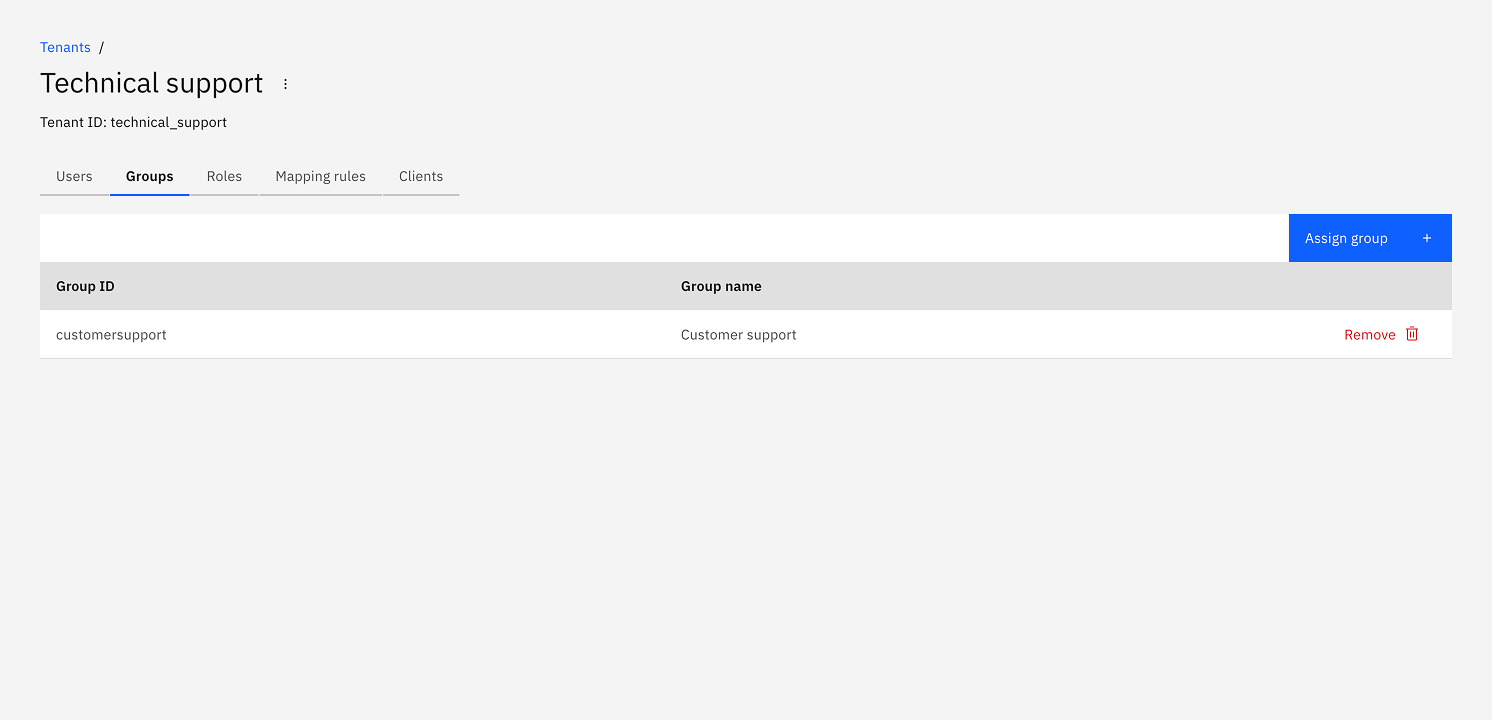
Assign groups to a tenant
-
Select the Groups tab.
-
Click Assign group. Search for a group ID and confirm.

-
The group appears in the list after assignment. Refresh the page if needed.
Assign roles to a tenant
-
Select the Roles tab.
-
Click Assign role. Search for a role ID and confirm.

-
The role appears in the list after assignment. Refresh the page if needed.

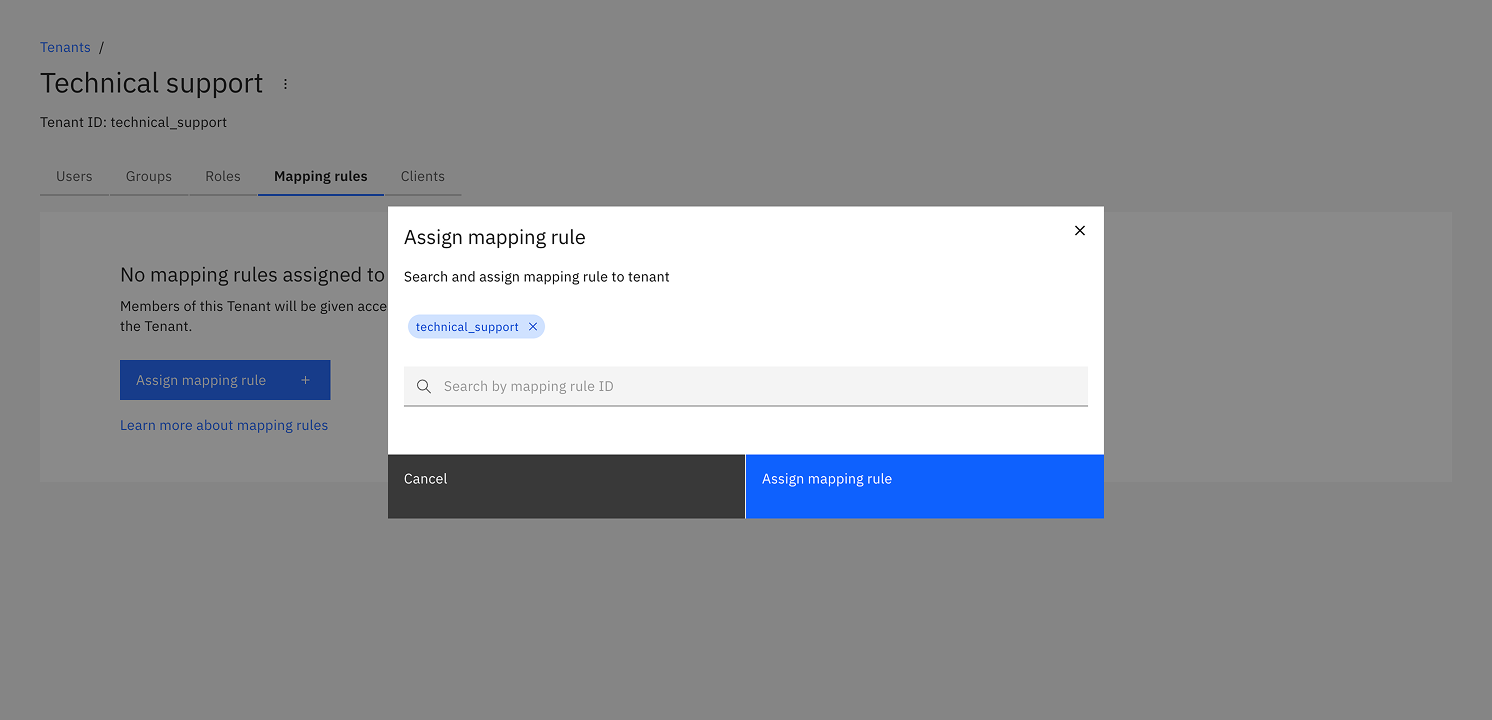
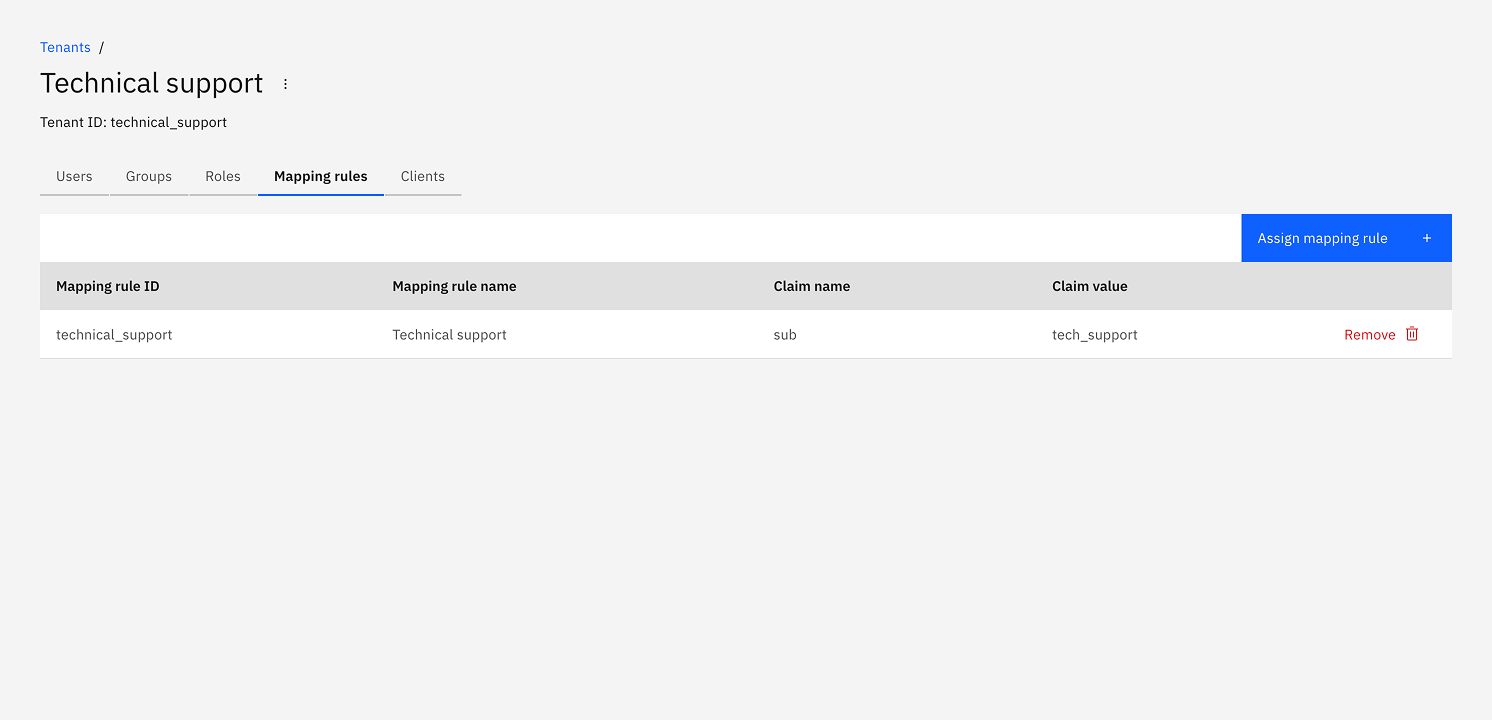
Assign mapping rules to a tenant
Assignment of mapping rules is only available for OIDC authentication in Self-Managed.
-
Select the Mapping rules tab.
-
Click Assign mapping rule. Search for a mapping rule ID and confirm.
-
The mapping rule appears in the list after assignment. Refresh the page if needed.
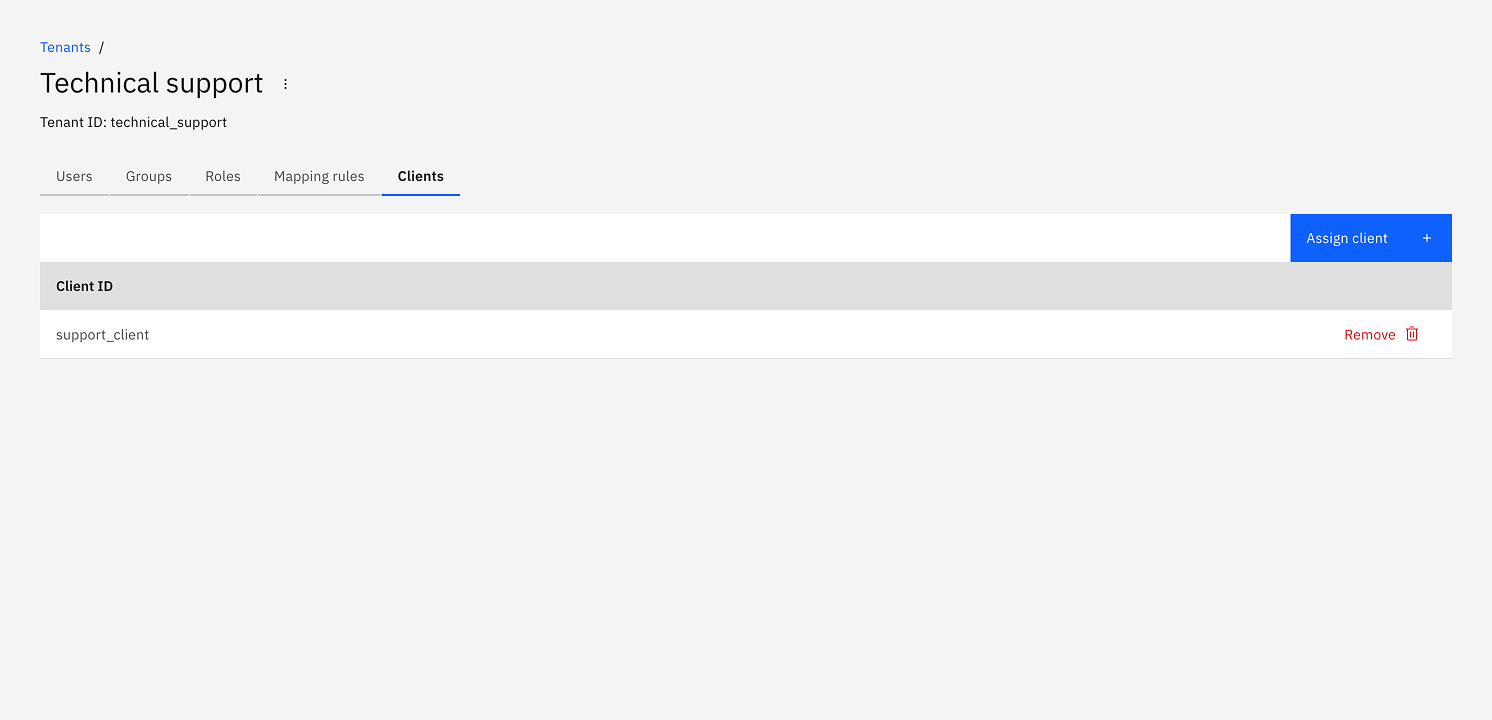
Assign clients to a tenant
-
Select the Clients tab.
-
Click Assign client. Enter the client ID and confirm.

-
The client appears in the list after assignment. Refresh the page if needed.