SendGrid connector
The SendGrid connector is an outbound connector that allows you to quickly send emails from your BPMN processes.
Prerequisites
To use the SendGrid connector, a SendGrid API key is needed. Follow these steps if you do not have a SendGrid account or API key secret configured in your cluster.
SendGrid connector
The SendGrid connector comes with two options:
- SendGrid Email connector allows sending simple emails (i.e. text/plain, text/html).
- SendGrid Email Template connector supports SendGrid Dynamic Templates.
SendGrid Email connector
Create a SendGrid Email connector Task
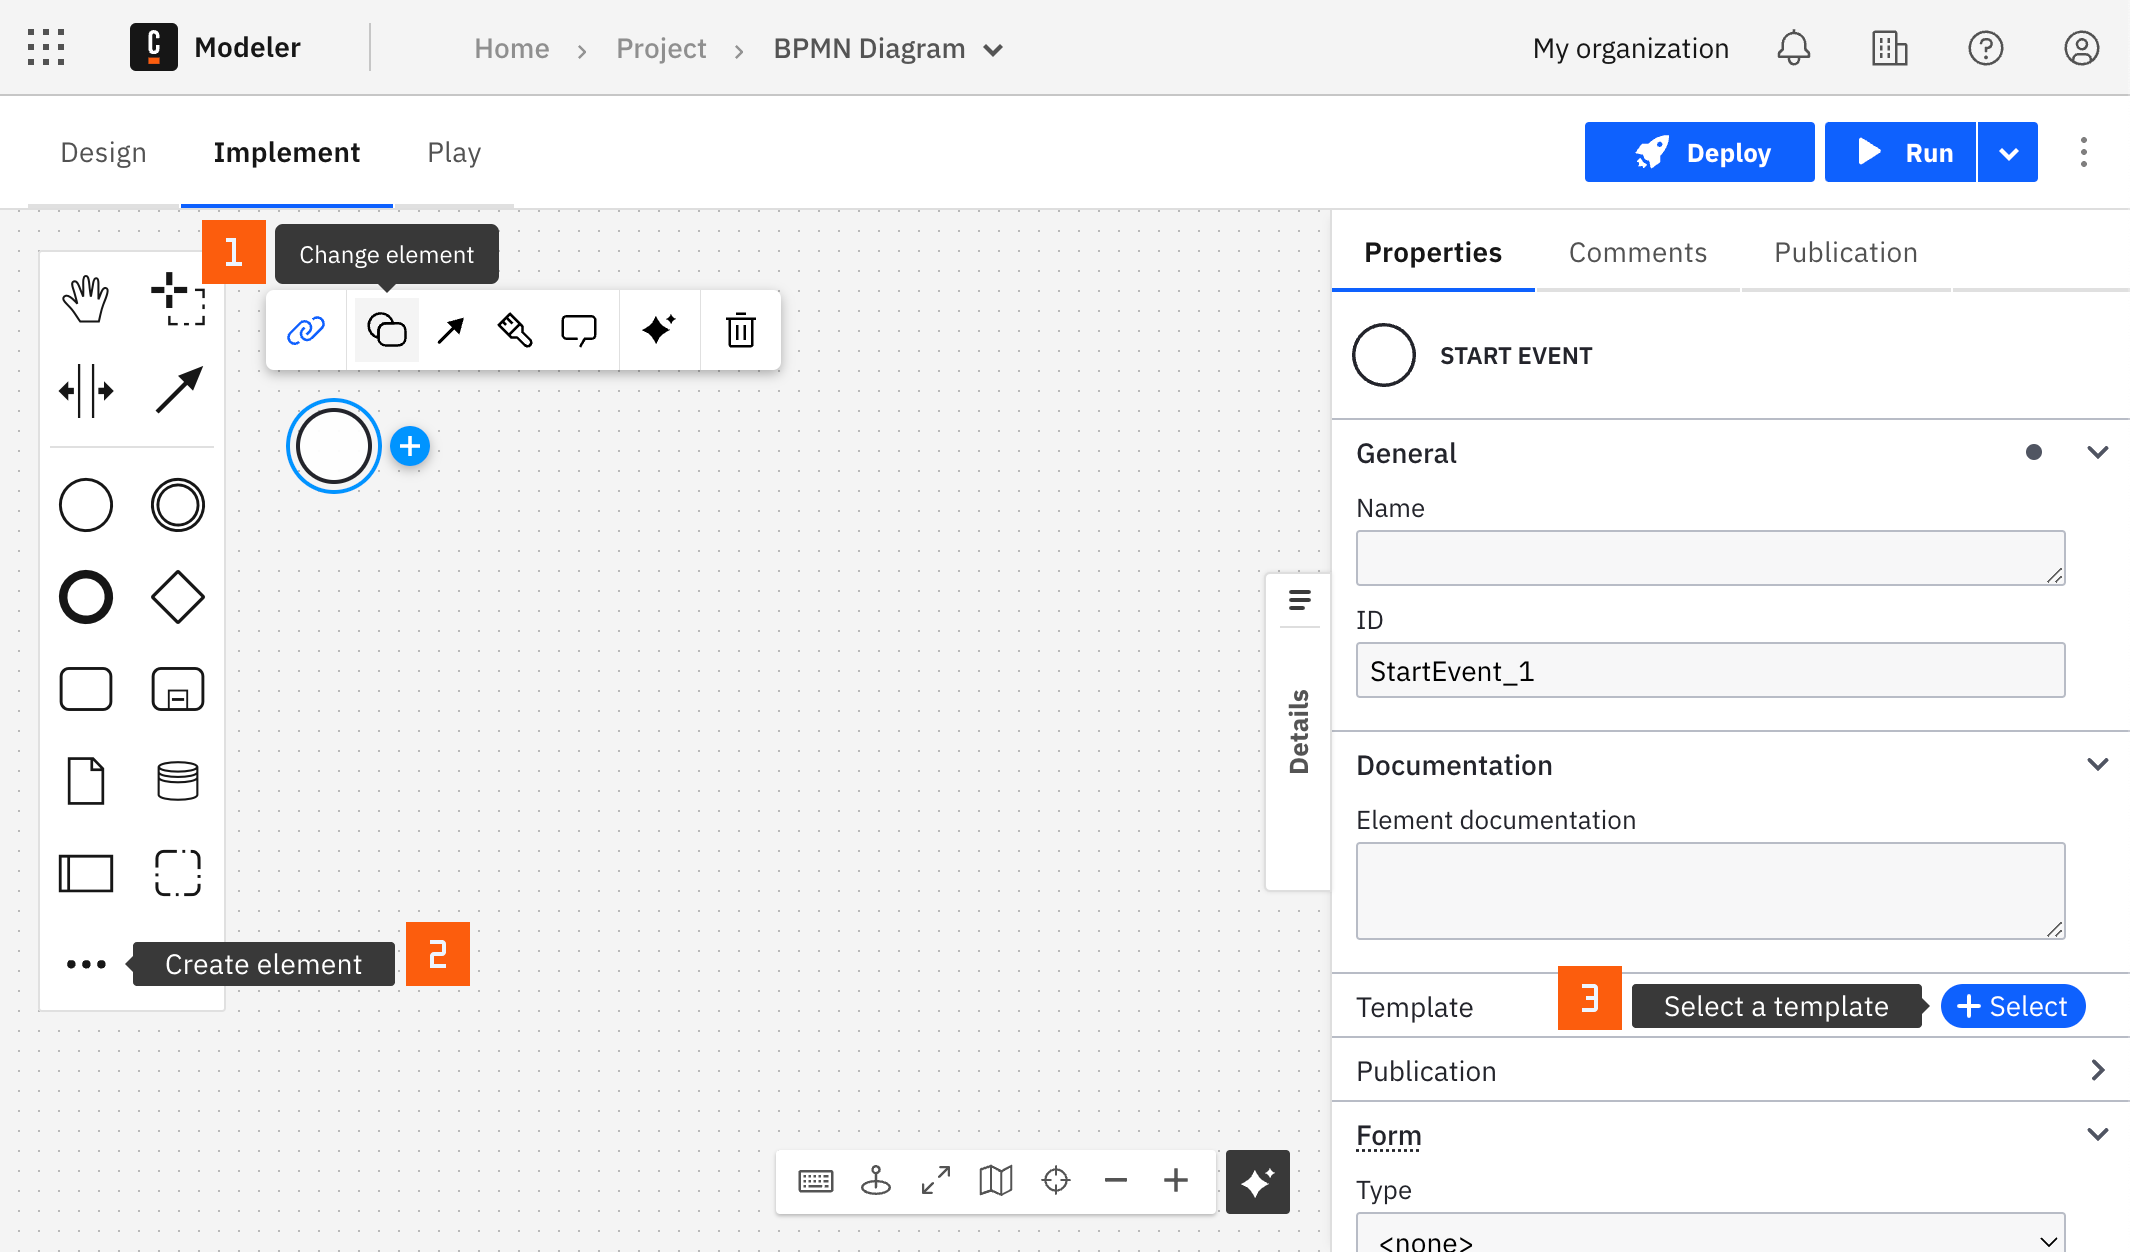
You can apply a connector to a task or event via the append menu. For example:
- From the canvas: Select an element and click the Change element icon to change an existing element, or use the append feature to add a new element to the diagram.
- From the properties panel: Navigate to the Template section and click Select.
- From the side palette: Click the Create element icon.
After you have applied a connector to your element, follow the configuration steps or see using connectors to learn more.
Make your SendGrid Email connector executable
To make the SendGrid Email connector executable, you need to fill out all the mandatory fields highlighted in red in the properties panel on the right side of the screen:
- Set SendGrid API Key to
{{secrets.SEND_GRID_API_KEY}}. - Set Sender Name to
Jane Doe(or the sender identity you configured above). - Set Sender Email to
jane-doe@camunda.com(or the sender identity you configured above). - Set Receiver Name to
Your Name. - Set Receiver Email to
Your email address. - Set Email Content Subject.
- Leave Content Type to text/plain (or alternatively to text/html if you intend to provide an HTML body to your email).
- Provide a text (or HTML) Body for your email.
- Attachments is a list of camunda documents to include as part of your new email.
- To work with documents you must upload them first, using the Orchestration Cluster REST API for example.
- The result of the endpoint must then be assigned to a variable in Start Process Instance so you can use the list of these variables in the Attachments field.
Starting from version 8.7.0, the SendGrid connector provides attachment support. See additional details and limitations in document handling.
SendGrid Email Template connector
Send an email via SendGrid Dynamic Template and use the Handlebars templating language to pass dynamic values to your connector.
Configure a Dynamic Template
- Open the Dynamic Transactional Templates page and click Create Template.
- Add a unique template name and click Save.
- To begin editing your new template, click Add Version.
- Select an editor and click Continue.
- Design your template. Find more information on using Handlebars here.
In our example template, we will use the following subject and body:
Subject:
Your Camunda Weather Report for {{location}}
Body:
Hi {{name}},

Thanks for using Camunda connectors to check your current weather report.
Your current weather in Berlin is {{weather}} with {{actual-temp}}°C and feels like {{feel-temp}}°C

The Camunda Team
In our example template, we will use the following Handlebars:
{{name}} - The name of the user requesting the weather report
{{location}} - The location used for the weather report
{{weather}} - The current weather condition
{{actual-temp}} - The measured temperature
{{feel-temp}} - How the temperature feels like in reality
While you are editing your template, you can test how your email would look by switching to Preview mode, choosing Show Test Data, and then providing the necessary data.
Create a SendGrid Email template connector task
See create a SendGrid email connector task for additional details.
Make your SendGrid Email Template connector executable
To make the SendGrid Email Template connector executable, fill out all the mandatory fields highlighted in red in the properties panel:
- Set SendGrid API Key to
{{secrets.SEND_GRID_API_KEY}}. - Set Sender Name to
Jane Doe(or the sender identity you configured above). - Set Sender Email to
jane-doe@camunda.com(or the sender identity you configured above). - Set Receiver Name to
Your Name. - Set Receiver Email to
Your email address. - Log in to your SendGrid account and navigate to the Dynamic Template you created.
- Copy the ID of the template and paste it in the Template ID field.
- Provide the test data in the Template Data field as a FEEL context expression:
- Attachments is a list of camunda documents to include as part of your new email.
- To work with documents you must upload them first, using the Orchestration Cluster REST API for example.
- The result of the endpoint must then be assigned to a variable in Start Process Instance so you can use the list of these variables in the Attachments field.
= {
  name: "Jane",
  location: "Berlin",
  weather: "Clear",
  actual-temp: 30,
  feel-temp: 3
}
If you want to provide dynamic content in the email via process variables, you can set them in the Template Data field as well:
= {
  name: nameVariable,
  location: locationVariable,
  weather: weatherVariable,
  actual-temp: temerature,
  feel-temp: windChill
}
Appendix
Create a SendGrid account
To use the SendGrid connector, create a free account in SendGrid if you do not have one yet:
- Go to https://signup.sendgrid.com/.
- Set up the account with your email and choose a password.
- Click Create Account.
- Provide further information required by SendGrid.
- Click Get Started.
Create a sender identity
Before sending your first email, you'll need to create a sender identity and verify it.
- Click Settings > Sender Authentication or click here.
- Choose Verify a Single Sender for demo purposes (or alternatively Authenticate Your Domain for a production setup.)
- Provide the details requested by SendGrid in the form and click Create.
- Go to your email inbox and open the email sent to you by SendGrid.
- Click Verify Single Sender.
Create an API key
To create an API key in SendGrid, take the following steps:
- Log in to your new account.
- Go to Settings.
- Click API Keys > Create API Key.
- Give your key a name (i.e.
my-camunda-connector-key). - Click Create Key.
- Copy the API Key and move on to the next step for creating a connector secret.
Create a new connector secret
We advise you to keep your API key safe and avoid exposing it in the BPMN xml file by creating a secret:
- Follow our guide for creating secrets.
- Name your secret
SEND_GRID_API_KEYso you can reference it later in the connector.