Tenants
Use Admin to manage Orchestration Cluster tenants and isolate data within a single cluster. Tenant management is available on both Camunda 8 SaaS and Self-Managed.
On SaaS, the Tenants tab is visible to organization admins on clusters running generation 8.8 and later, even before multi-tenancy checks are enabled. This allows admins to set up tenants and assignments before enforcing checks. Before enabling checks, confirm your tenant assignments so users retain the access they need.
About tenants
A tenant is a logical boundary for data within a Camunda 8 installation.
This enables multiple teams, departments, or clients to share a single environment while keeping data isolated.
To learn more about tenants, see multi-tenancy.
You can manage your Orchestration Cluster tenants directly in Admin.
- Multi-tenancy is enabled by default.
- Multi-tenancy checks are disabled by default. All data maps to the
<default>tenant.
This allows administrators to set up tenants and assignments before enforcing multi-tenancy checks.
How you enable multi-tenancy checks depends on your deployment model:
- SaaS: Enable the Multi-tenancy toggle per cluster in Camunda Hub cluster settings.
- Self-Managed: Configure multi-tenancy through Orchestration Cluster configuration properties.
Before you enable multi-tenancy checks, assign all users, groups, and roles that need access to their tenants and to the <default> tenant. Once checks are enforced, any principal not assigned to a tenant loses access to the resources scoped to that tenant.
Create a tenant
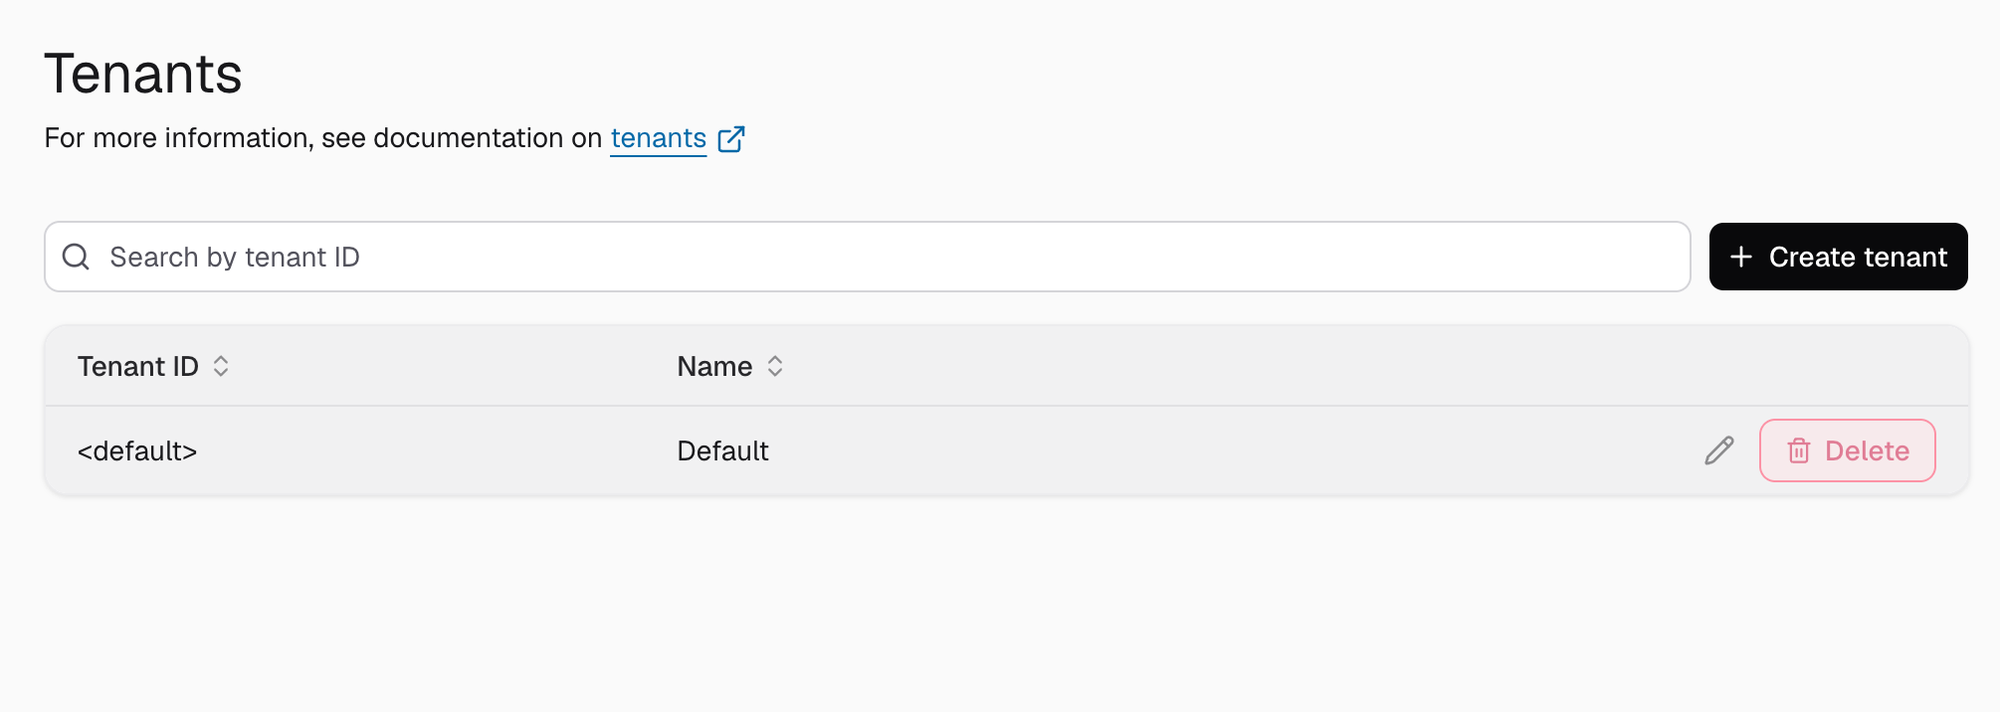
The <default> tenant is automatically created when Admin starts.
-
Log in to Admin and open the Tenants tab.
-
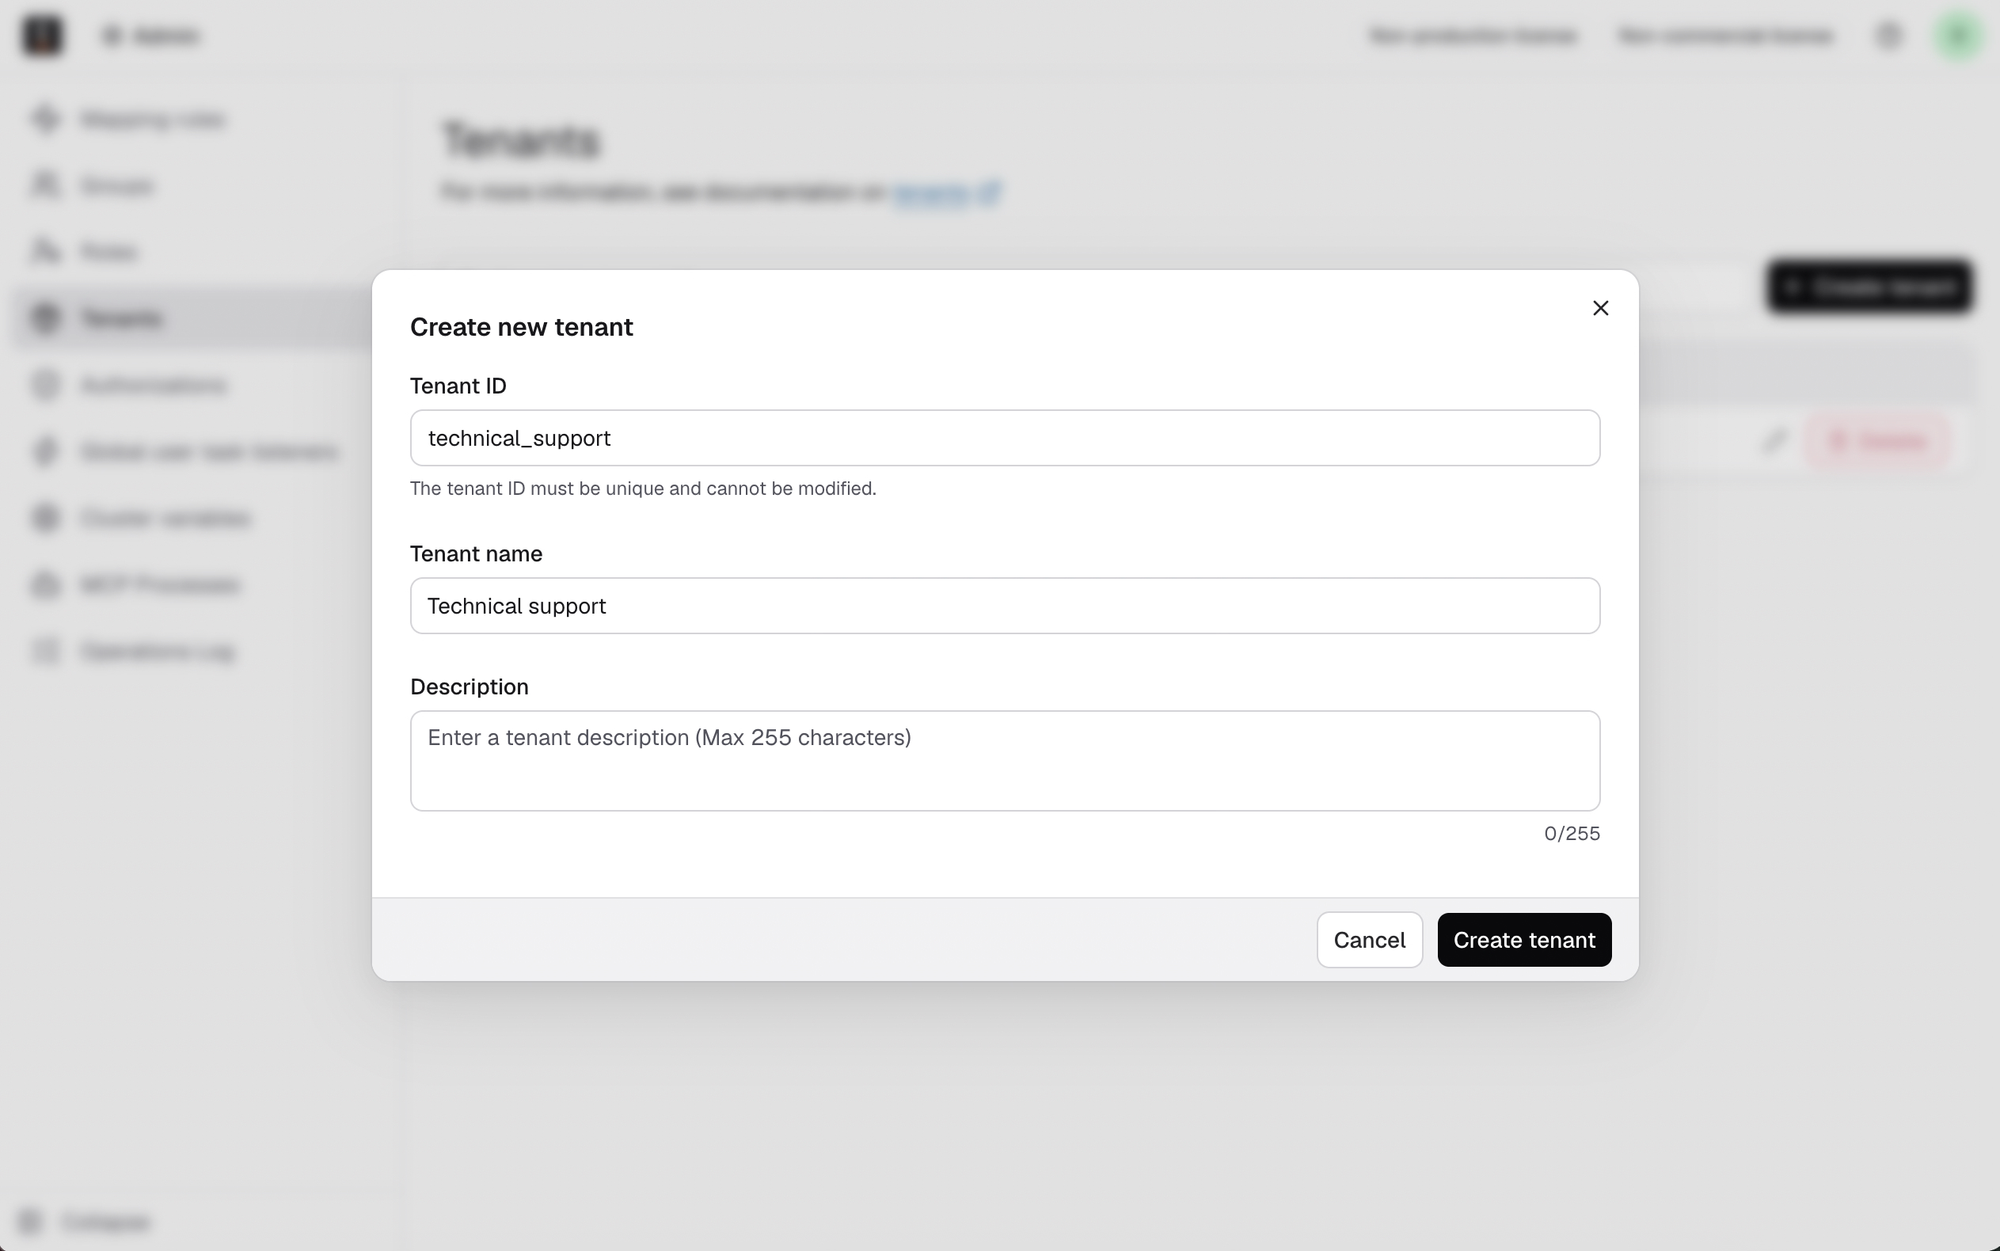
Click Create tenant. In the modal, provide the tenant ID, name, and optional description. Then click Create tenant.
-
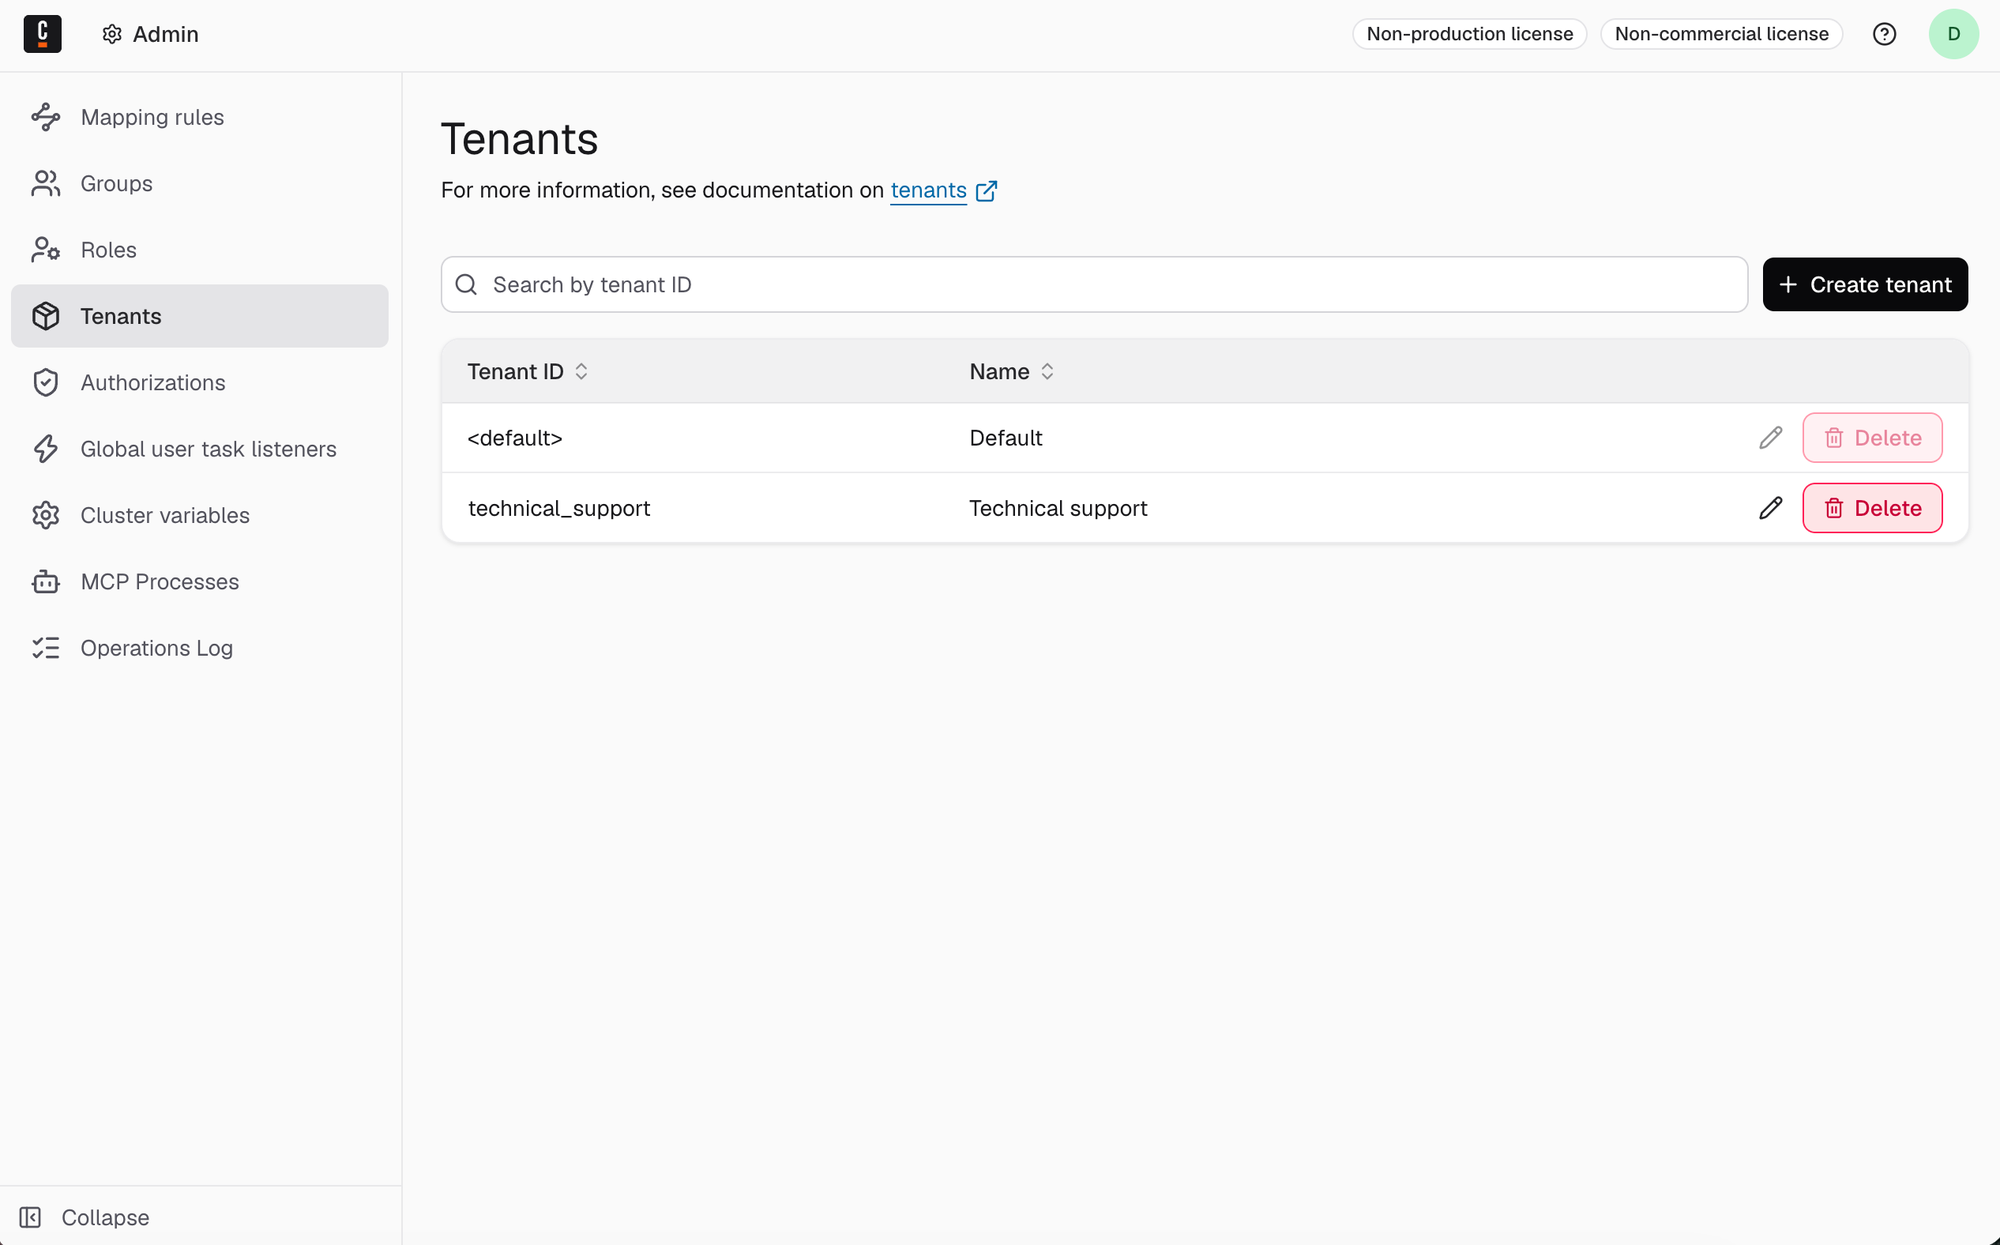
The tenant appears in the list. If not, refresh the page.
-
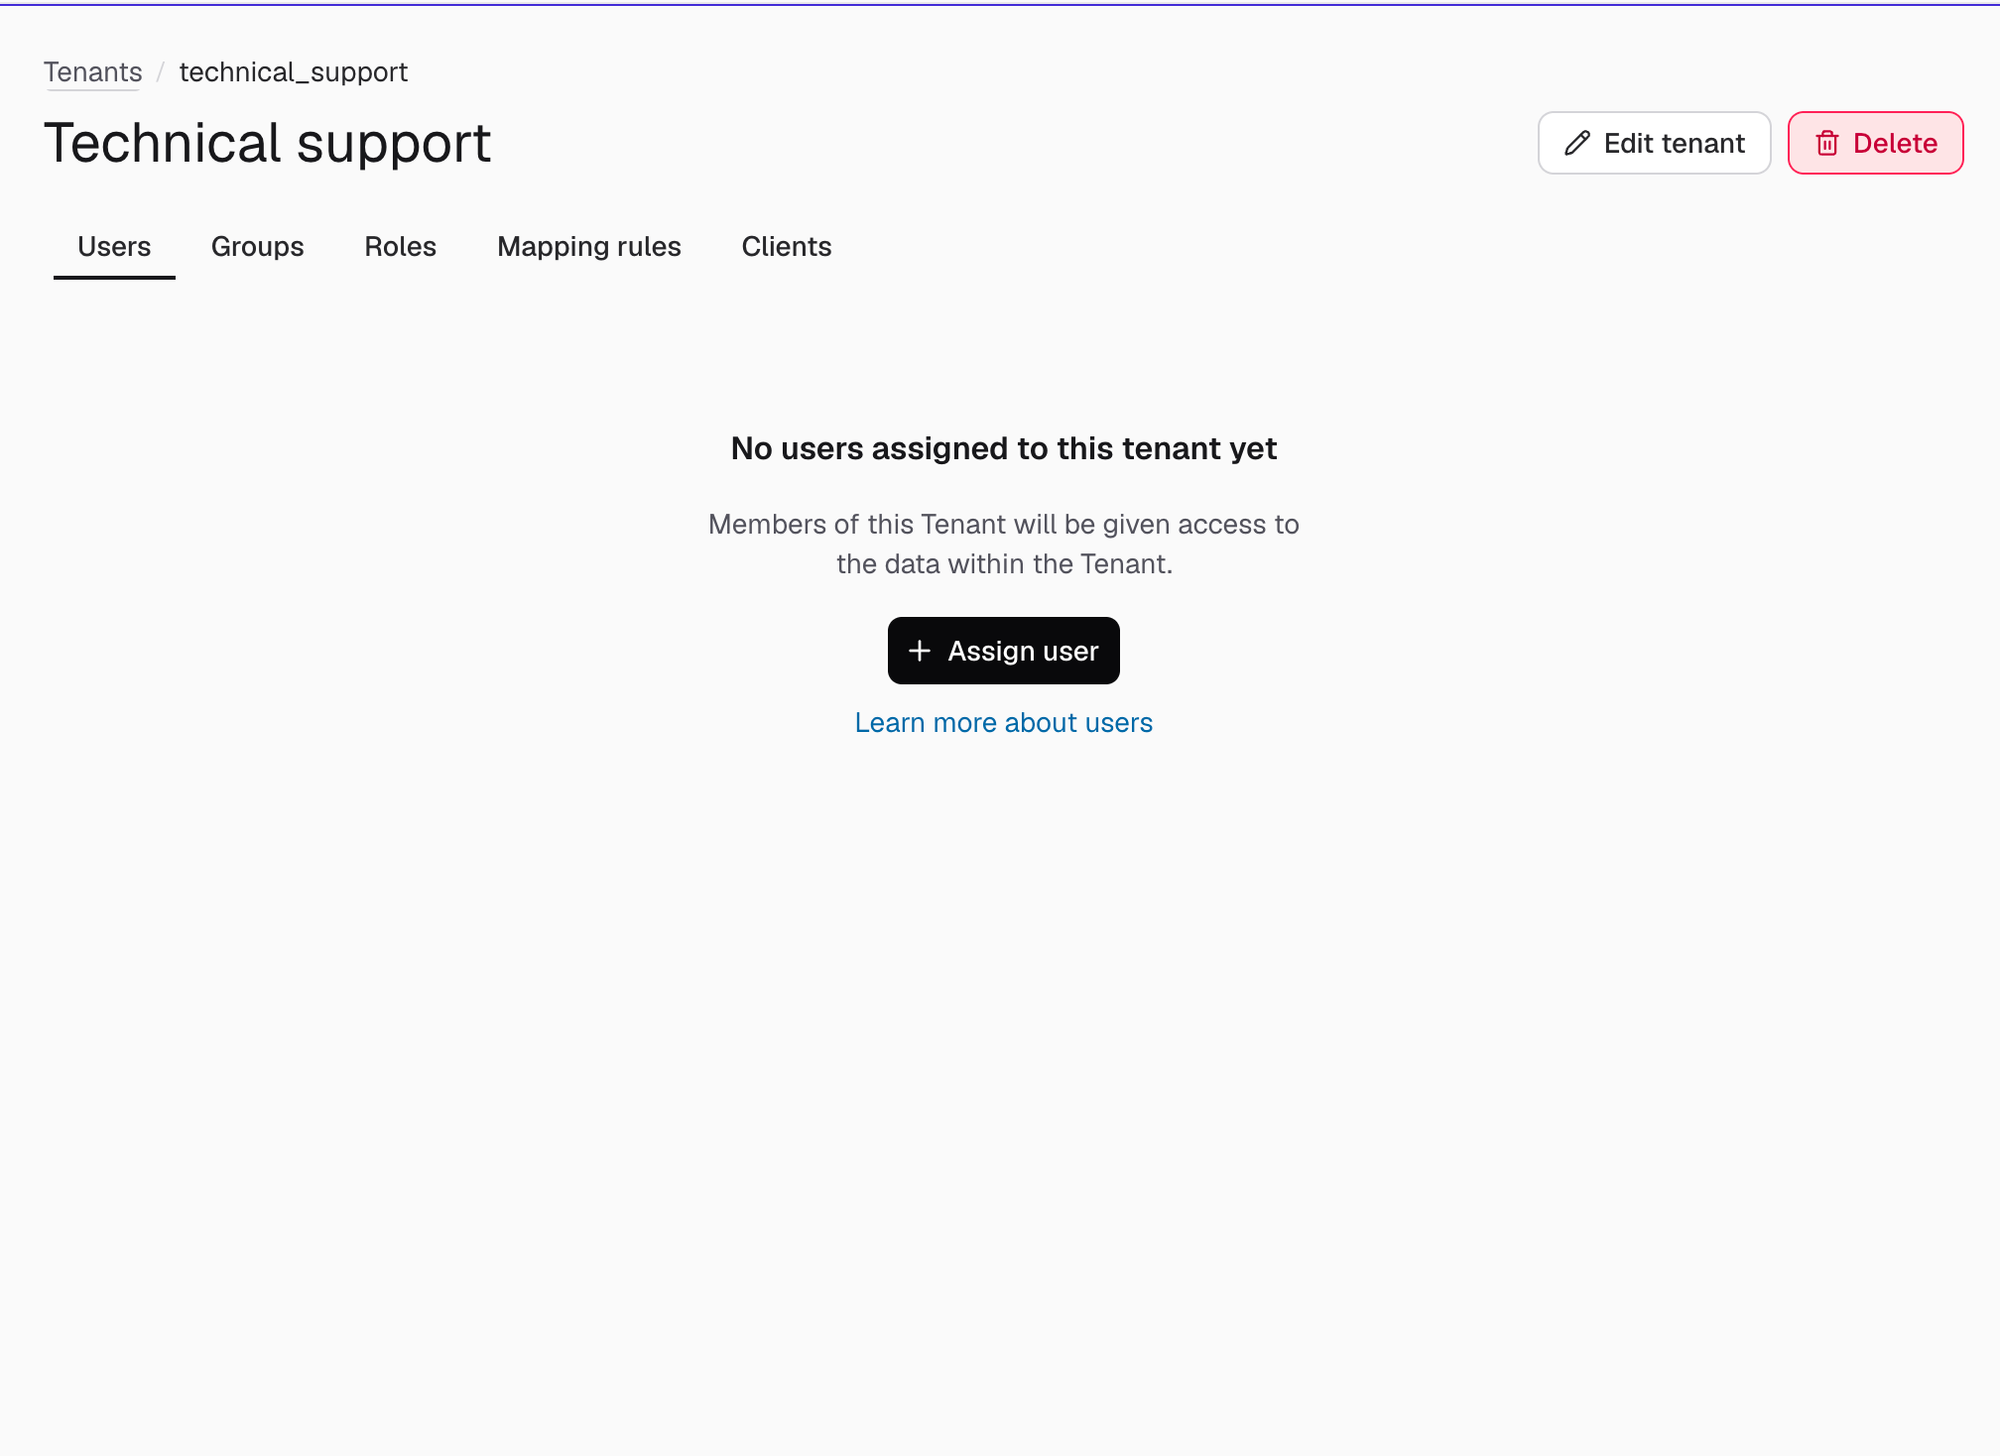
Click the tenant to open details and manage assignments.
Update a tenant
You can update the name and description of a tenant, but cannot change its ID after creation. To change a tenant's ID, you must delete the tenant and create a new one.
To update a tenant:
- Log in to Admin in your cluster, and select the Tenants tab.
- Click the pencil icon next to the tenant you want to update.
- Update the tenant details:
- Name: The name of the tenant.
- Description: An optional description of the tenant.
- Click the Save button.
The tenant details are updated.
The <default> tenant is a system entity and cannot be updated.
Delete a tenant
To delete a tenant, click on the Delete option in the list of tenants, and confirm the deletion.
The <default> tenant is a system entity and cannot be deleted.
Tenant assignments
You can assign the following entities to a tenant:
You can manage these assignments by selecting the relevant tab on the tenant details page.
Assign users to a tenant
-
Select the Users tab.
-
Click Assign user. In the modal, enter the username and confirm. The username field has to match the value of the claim configured as
username-claim.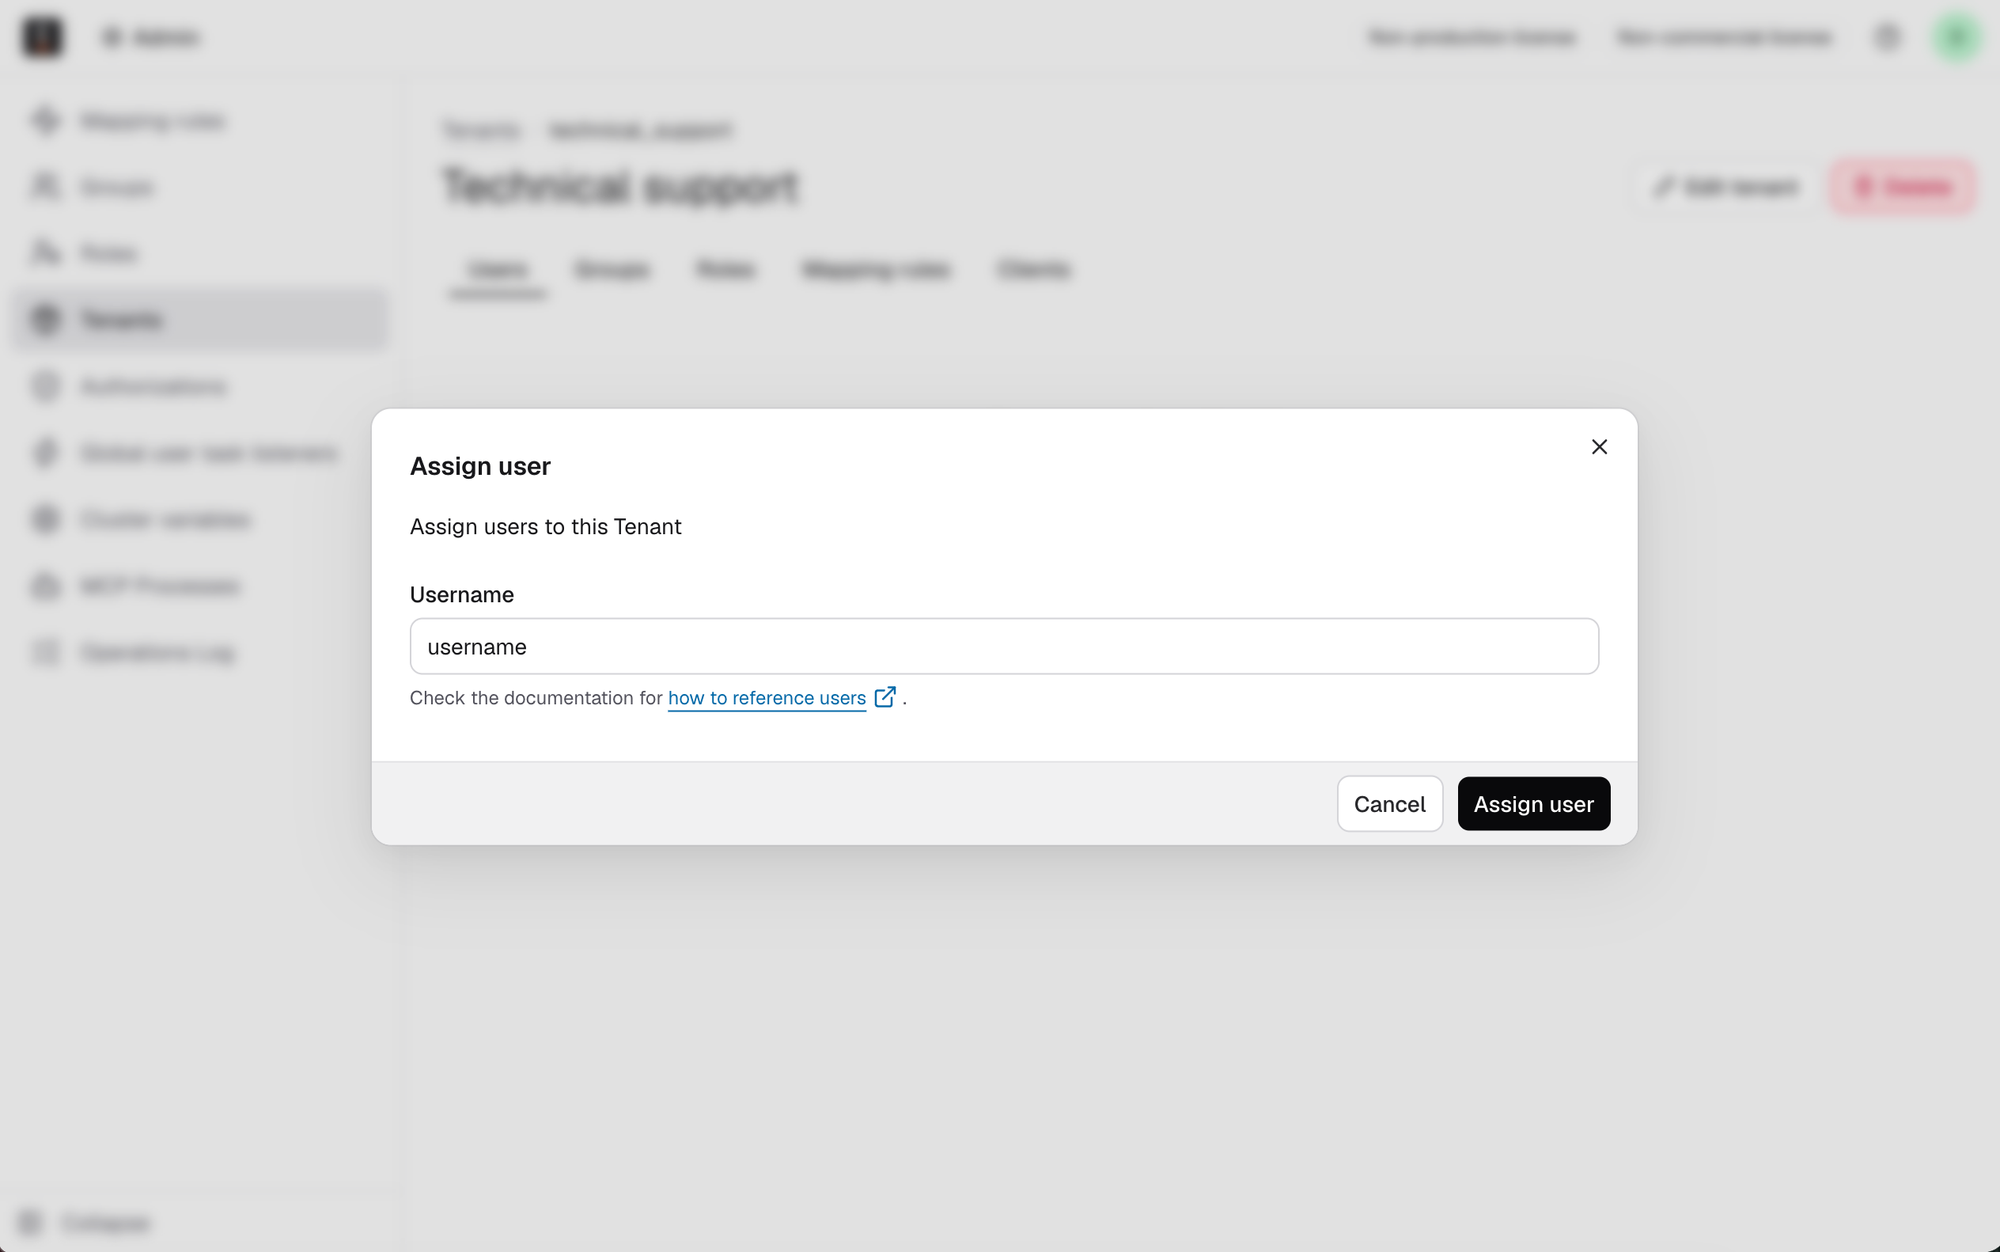
-
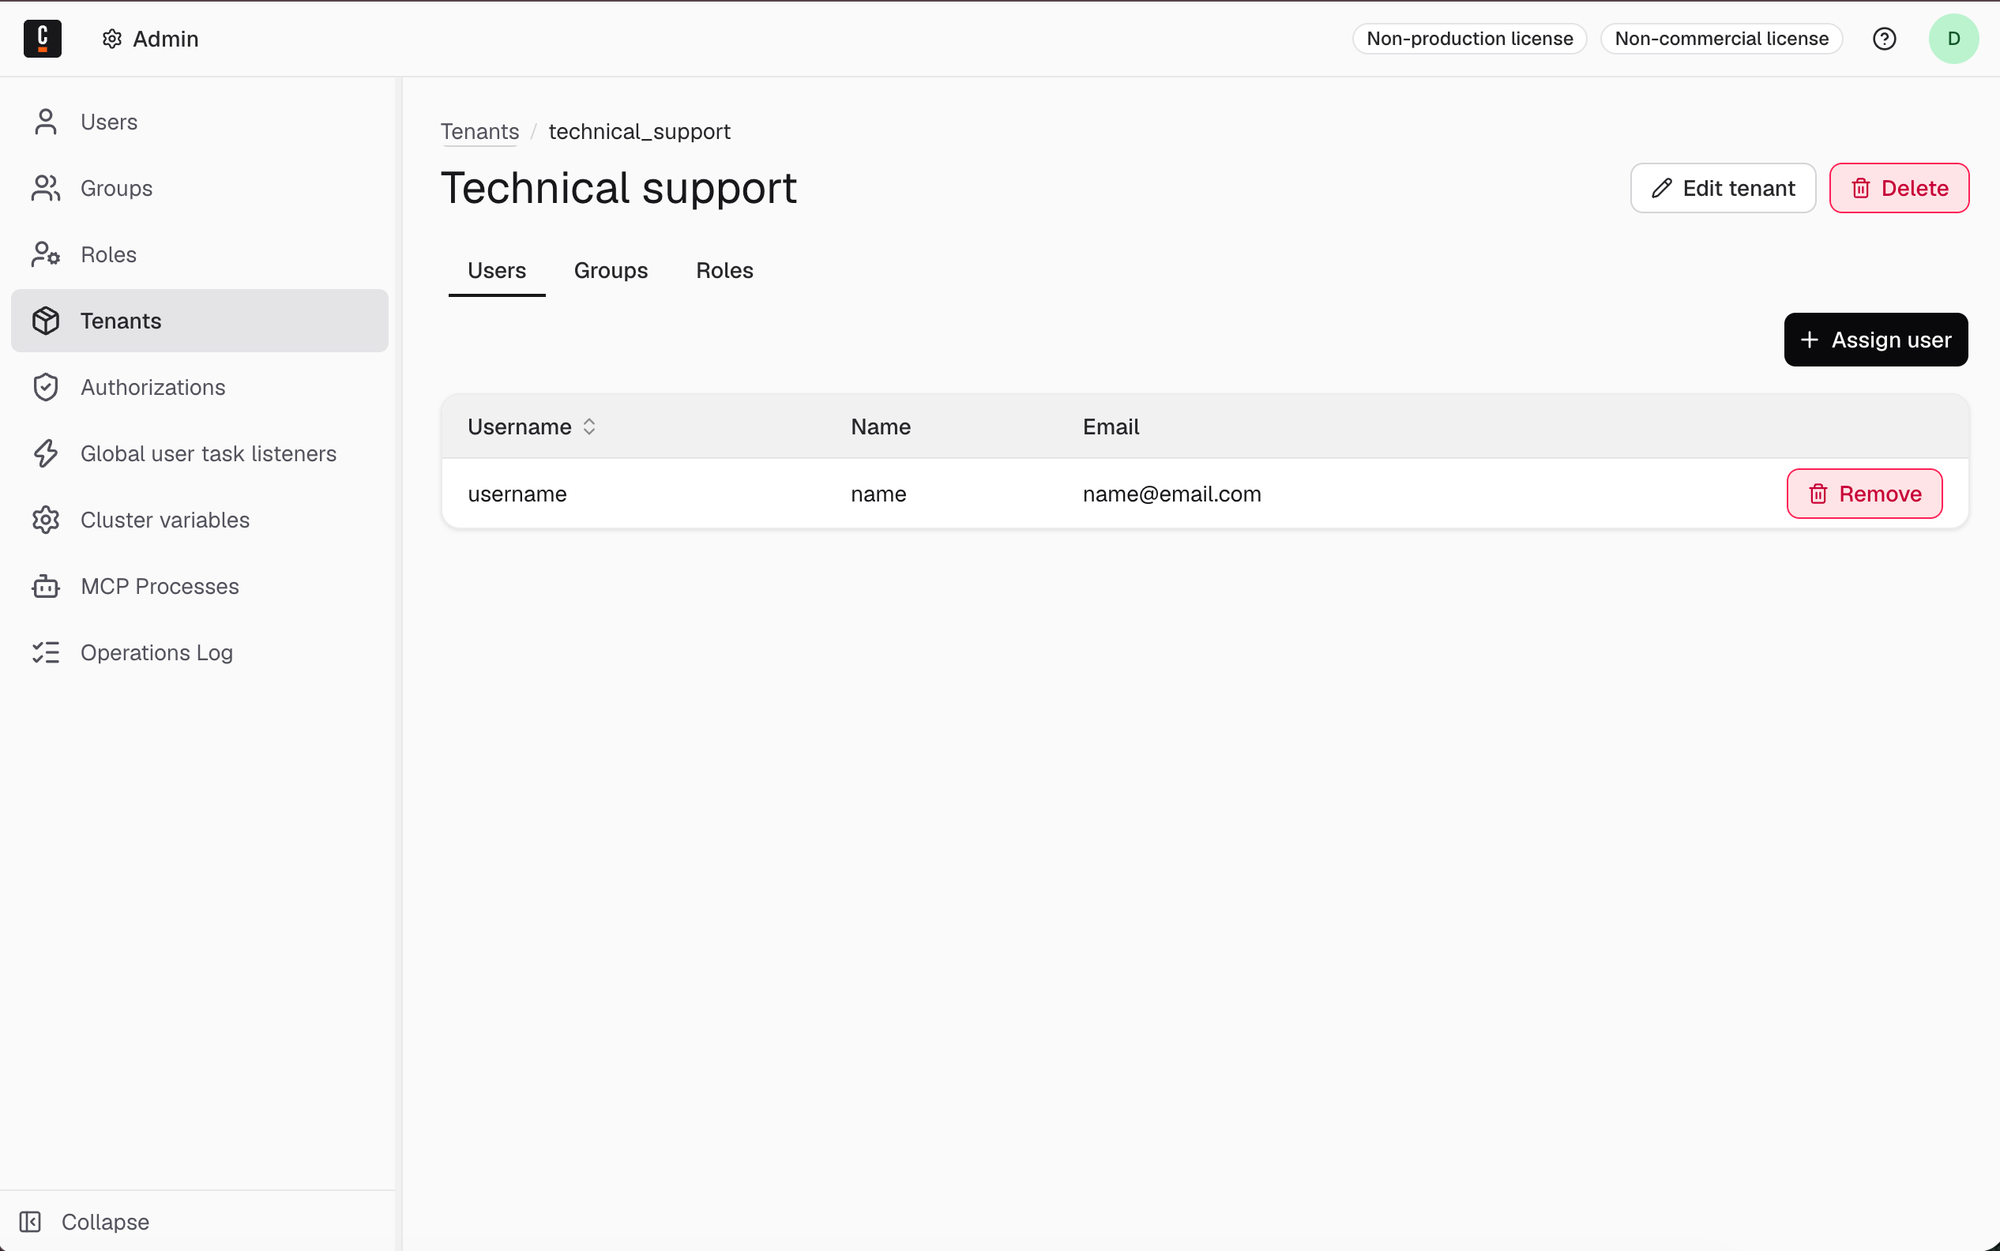
The user appears in the list after assignment. Refresh the page if needed.
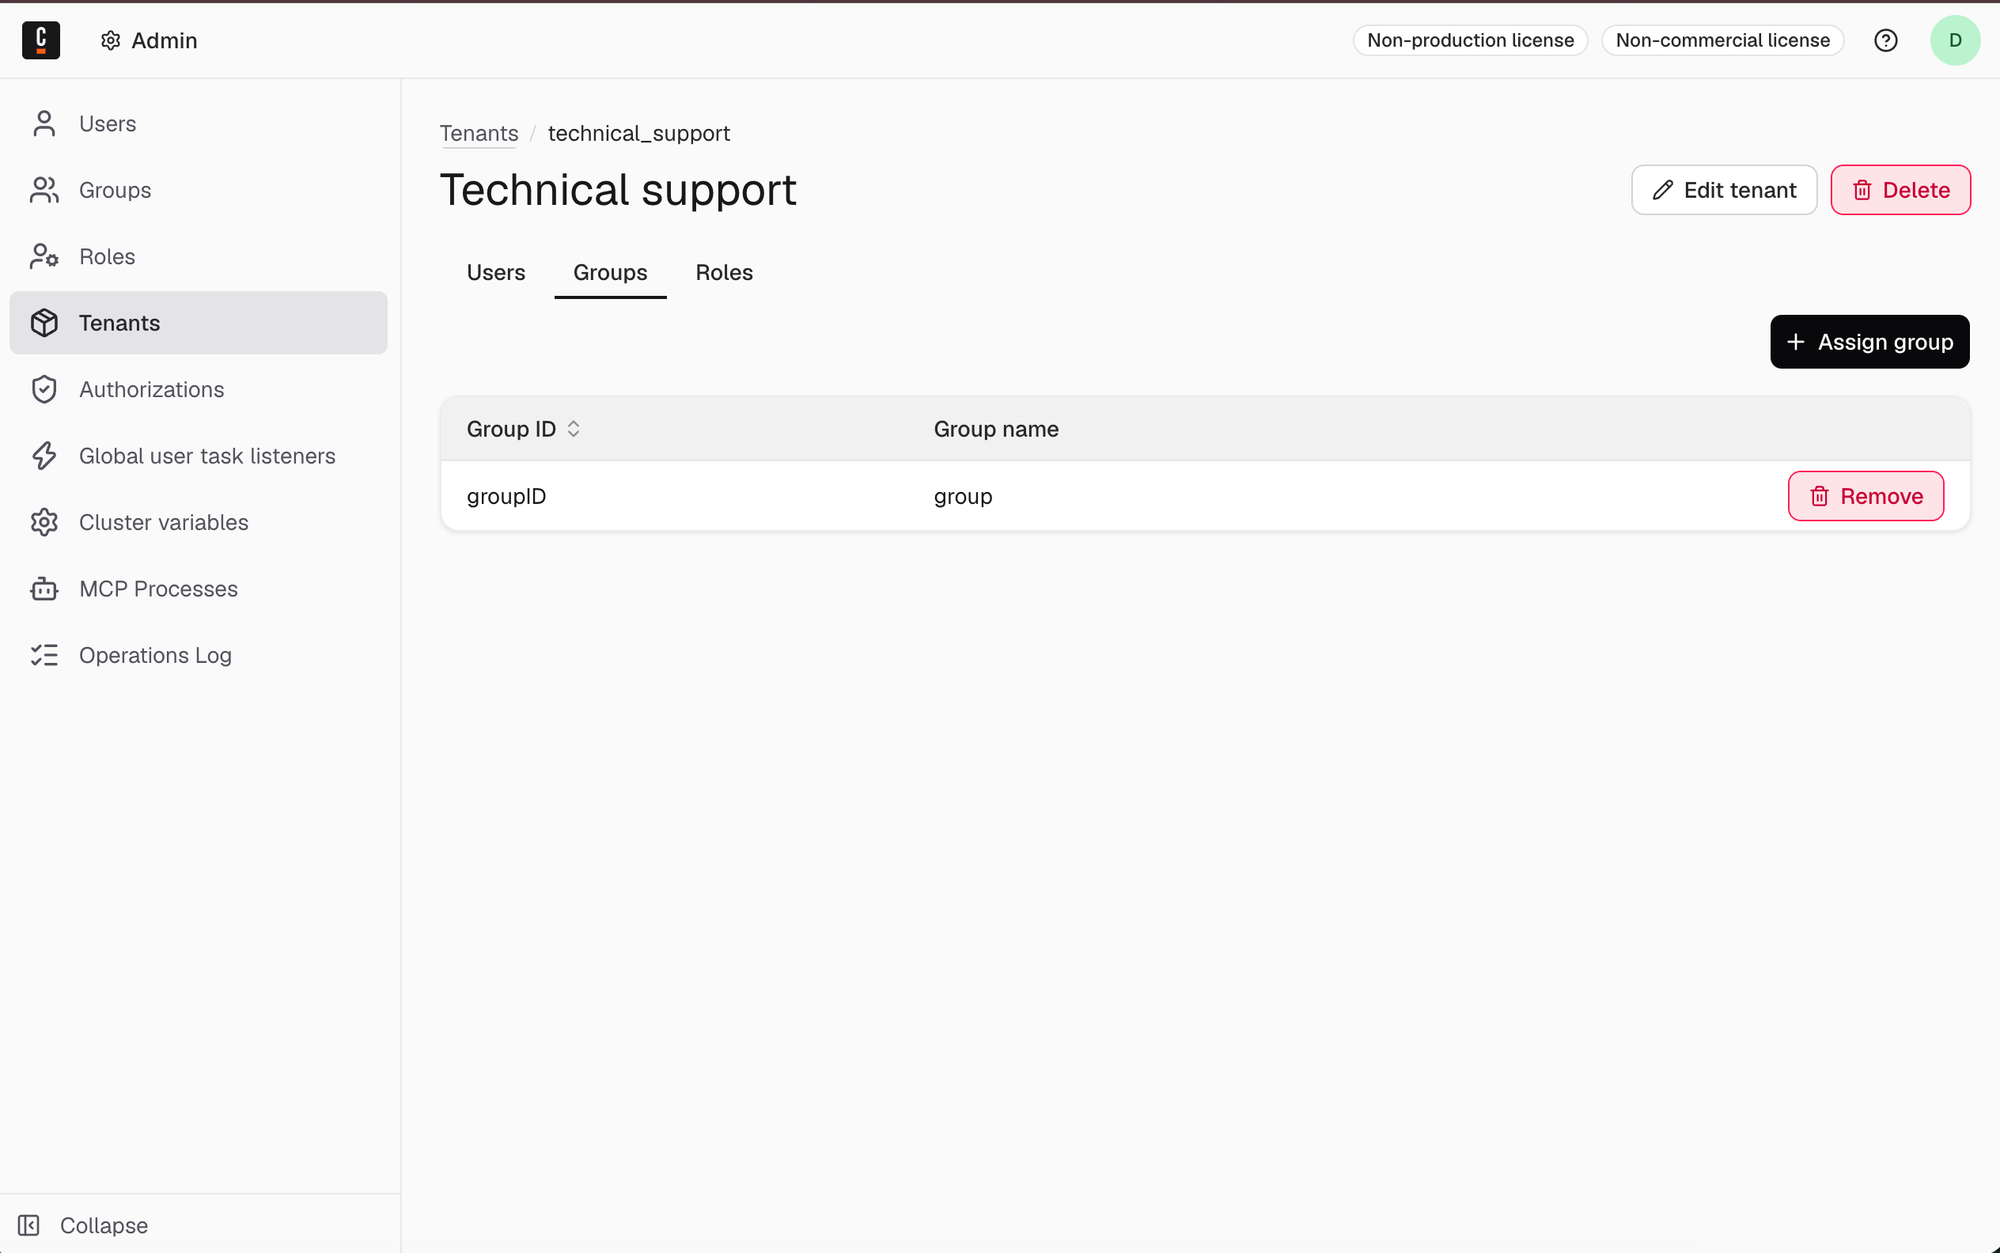
Assign groups to a tenant
-
Select the Groups tab.
-
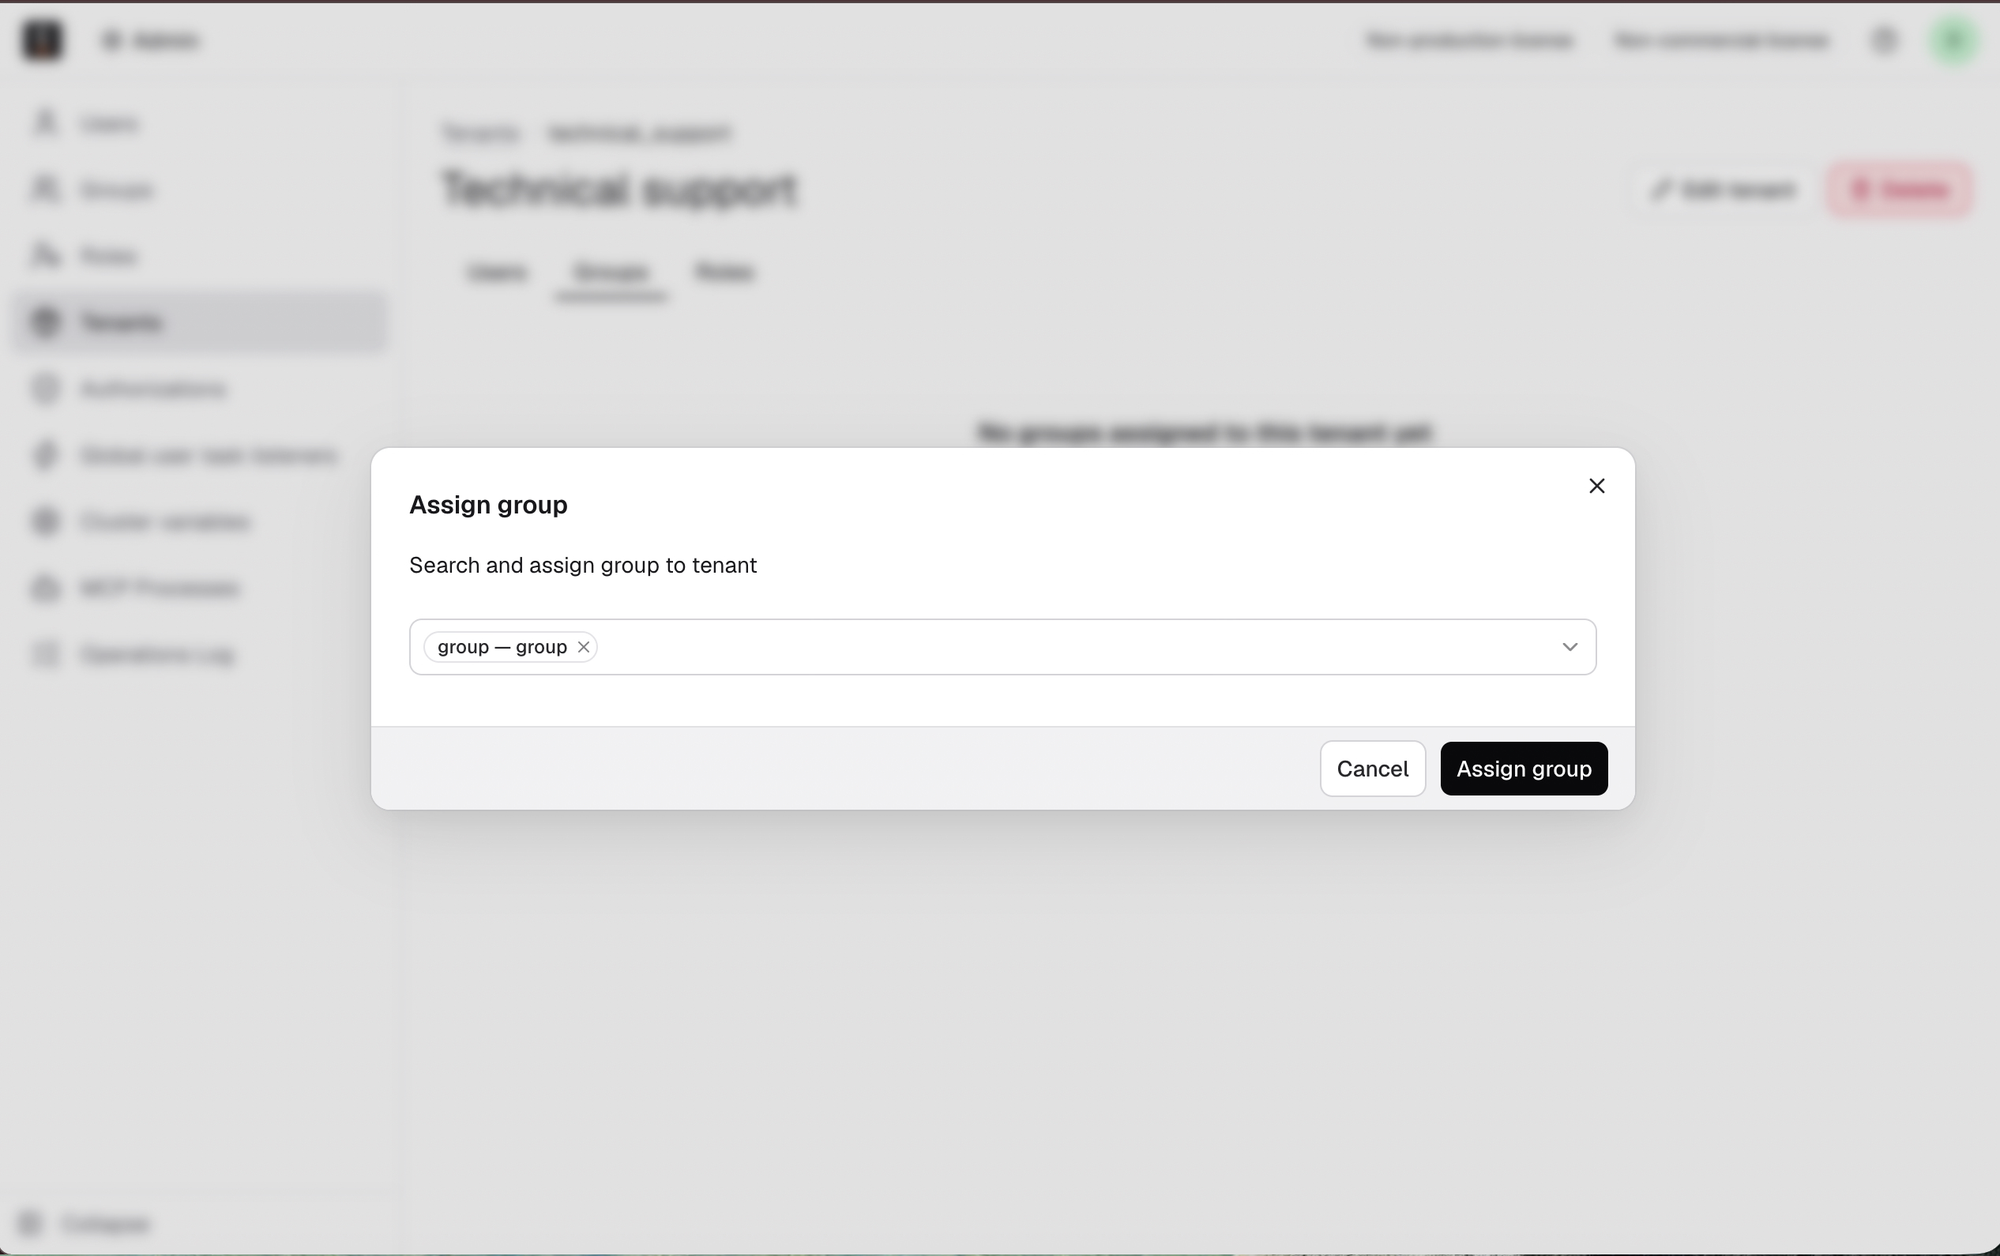
Click Assign group. Search for a group ID and confirm.
-
The group appears in the list after assignment. Refresh the page if needed.
Assign roles to a tenant
-
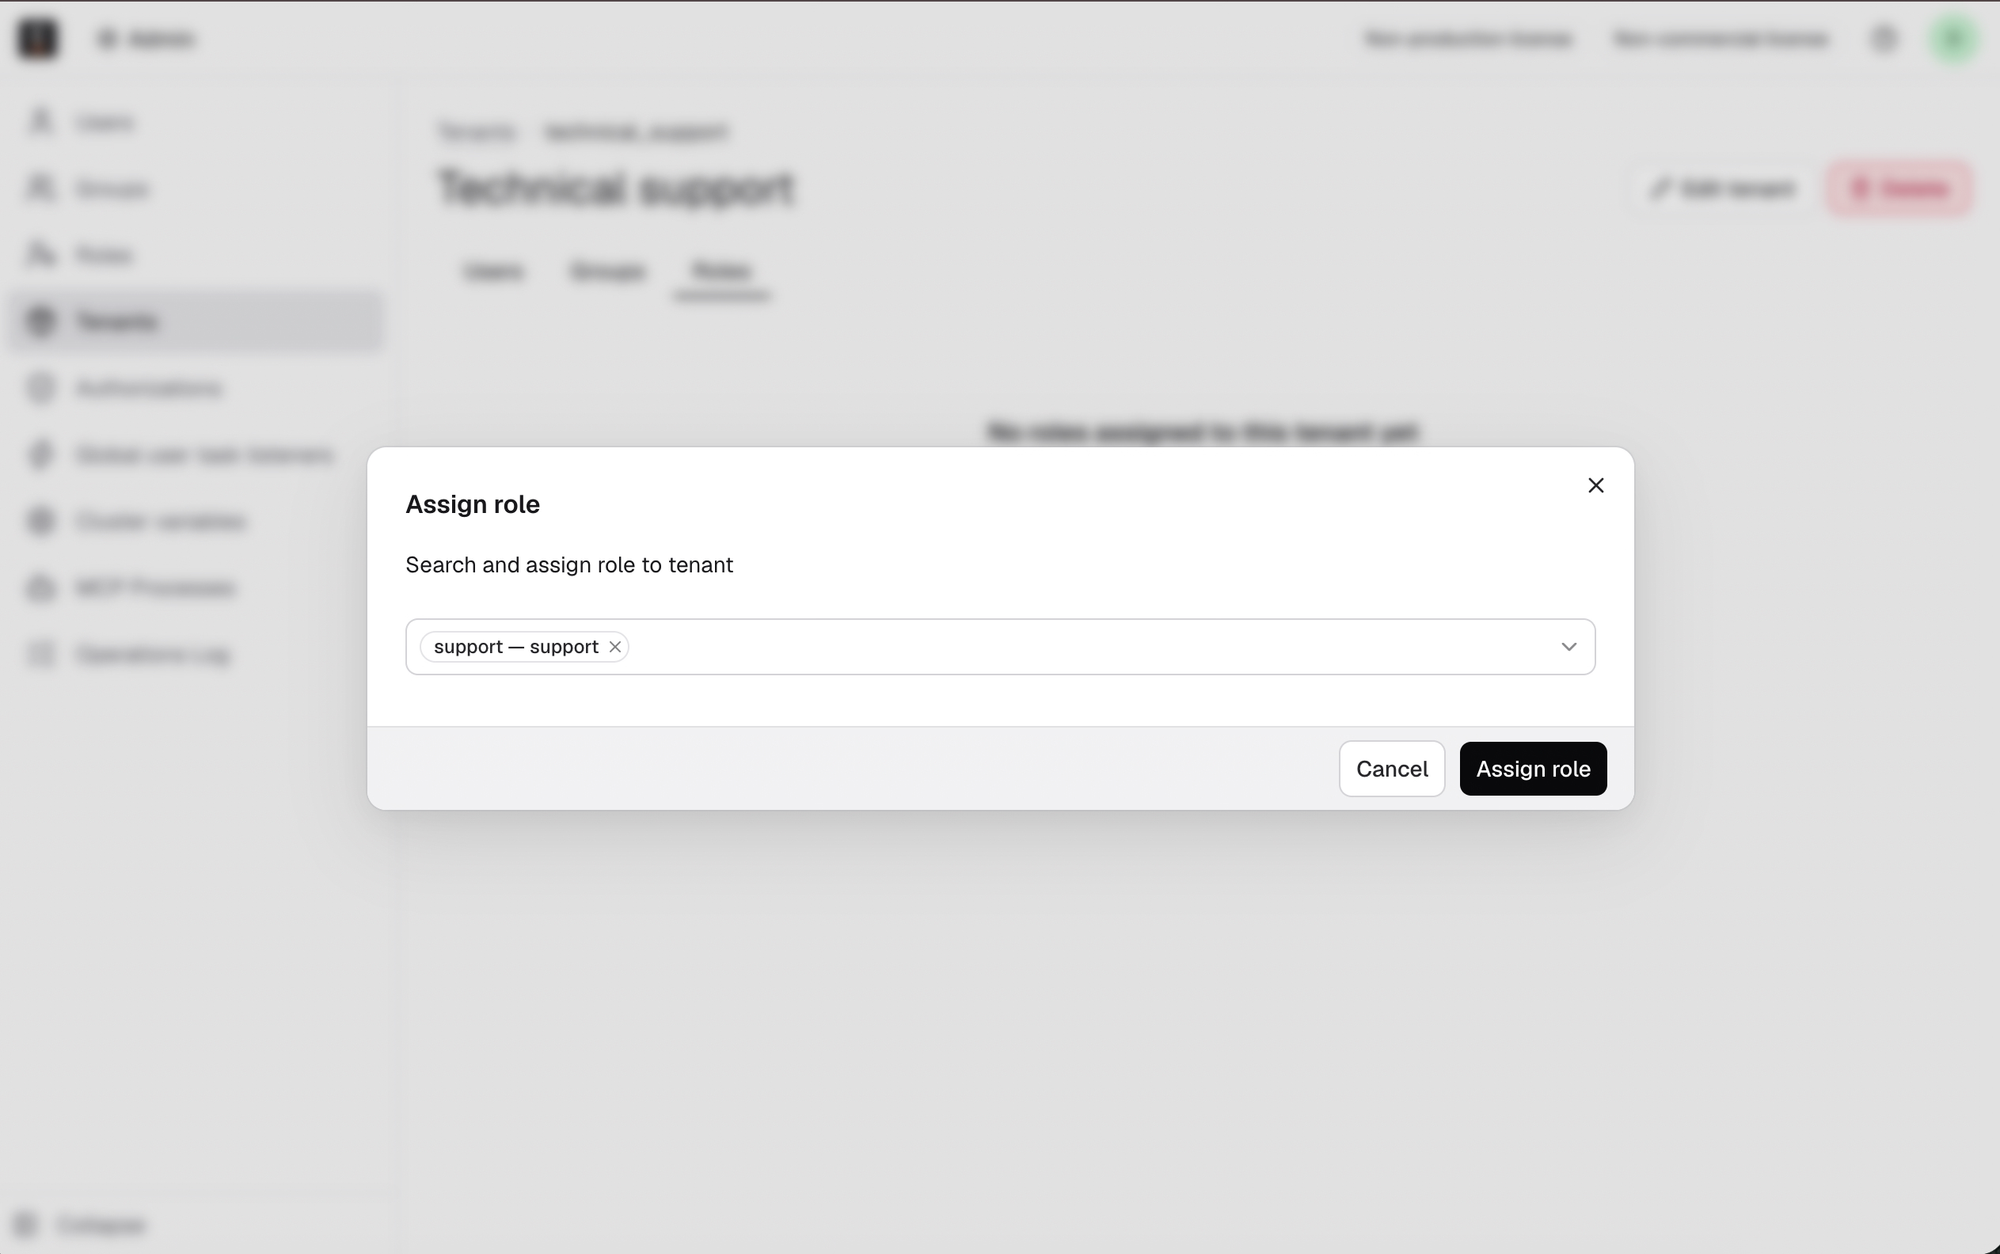
Select the Roles tab.
-
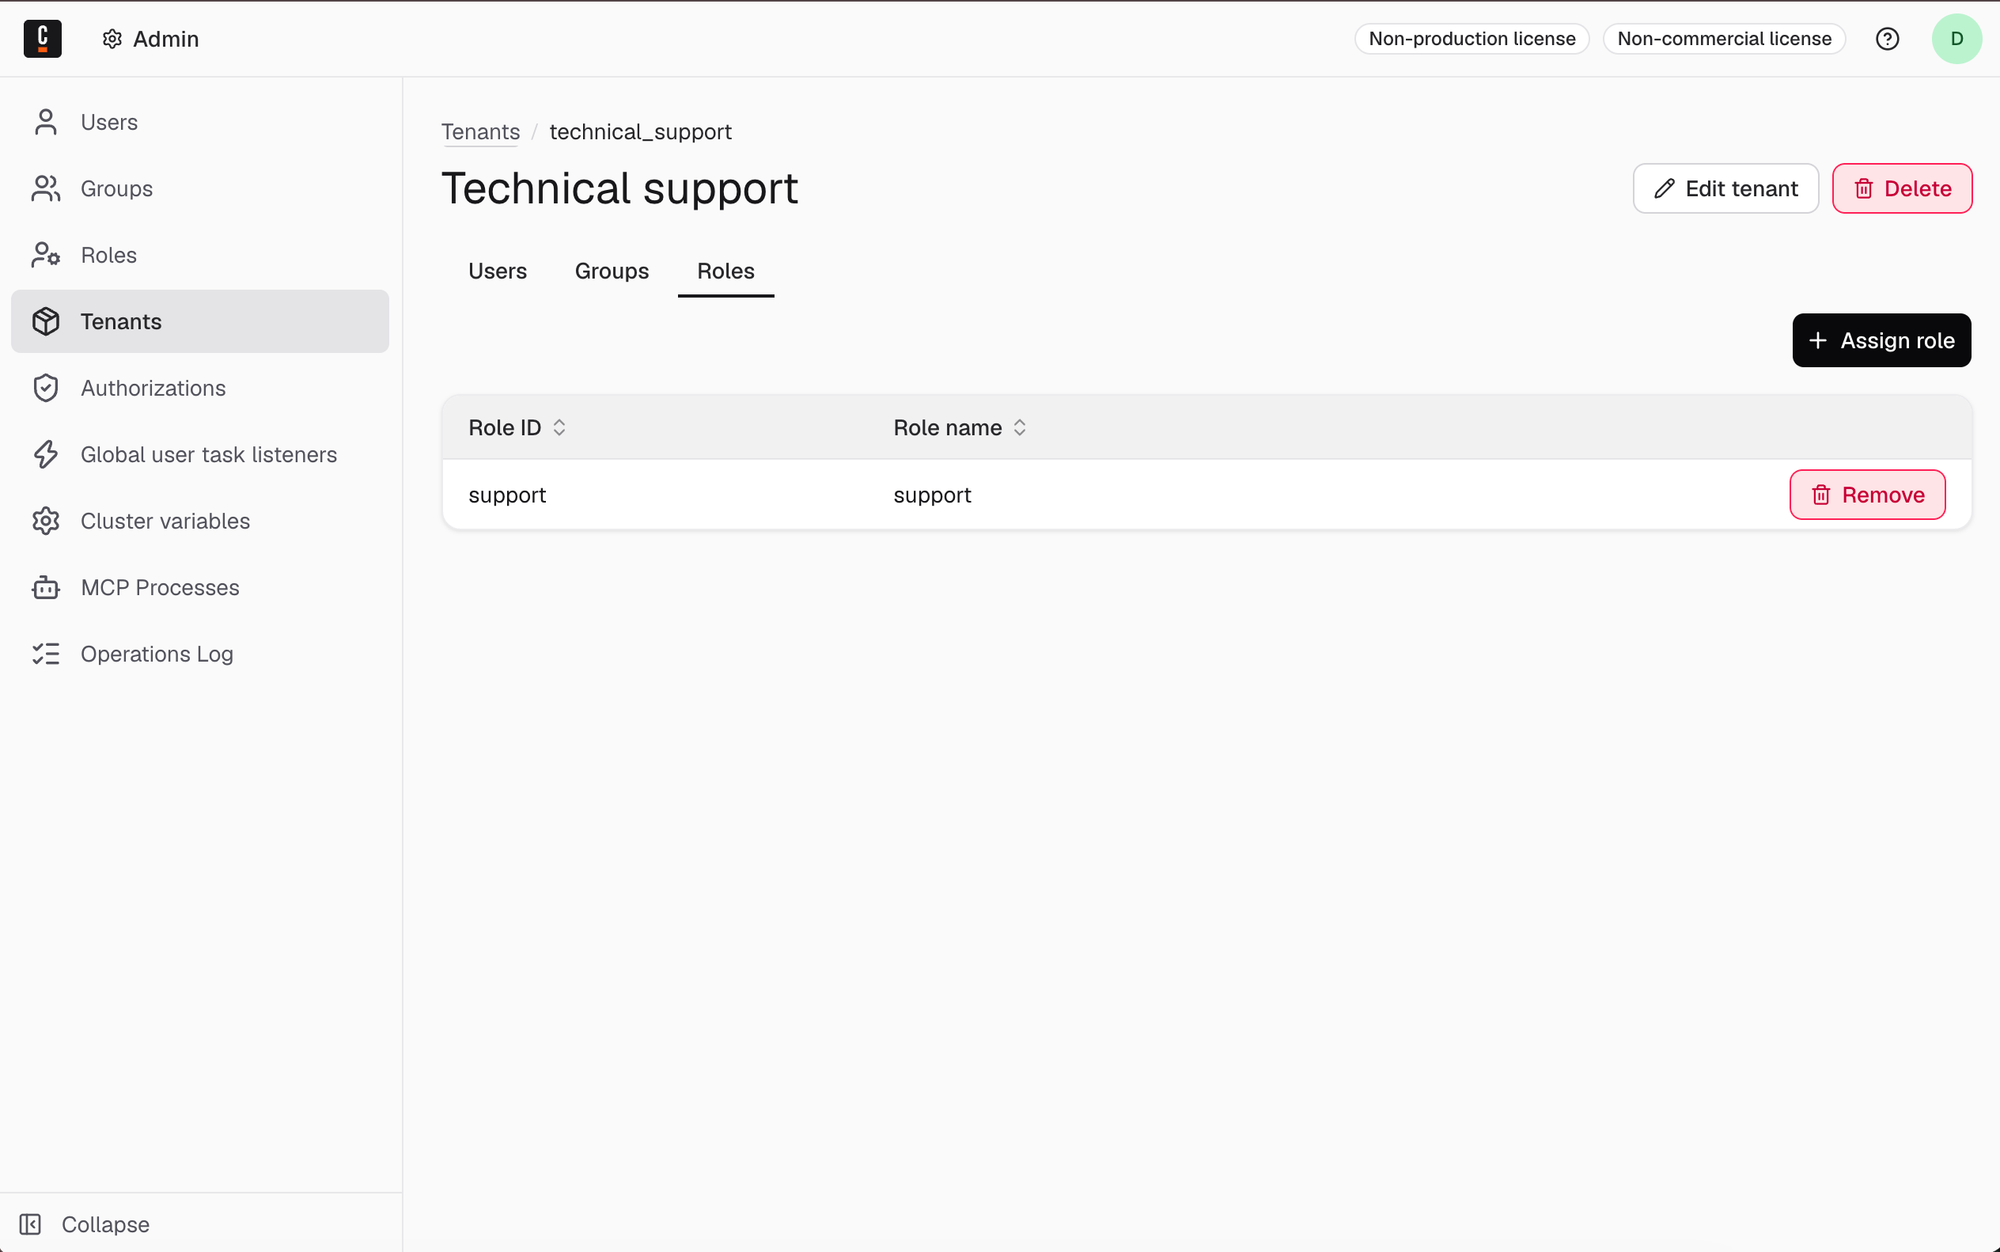
Click Assign role. Search for a role ID and confirm.
-
The role appears in the list after assignment. Refresh the page if needed.
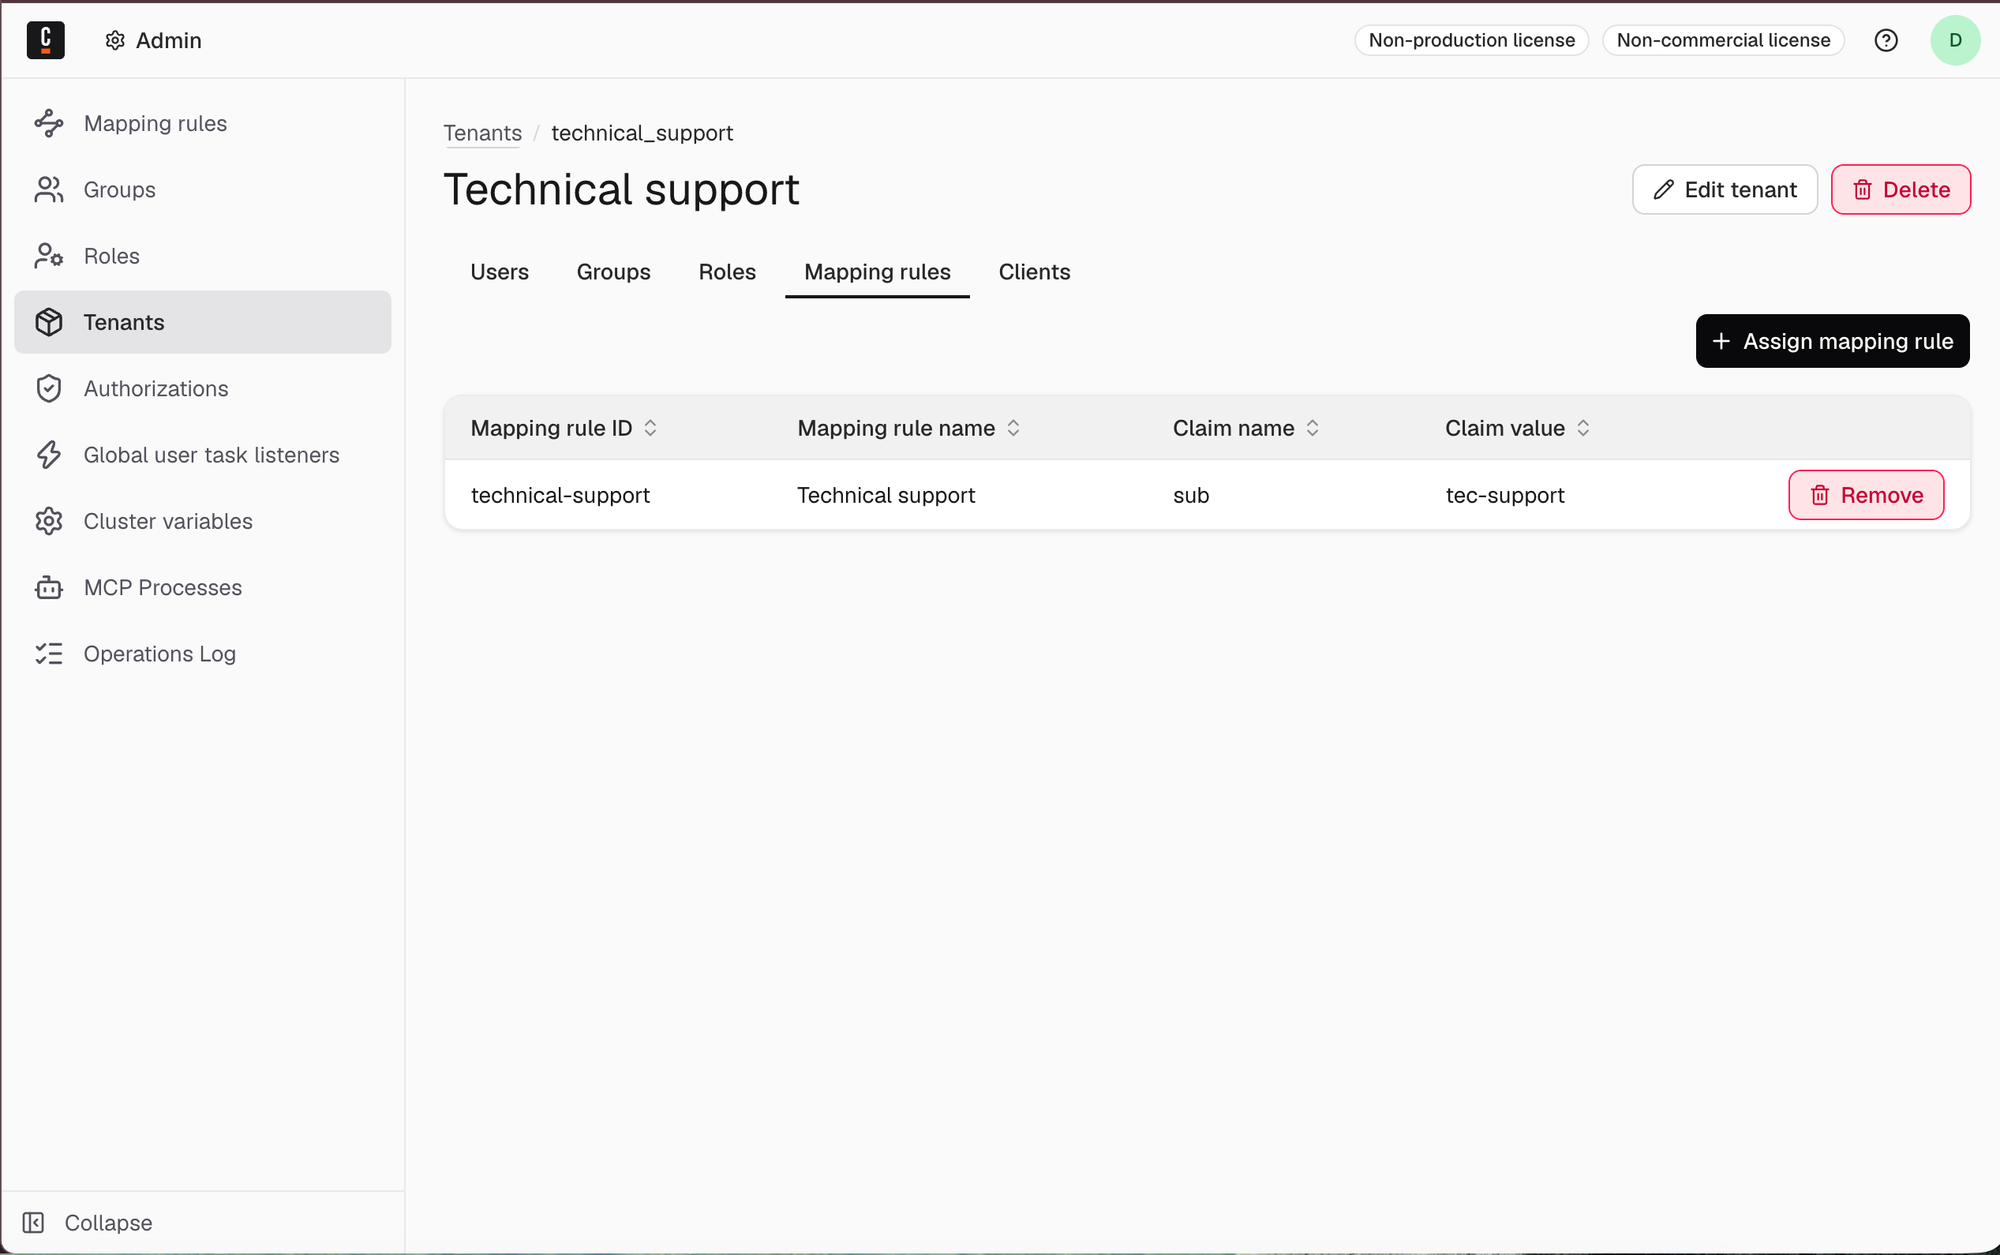
Assign mapping rules to a tenant
Assignment of mapping rules is only available for OIDC authentication. On Self-Managed, see OIDC authentication. On SaaS, mapping rules become available after you connect an external identity provider to the cluster.
-
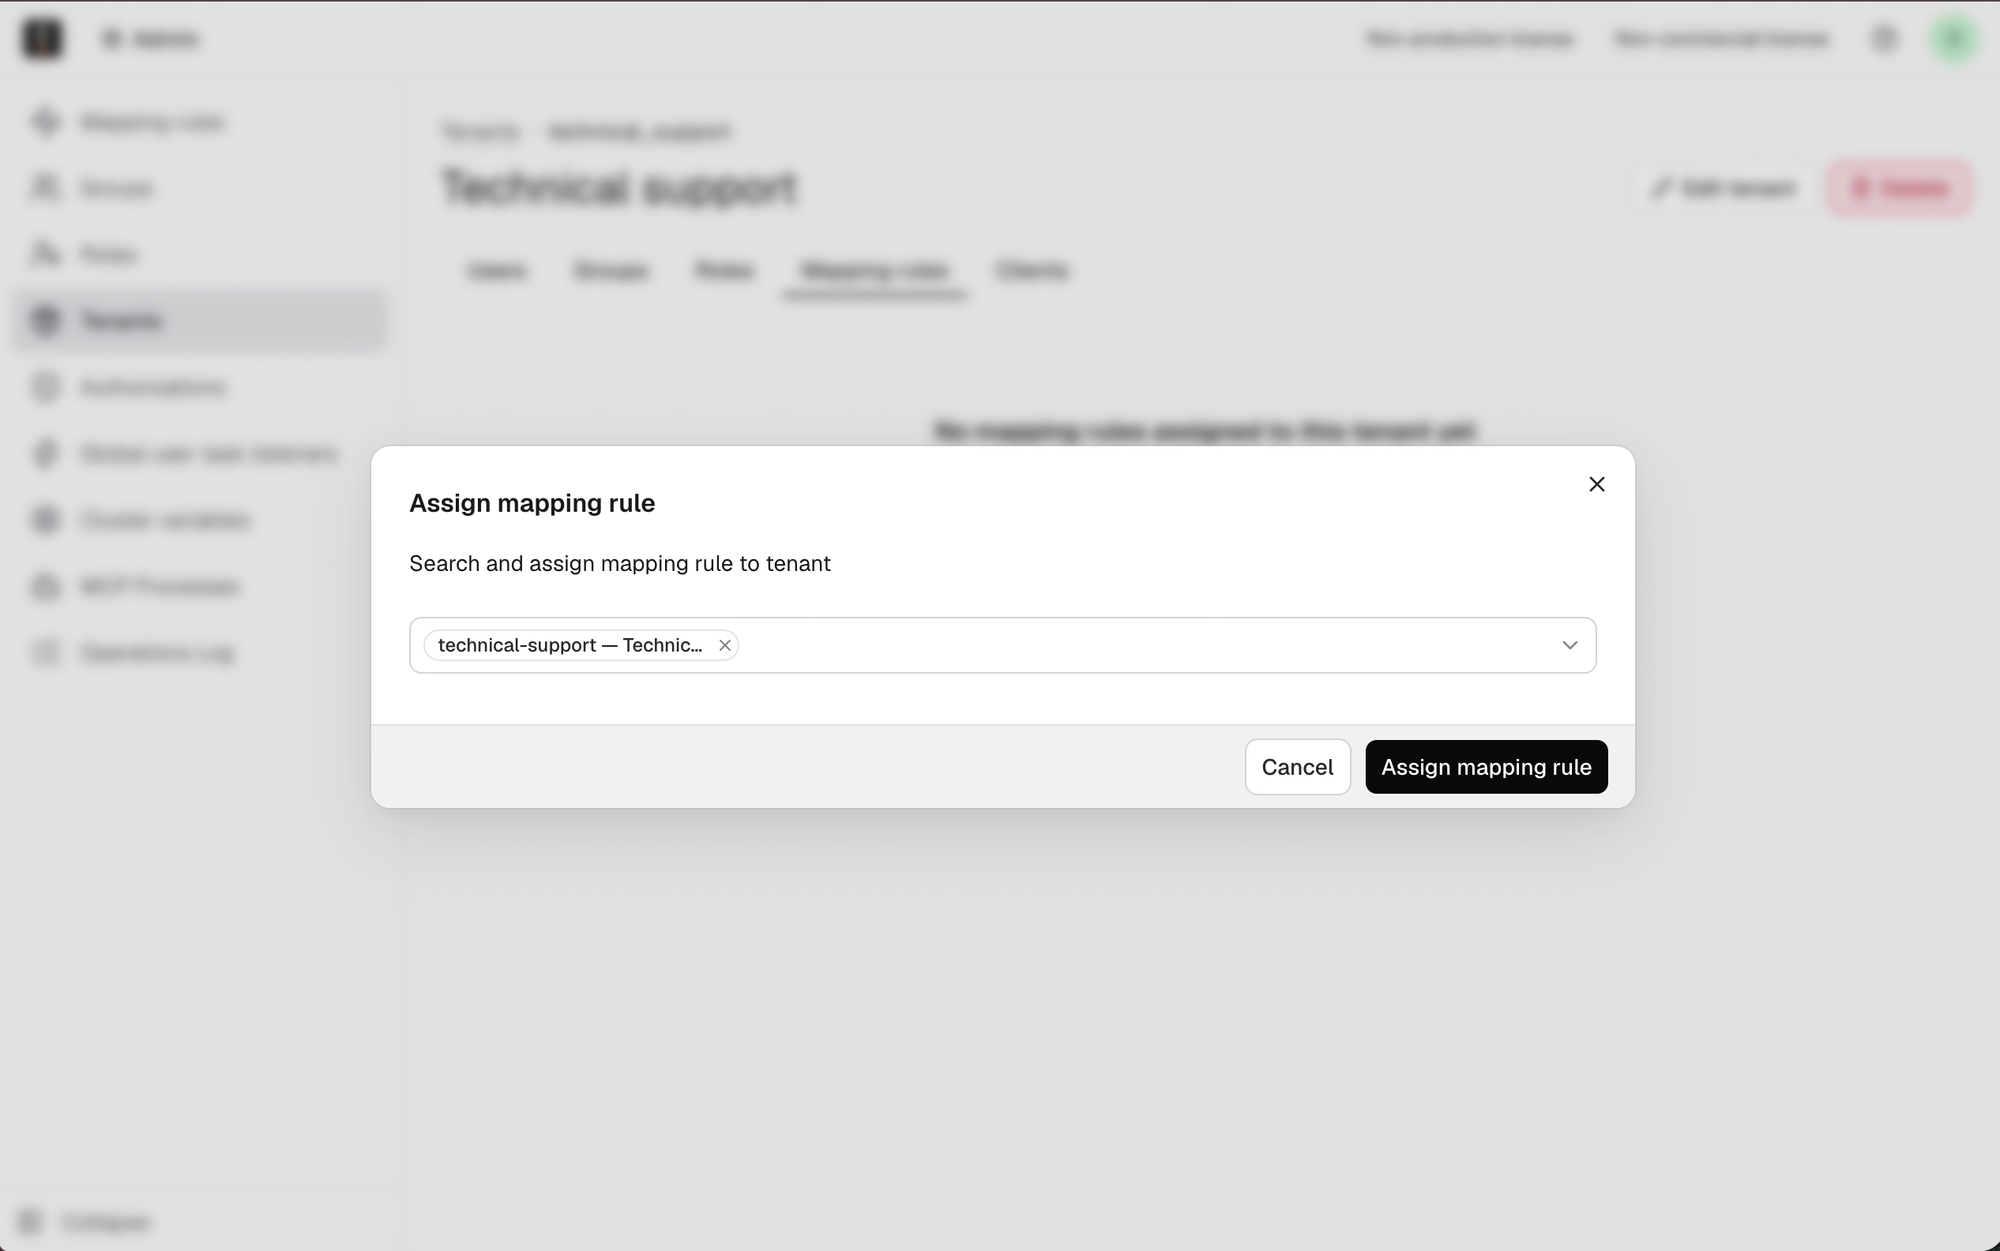
Select the Mapping rules tab.
-
Click Assign mapping rule. Search for a mapping rule ID and confirm.
-
The mapping rule appears in the list after assignment. Refresh the page if needed.
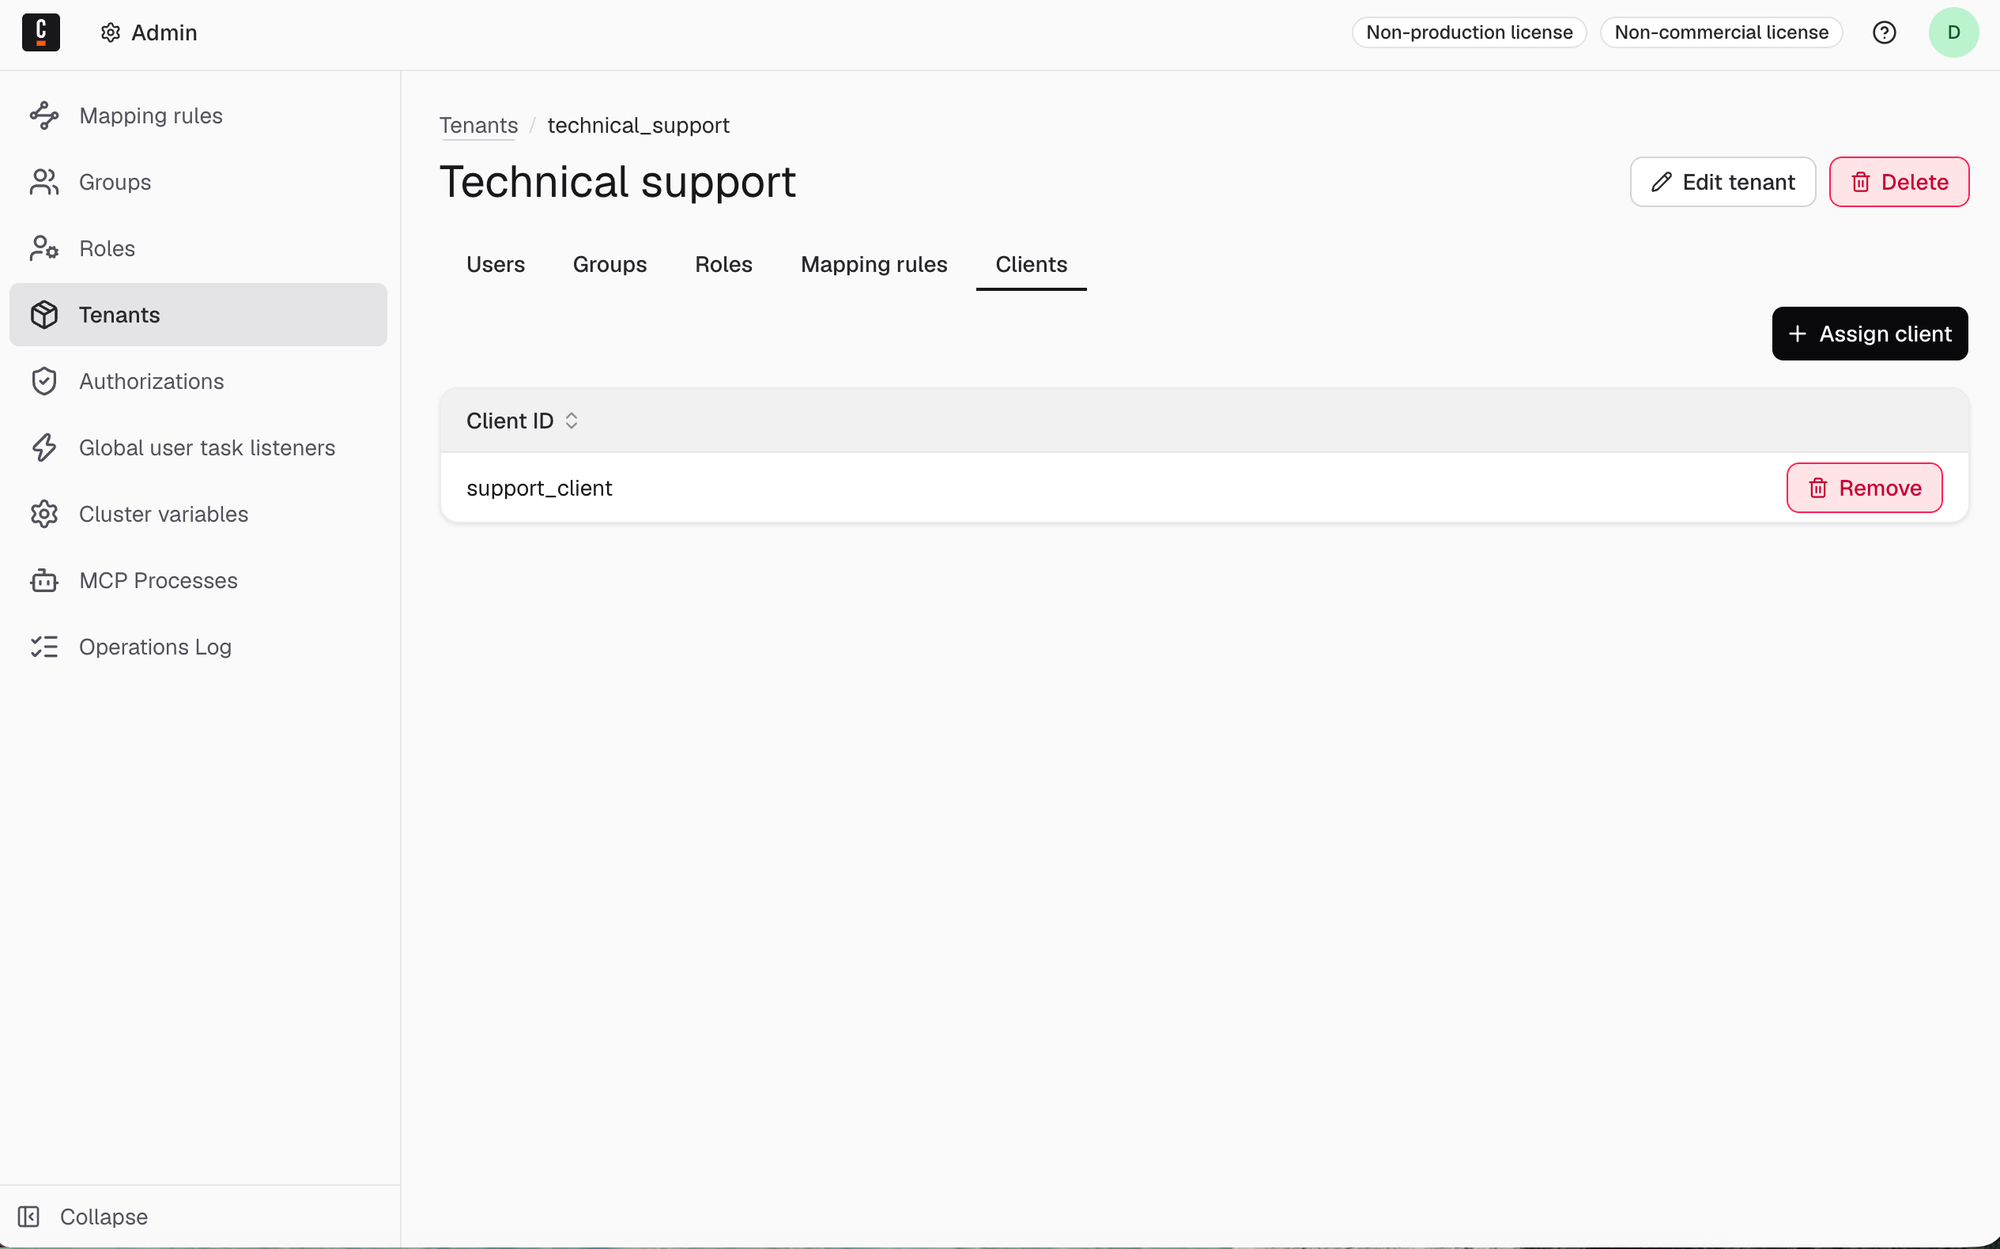
Assign clients to a tenant
-
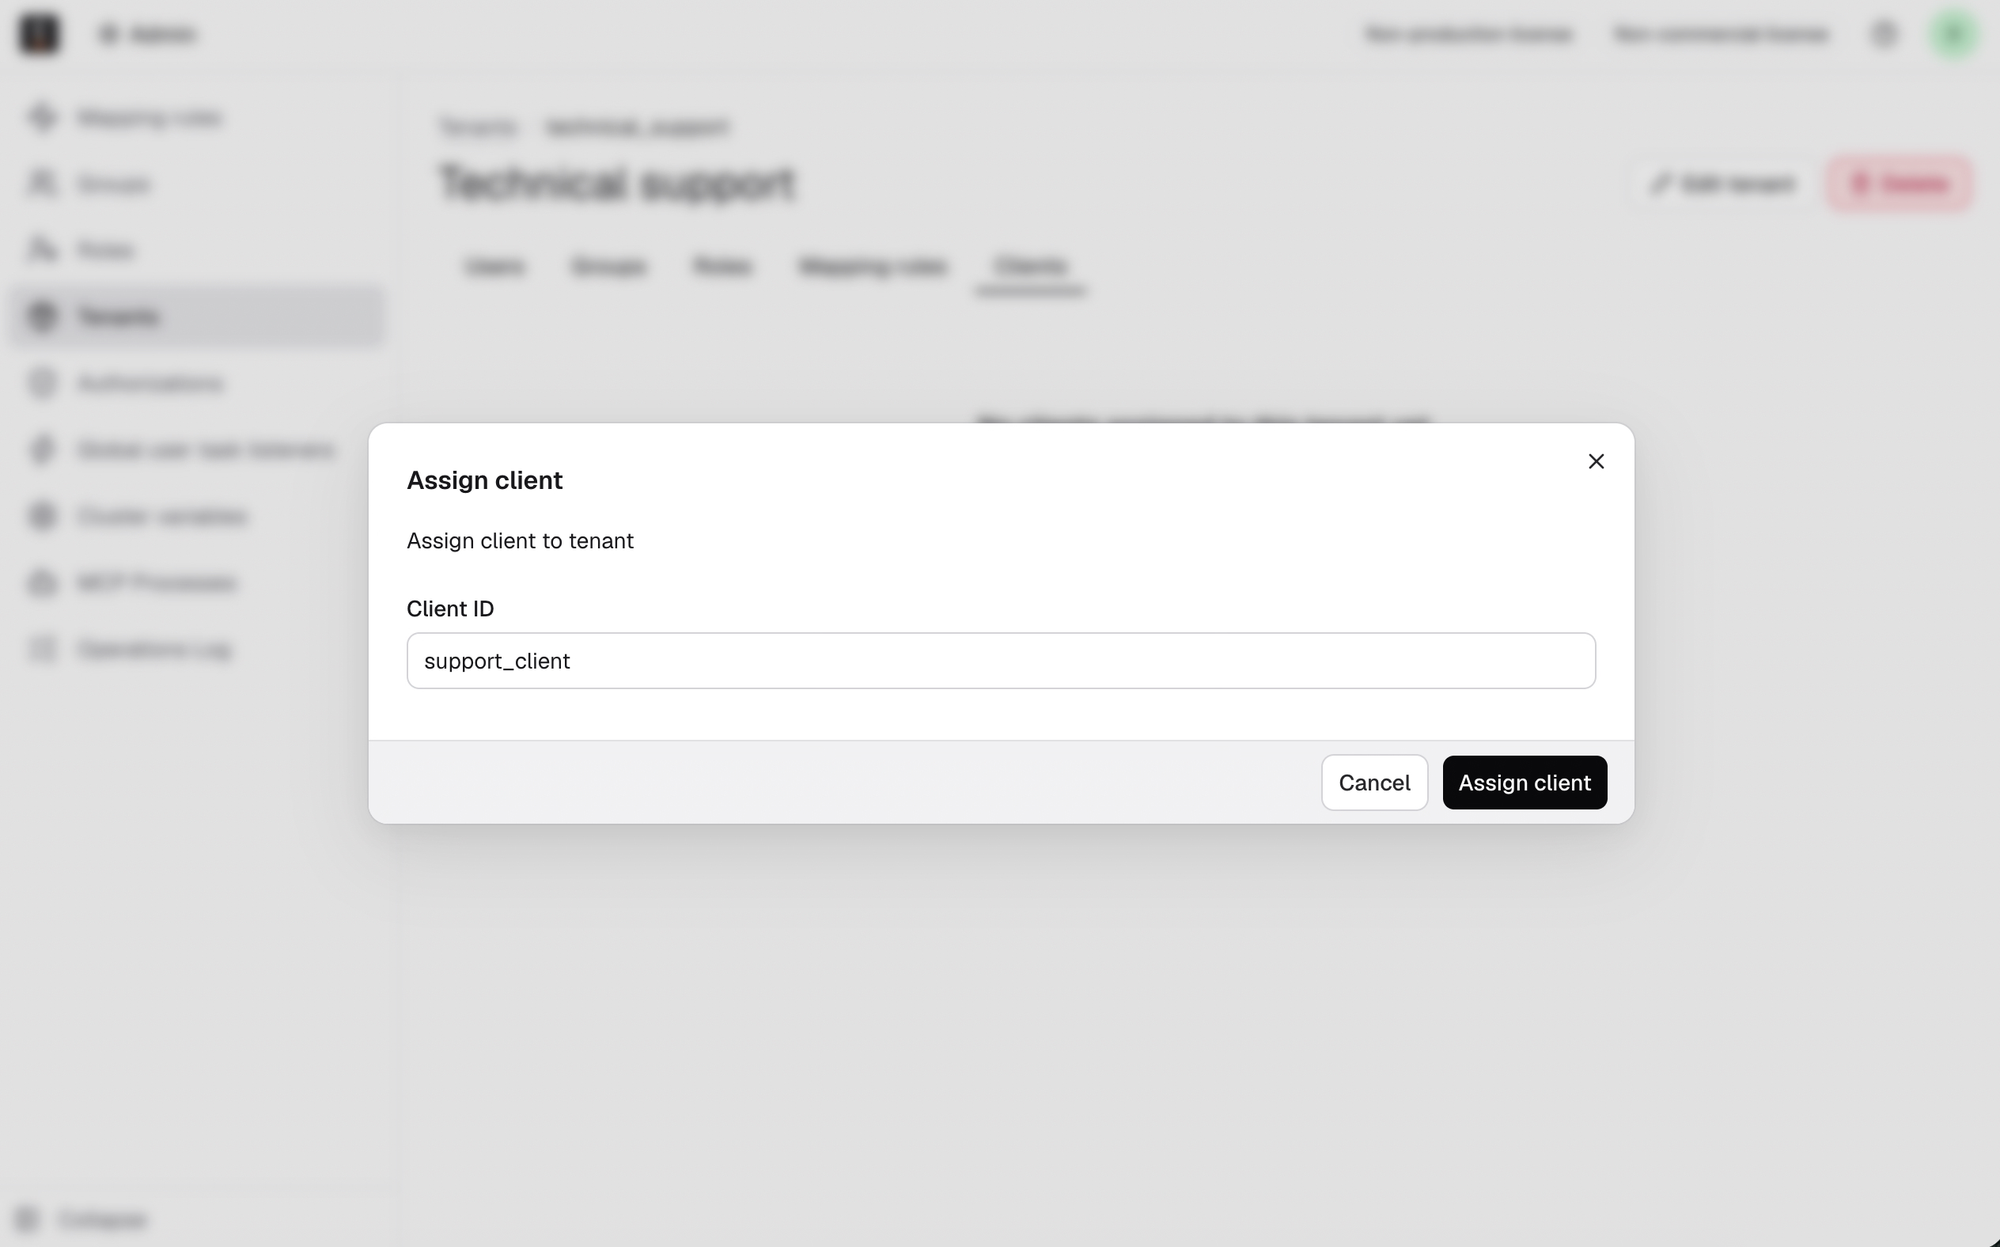
Select the Clients tab.
-
Click Assign client. Enter the client ID and confirm.
-
The client appears in the list after assignment. Refresh the page if needed.