Connect to Camunda 8
To deploy diagrams, start process instances, or test tasks, you must first connect Desktop Modeler to a Camunda 8 Orchestration Cluster. Follow the steps below to connect to Camunda 8 SaaS. To connect to a local installation, visit the Camunda 8 Self-Managed guide.
-
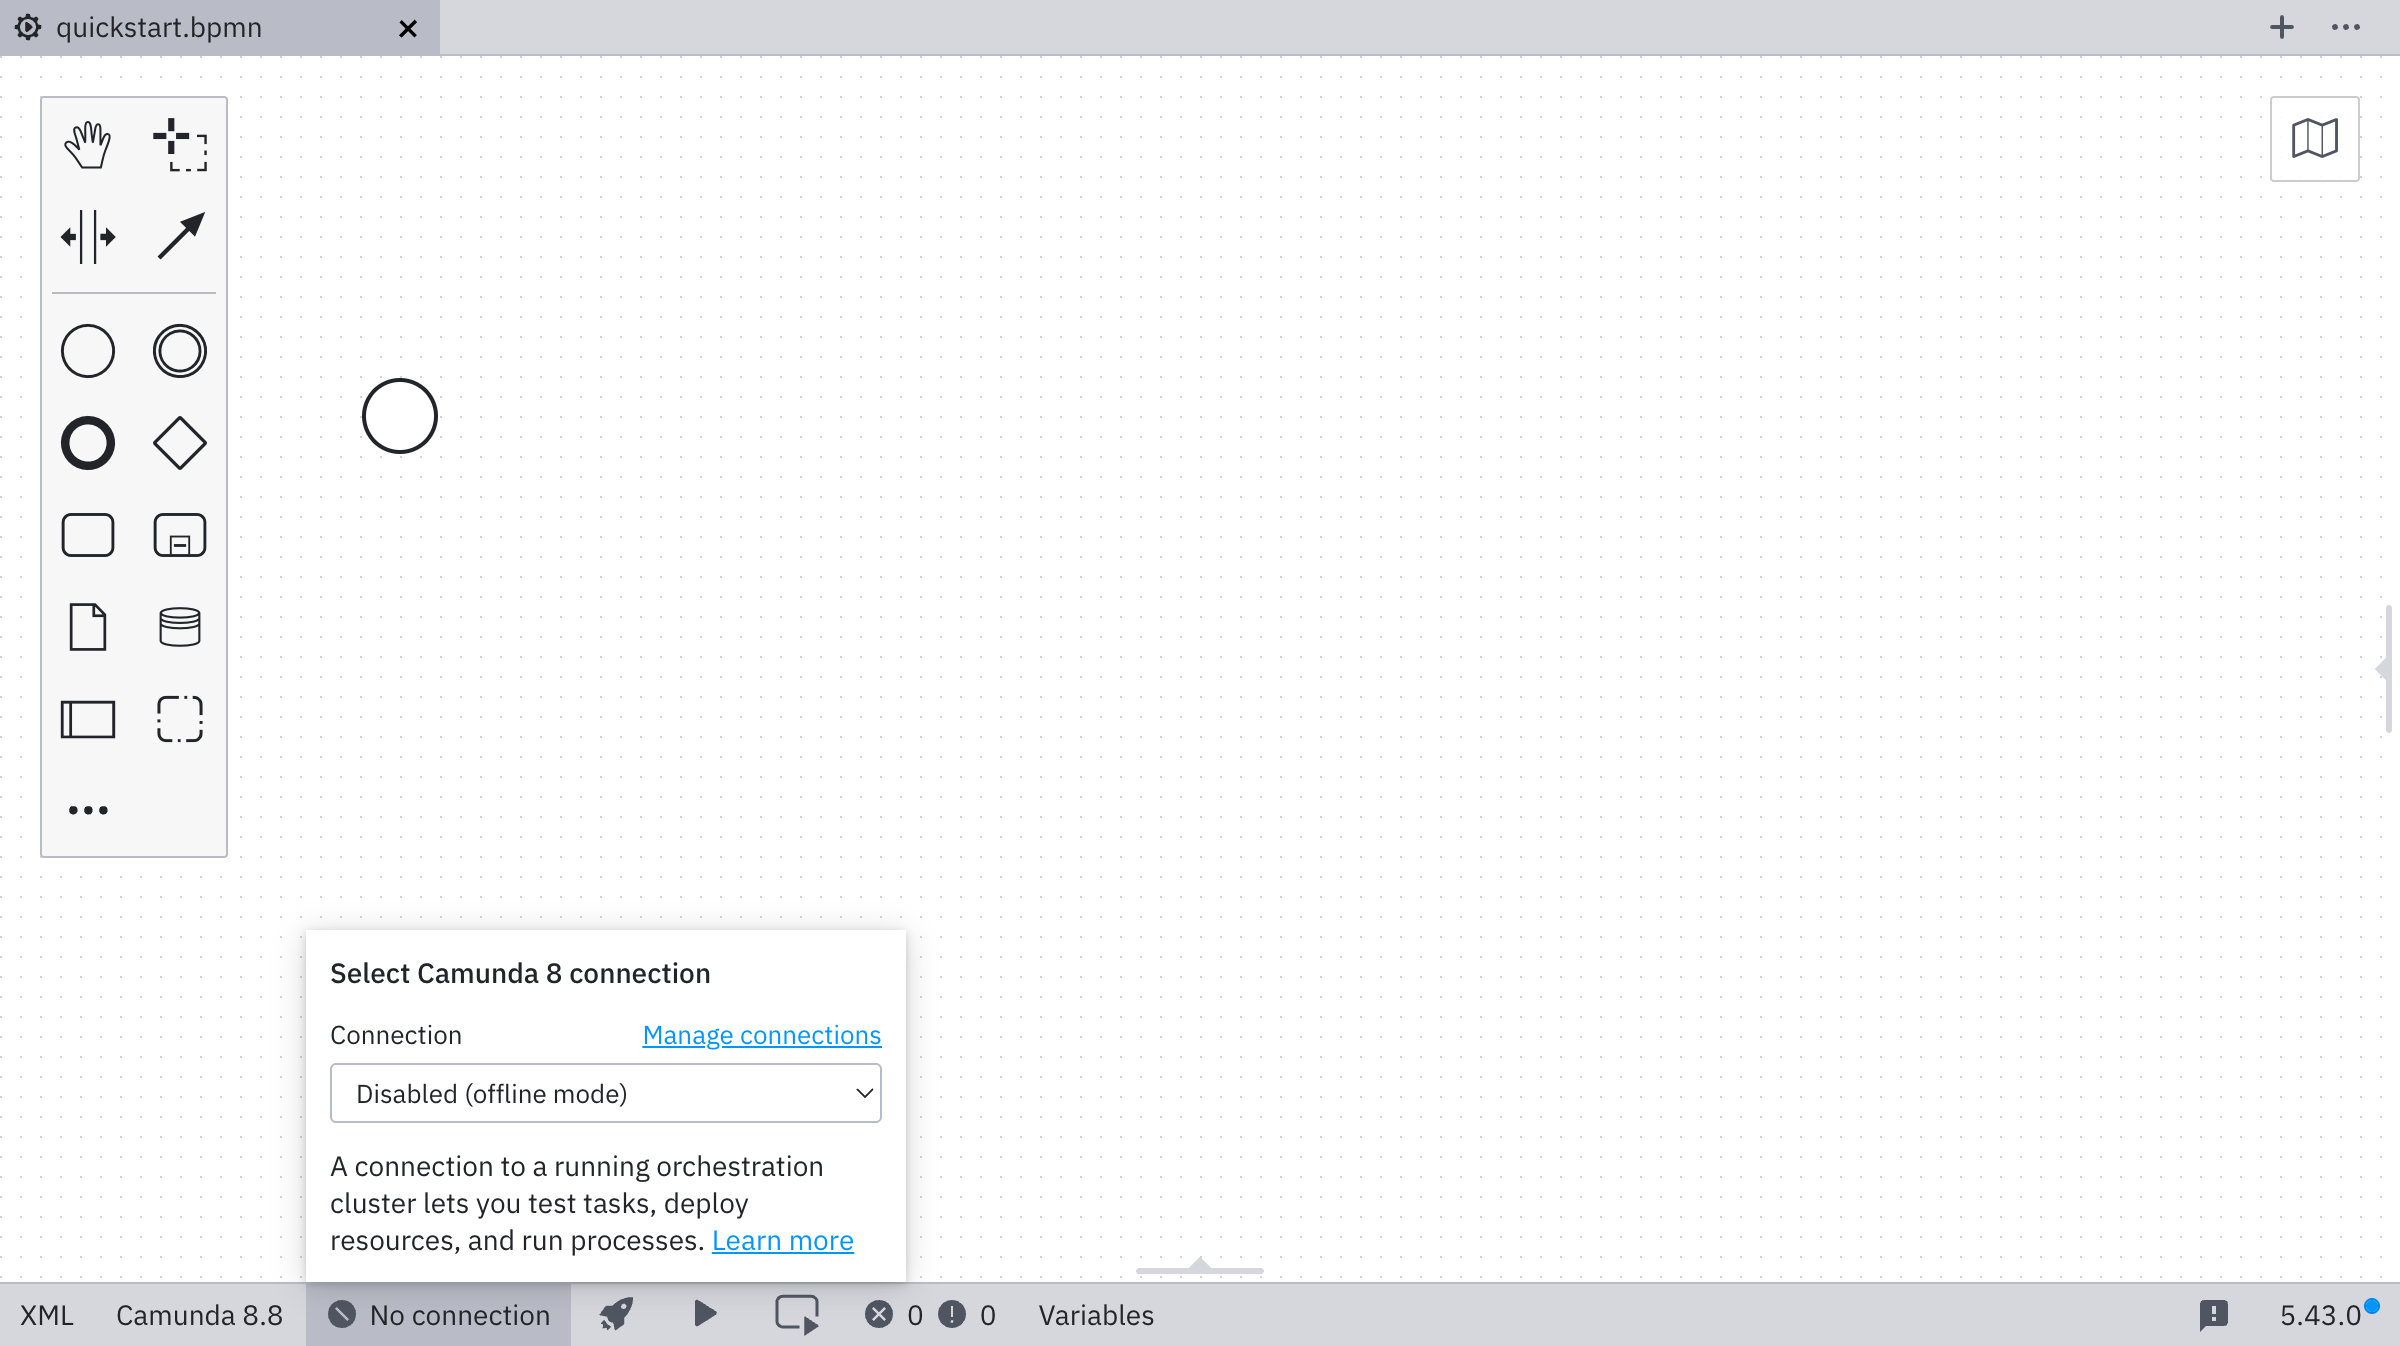
Click the connection selector. For new installations, this will show No connection. If you have previously selected a connection, it will show the name of that connection.

-
To add a new connection, open the settings. You can either click Manage connections, or open the settings directly (Cmd/Ctrl + ,).
By default, a local c8run connection is already set up. If you have previously used Desktop Modeler to deploy diagrams, those connections will also be available under Unnamed Connection.
-
Click Add connection.

-
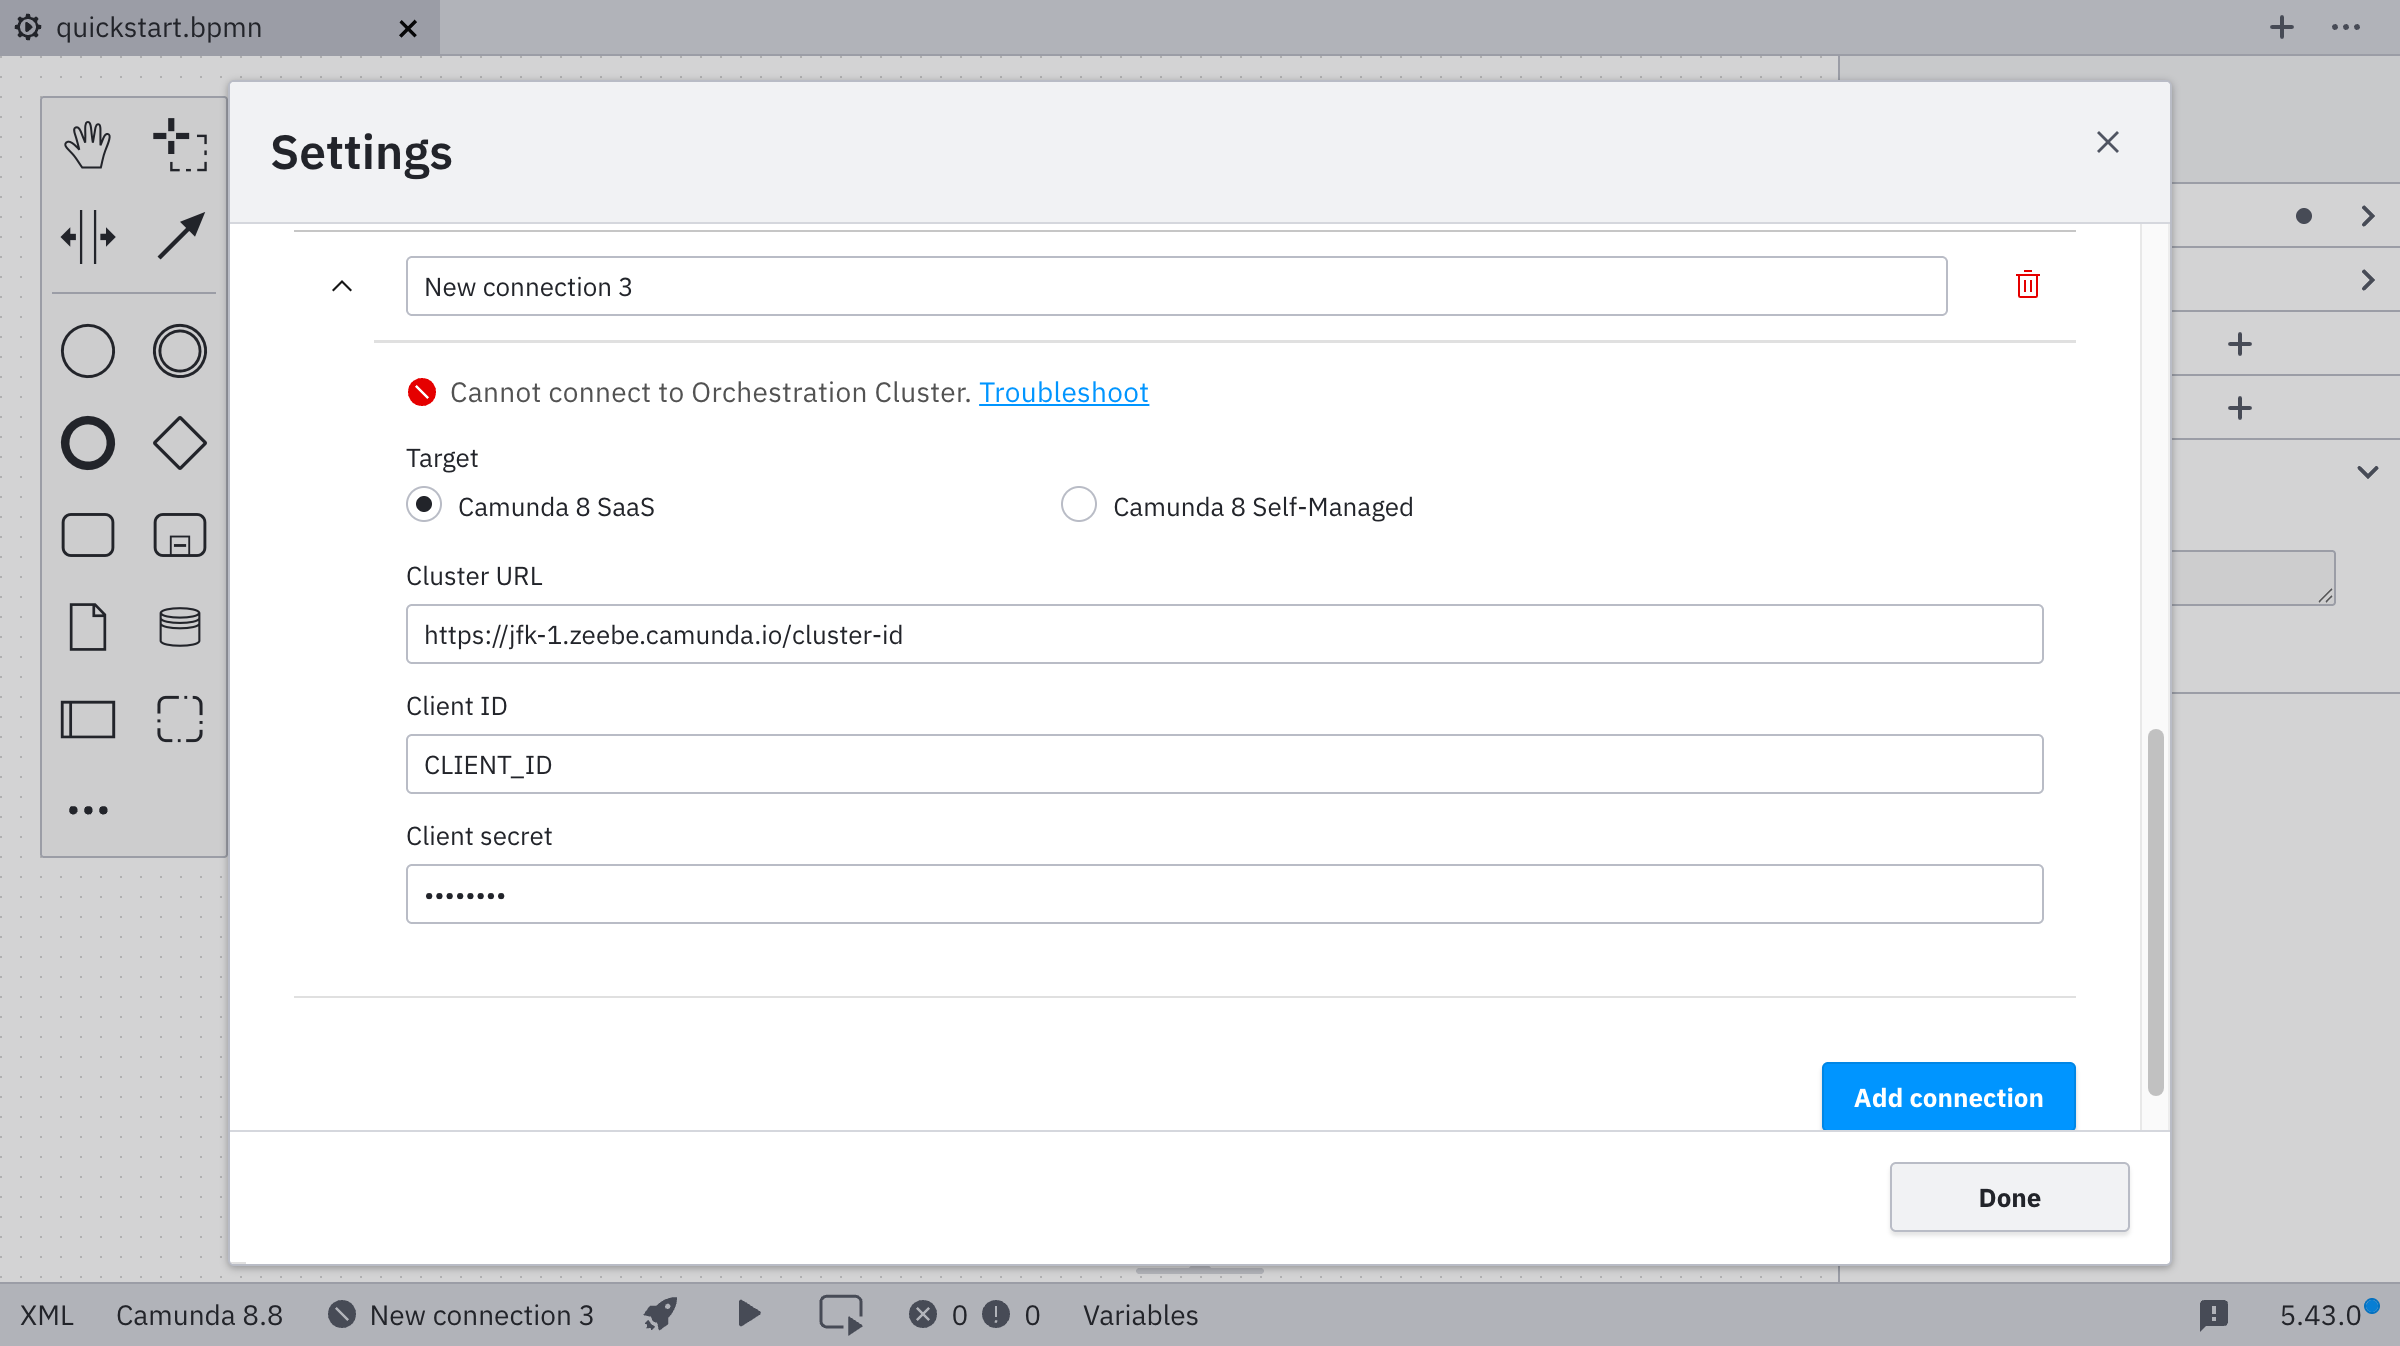
Enter a name, the cluster URL, and the credentials (client ID and client secret) for your API client.

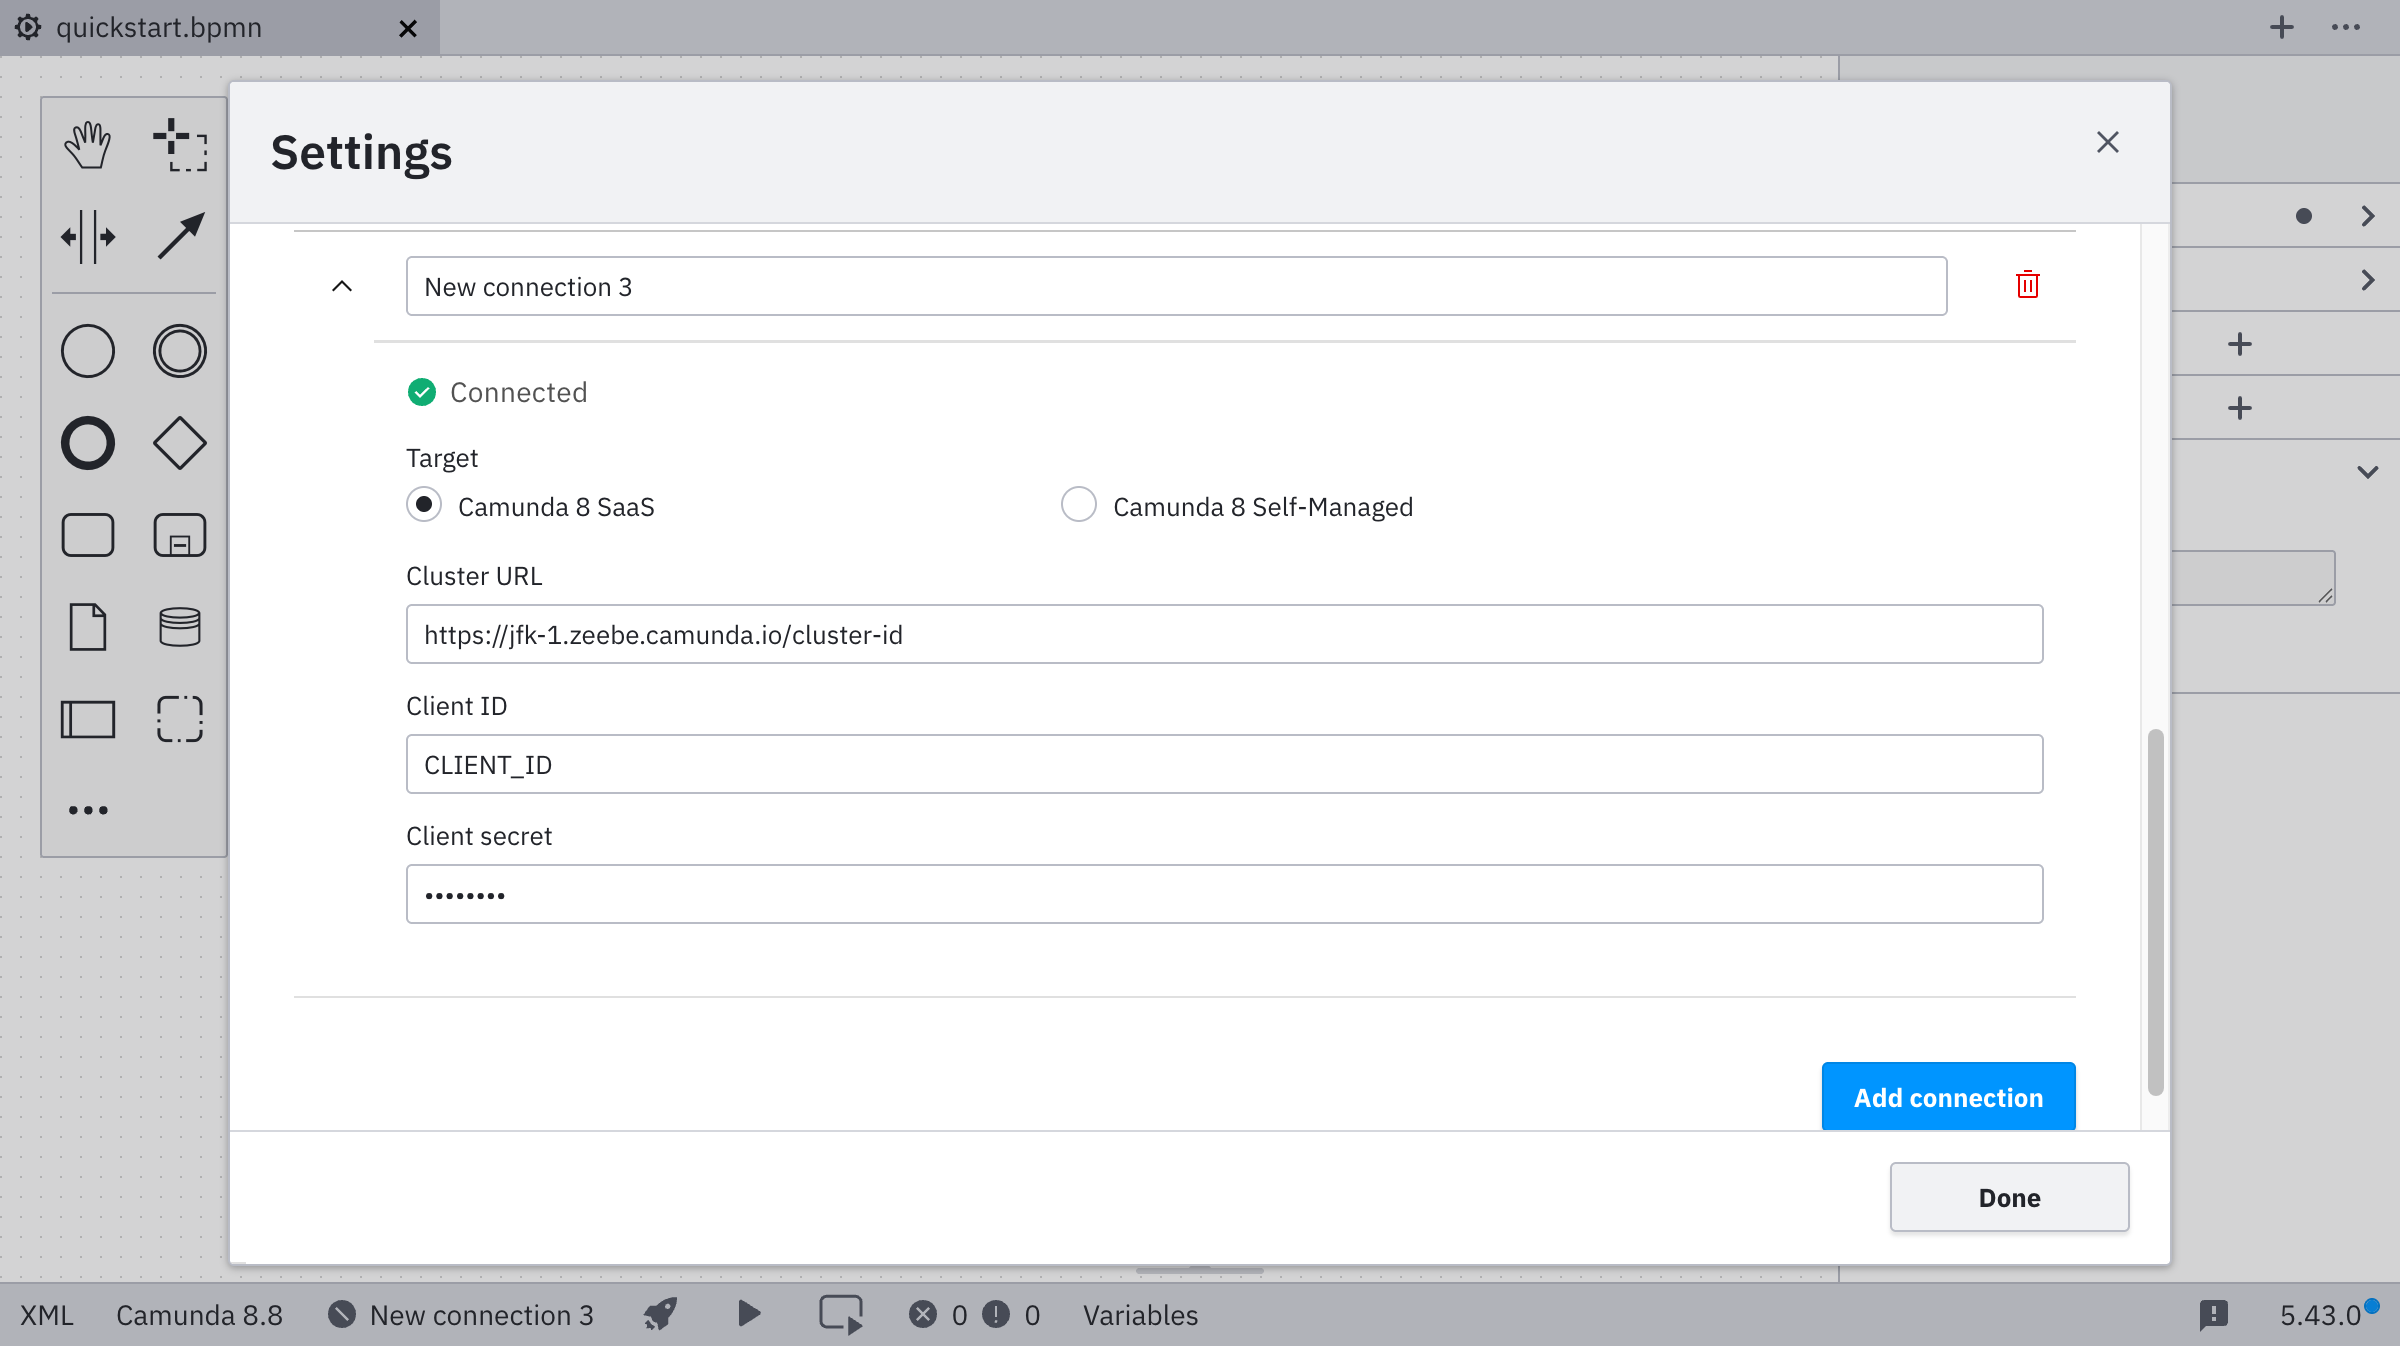
Desktop Modeler automatically validates the connection. If you have issues connecting to the cluster, see the troubleshooting page.
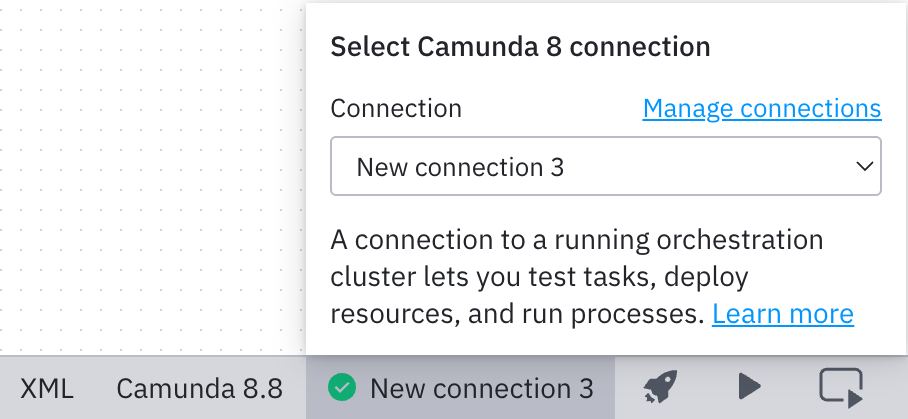
If the connection is established successfully, you can go back to the connection selection, where your new connection is now available.
-
Select the connection you just created to use it for deployment or starting a new process instance.
 note
noteAs a next step, deploy your diagram.