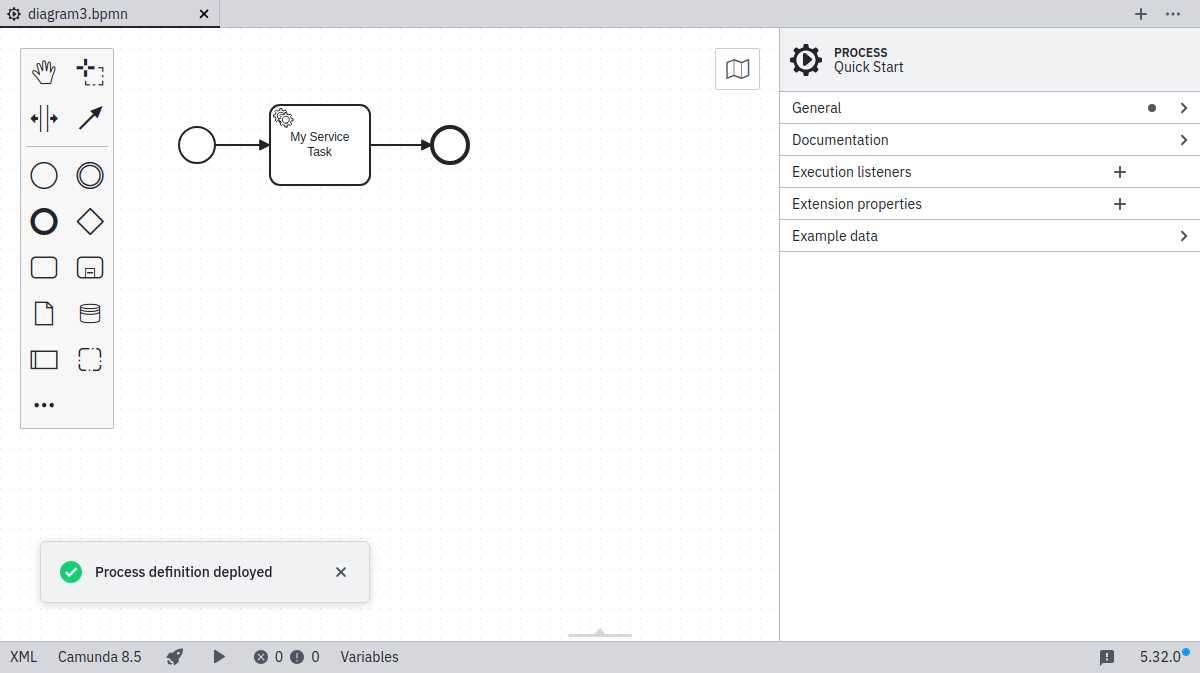
Deploy diagram
Desktop Modeler can directly deploy diagrams and start process instances in Camunda 8 Self-Managed. Follow the steps below to deploy a diagram:
- Click the rocket-shaped deployment icon:
- Click Camunda 8 Self-Managed:
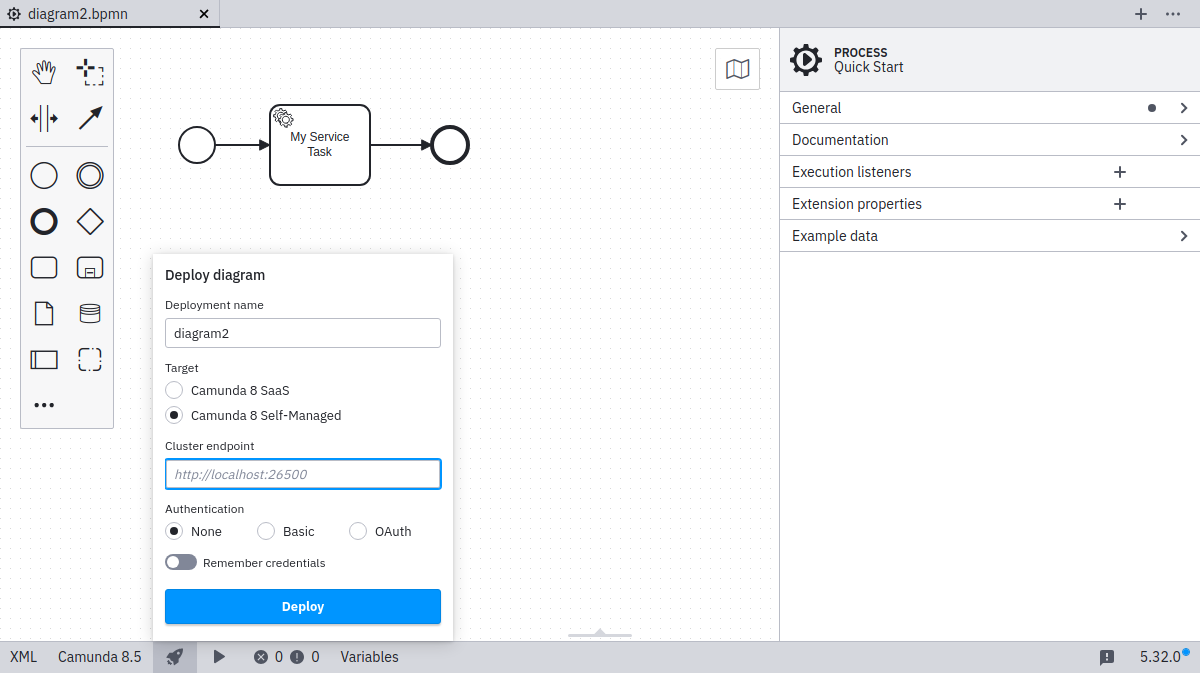
- Input the
Cluster endpoint:
You can connect to Camunda 8 both securely and insecurely through the https and http protocols.
Secured connections to a remote endpoint will only be established if the remote server certificate is trusted by the app. Ensure that signing trusted roots and intermediate certificates are known to the app.
Multi-tenancy is only available with authentication enabled through Identity, and enabled in all required components.
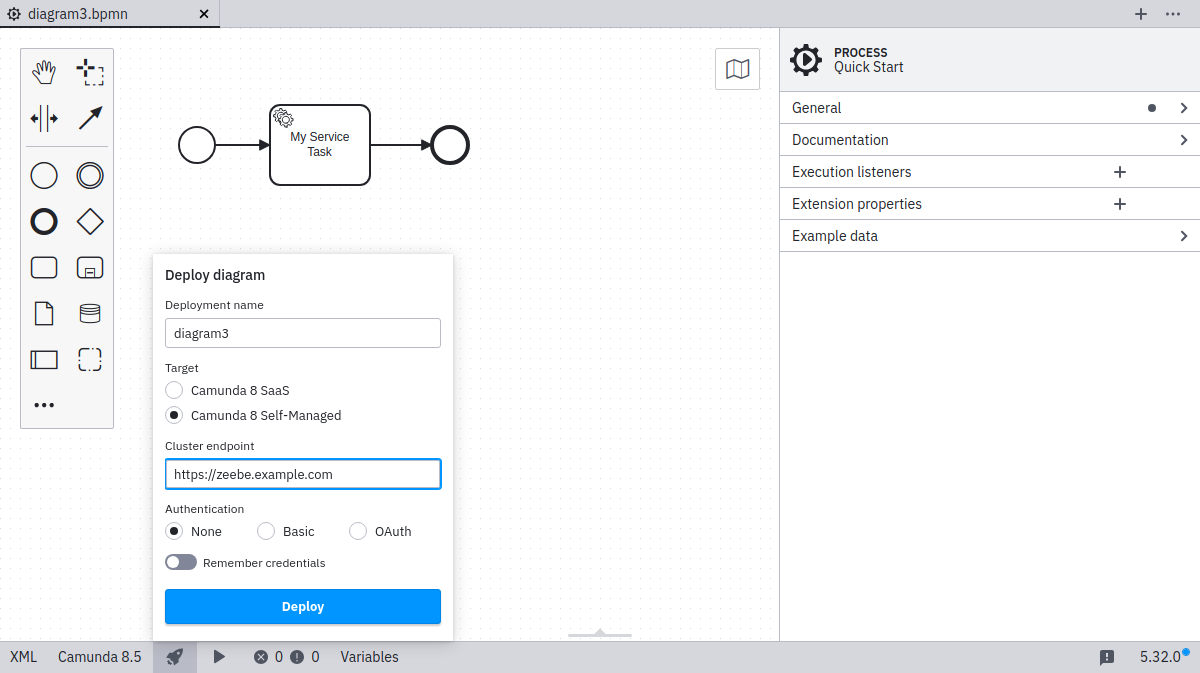
- Select your authentication method, and input the required credentials:
- Basic
- OAuth
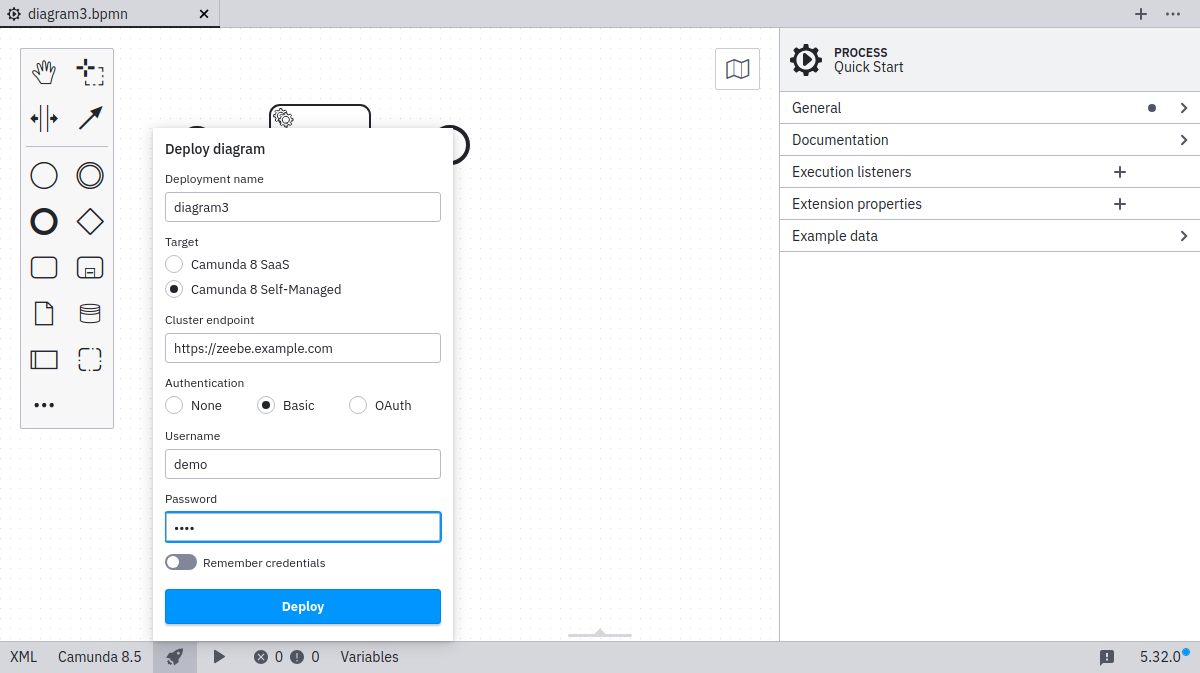
For basic authentication, input your username and password:
For OAuth, input the credentials for your OAuth provider. These are configured as part of the default Helm installation and can be discovered in Identity, or are set by Zeebe environment variables.
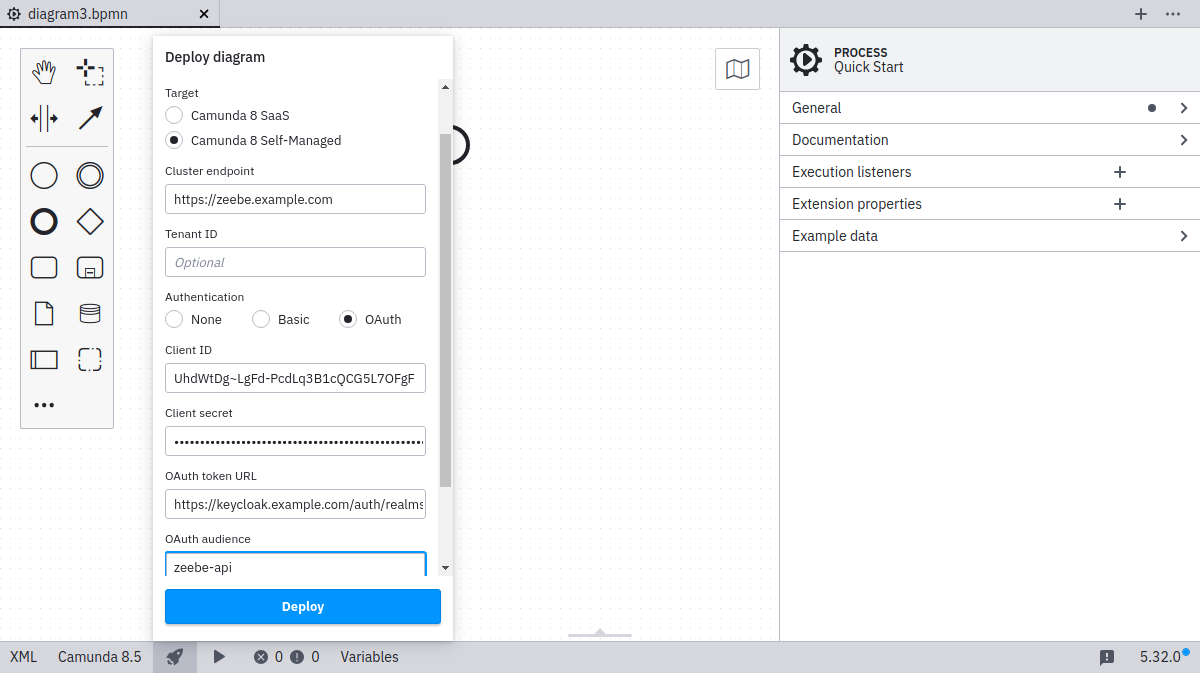
| Name | Description | Example value |
|---|---|---|
| Client ID | The name of your Zeebe client. | zeebe |
| Client secret | The password of your Zeebe client. | zecret |
| OAuth token url | The full path to the token endpoint. | https://<keycloak base url>/auth/realms/camunda-platform/protocol/openid-connect/token. |
| OAuth audience | The permission name for Zeebe. | zeebe-api |
-
Select the Remember checkbox if you want to locally store the connection information.
-
Click Deploy to perform the deployment.
